How to Install a Quick-Release Seat Clamp
Install a quick-release seatpost clamp after confirming its diameter, frame compatibility, orientation, and surface prep, then test the post for any movement.
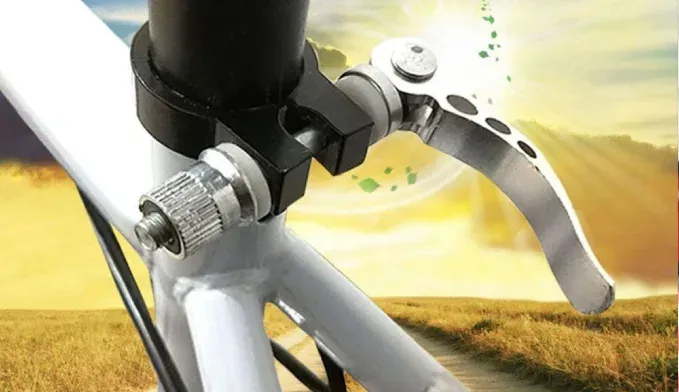
Install a quick-release seatpost clamp only if the bicycle uses a removable collar and the new clamp matches the frame’s specified diameter and design. Clean the mating surfaces, align the clamp with the seat-tube slot as the frame maker directs, adjust the cam tension with the lever open, then close the lever fully and test the seatpost.
Confirm that the clamp fits the frame
Seatpost diameter and clamp diameter are different measurements. The collar fits the outside of the frame’s seat tube, not the seatpost itself. Use the size marked on the original collar or the bicycle manufacturer’s specification. Do not force on a clamp that is too small or rely on excessive tightening when one is too large.
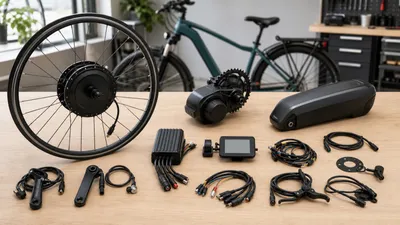
Some frames have an integrated binder, an internal wedge, an aerodynamic post, or a proprietary collar. Those systems cannot be converted with a generic quick-release clamp. Park Tool’s seatpost installation guide explains common round-post and collar arrangements.
Prepare the seatpost and frame
Remove the old collar only if the frame manual permits it. Clean the top of the seat tube, the collar, and the post. Inspect the frame slot and contact areas for cracks, burrs, corrosion, or distortion.
Use only the surface preparation specified for the frame and post materials. Metal and carbon combinations may require different products. Do not assume ordinary grease or carbon assembly compound is suitable. The exact frame and seatpost instructions take priority.
Install and adjust the quick-release clamp
- Open the lever and loosen the adjustment nut enough for the collar to slide into place.
- Position the collar in the orientation required by the frame maker. On many conventional frames, the collar opening aligns with the seat-tube slot, but proprietary designs can differ.
- Insert the seatpost past its minimum-insertion mark and align the saddle with the frame.
- With the lever open, turn the adjustment nut in small increments.
- Close the lever through its full travel. Resistance should build during the latter part of the swing, not only at the last instant.
- Try firmly to twist and press down on the saddle. The post must not rotate or slip.
- Confirm the lever is fully closed and positioned where it cannot snag clothing, a bag, or a moving part.
Do not turn the adjustment nut while using the lever as a wing nut. The lever is a cam: adjust with it open, then close it to clamp.
How tight should the lever feel?
There is no safe universal torque or hand-force value for every frame, post, and collar. Follow the exact manufacturers’ limits. Park Tool’s saddle and seatpost adjustment guide also directs riders to the manufacturer’s specification.
If the post slips before the clamp reaches its allowed setting, stop. Check for an incorrect diameter, wrong surface preparation, contamination, frame damage, or an incompatible post. More force can damage a frame or seatpost.
Check the installation before riding
Sit on the bike while supported, then recheck saddle height and alignment. Take a short, low-speed test ride away from traffic and inspect again. A creak or movement deserves diagnosis before a longer ride.
For the rest of a new-bike setup, see how to set up a mountain bike. The bike tool-kit guide helps with suitable hand tools, while the mountain-bike pedal guide covers another important contact point.
This article is research-based. It intentionally omits universal torque claims because frame and clamp limits vary.