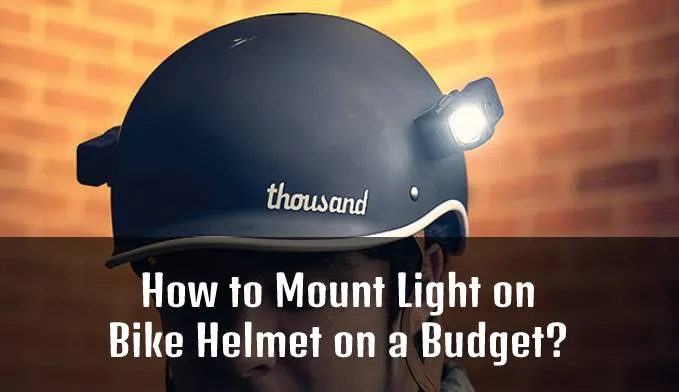
How to Mount Light on Bike Helmet on a Budget?
Mount a helmet light with a maker-approved strap or clip, keep vents and straps clear, aim it below eye level, and retain a handlebar light for a stable beam.
Mount a bike helmet light only with a strap, clip, or adapter approved by the helmet and light makers. Keep fit controls, straps, and vents clear, aim the beam below other people’s eyes, and use a handlebar light as the stable primary beam.
Do not drill, cut, melt, or screw into the helmet. The CPSC bicycle-helmet guidance depends on an intact helmet that fits correctly.
Check compatibility
Find the model-specific instructions for both products. Confirm that the helmet’s vent spacing supports the mount and that the light’s weight is within any stated accessory limit.
An adhesive action-camera base is not automatically safe for a helmet. Use it only when the helmet maker allows that exact mounting method and cleaning product.
Install the mount
- Place the helmet level on your head and fasten it.
- Choose a centered or slightly forward position that does not block vents or the fit system.
- Thread the approved strap through vents without twisting it or trapping helmet straps.
- Attach the light and engage its retaining latch.
- Shake the helmet gently. The light should not move or pull the helmet out of position.
Remove the setup if an edge, tether, or protruding part can touch your head or face.
Aim the beam
Sit on the bike in your normal posture and aim the center of the beam at the riding surface, not at eye level. Look left and right to check how the moving beam affects other riders.
A helmet light follows your gaze, which helps on tight trails and during repairs. It can also dazzle people when you look toward them. Dim or switch it off during conversations and oncoming encounters.
Keep a handlebar light
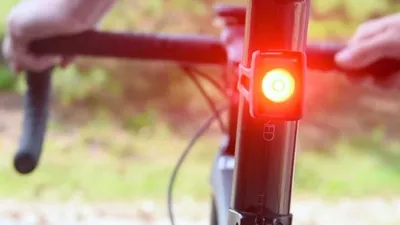
A bar-mounted headlight continues illuminating the bike’s path when you turn your head. That stable reference is important on roads and useful on trails. Our daytime light versus headlight guide explains beam roles, and the night mountain-bike light guide covers backups and runtime.
Inspect before every ride
Check the mount, latch, battery door, and charge. Stop using cracked hardware or a light that can detach. Carry a backup on dark rides and comply with local lighting rules.
If mounting a mirror rather than a light, follow the separate helmet-mirror attachment guide. Any helmet accessory is secondary to correct helmet fit and an unobstructed field of view.