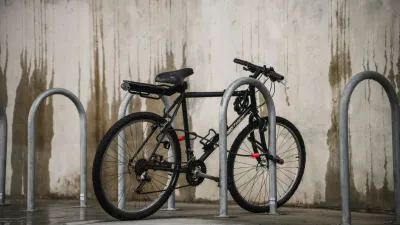
Beginner Bike Commuting Safety Checklist
Use this beginner bike commuting safety checklist to prepare the bicycle, helmet, lights, route, cargo, traffic plan, weather response, and backup option.
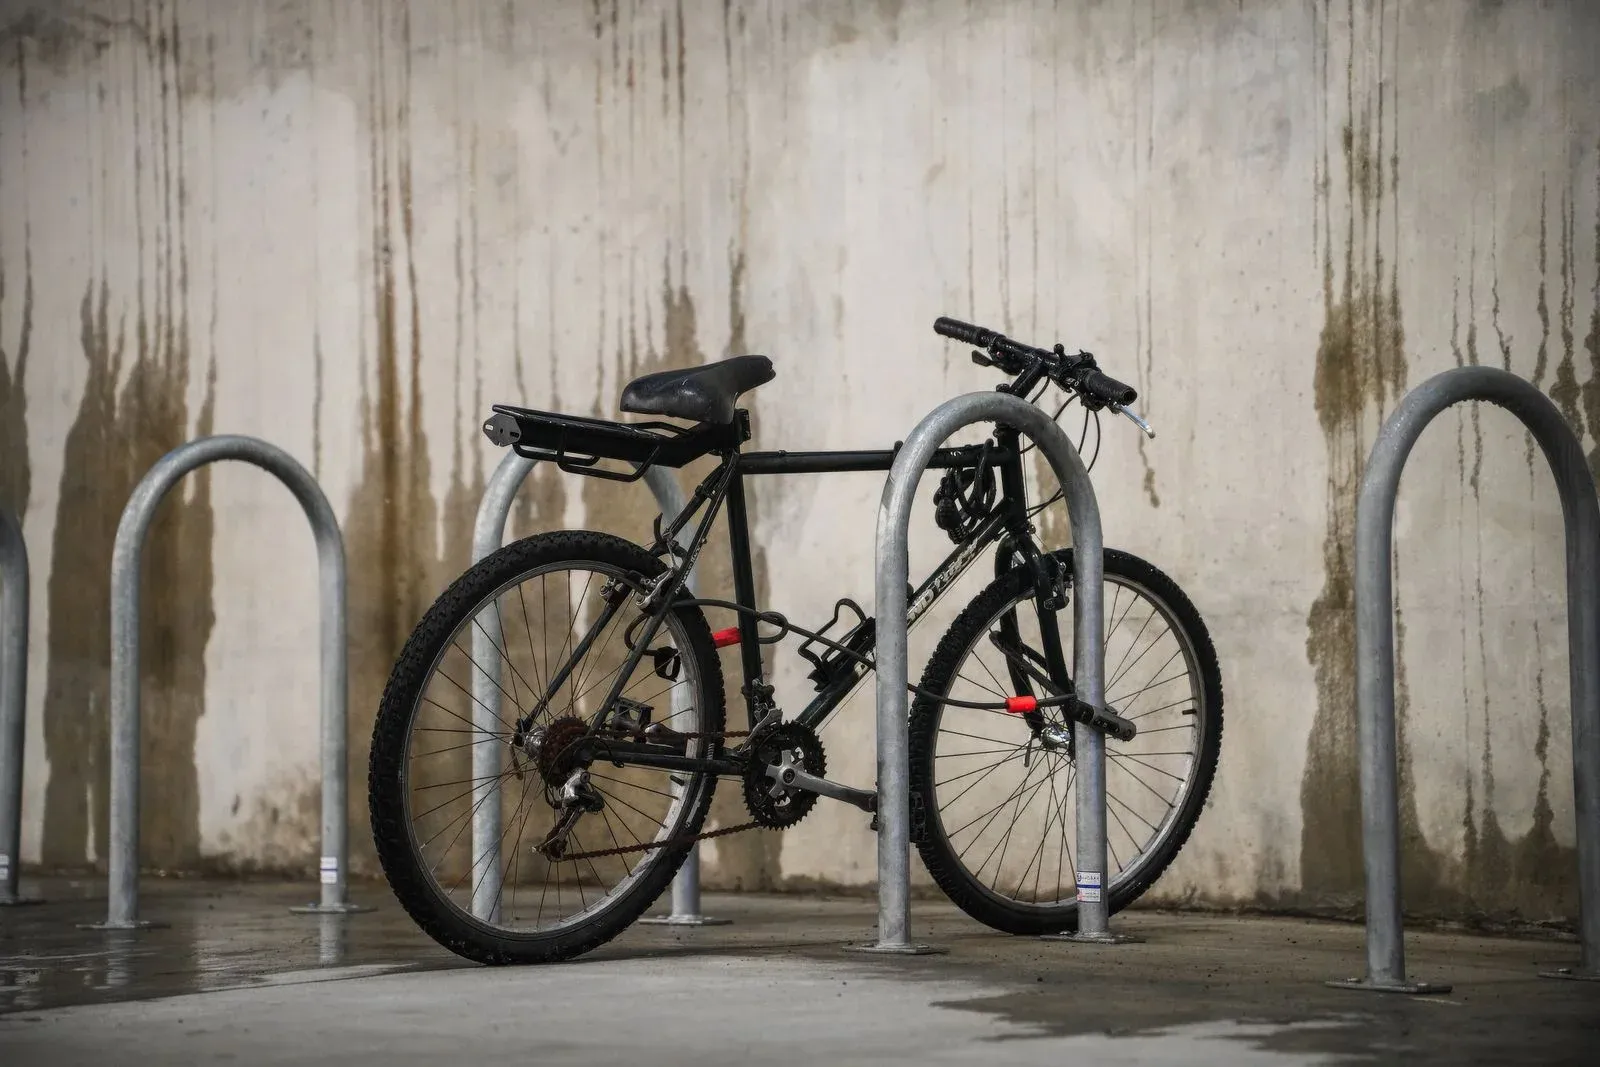
Table of Contents
- 1. Check the bicycle
- 2. Fit and wear the helmet
- 3. Make yourself visible
- 4. Choose and preview the route
- 5. Ride predictably in traffic
- 6. Secure cargo and clothing
- 7. Carry only the repair gear you can use
- 8. Plan for weather and heat
- 9. Park and secure the bicycle
- 10. Set a stop rule
- First-week routine
- Bottom line
- Sources
Before a first bike commute, check the bicycle, wear a properly fitted helmet, make yourself visible, choose a route you can control, secure every load, and know when to stop. NHTSA describes bicycles operated on the road as vehicles that must follow the applicable rules, while the League of American Bicyclists emphasizes predictable riding, signals, route choice, and working equipment. Local laws and infrastructure still control the details.
Use this checklist before leaving and revise it after you learn the route. It is a preparation guide, not a guarantee against a crash or a substitute for local cycling instruction.
1. Check the bicycle
Walk around the bike before every unfamiliar or important commute.
- Inflate both tires within the tire and rim makers’ stated ranges.
- Inspect tread, sidewalls, valve stems, rims, and wheel attachment.
- Squeeze each brake lever and confirm the bicycle slows without unusual noise or lever travel.
- Turn the handlebar and confirm steering is smooth and cables are not pinched.
- Turn the cranks and look for a loose pedal, a rubbing brake, or a chain that will not run normally.
- Check the saddle, stem, handlebars, racks, fenders, bottle cages, and lights for movement.
- Remove a bicycle from service if a structural part is cracked, bent, or loose.
The commuter bike setup guide gives a fuller reliability sequence. The commuter tire width guide explains why a tire width number does not replace rim, pressure, and clearance checks.
Do not make a major adjustment on the curb before a time-critical ride. If the fault affects steering, braking, wheel retention, or a structural component, arrange a repair or another way to travel.
2. Fit and wear the helmet
NHTSA says helmet size varies between manufacturers and recommends following the fitting steps for the exact helmet. A helmet should sit level as directed, stay stable when you move your head, and have straps adjusted according to the maker’s instructions. Do not buy a size based only on a generic head measurement or loosen it to make room for a hat unless the helmet maker permits that use.
Check the helmet shell, straps, buckle, fit system, and any manufacturer expiration or replacement guidance. Replace a helmet according to the maker’s instructions after a crash or when it is damaged. Do not drill, glue, or add an accessory that the maker does not approve.
A correctly sized bicycle can help with control, but it does not replace helmet fit. A well-fitting bicycle and a well-fitting helmet solve different problems.
3. Make yourself visible
Use the front and rear lights, reflectors, and other visibility equipment required by local law. NHTSA recommends a white front light and red rear light and reflectors when riding at night or when visibility is poor. The League also recommends being visible and predictable.
Before leaving, check:
- light charge or battery condition;
- beam direction and mounting security;
- rear-light and reflector visibility from behind;
- whether a bag, jacket, basket, rack, or fender blocks the equipment;
- bright or reflective clothing appropriate to the conditions.
The winter visibility checklist covers mounting and visibility choices. Local requirements vary, so check your city or state transportation rules rather than assuming another region’s light pattern applies.
4. Choose and preview the route
Do not copy the route you drive without evaluating it on a bicycle. Consider traffic speed and volume, road width, junctions, sight lines, surface, drainage, hills, construction, and places to stop. The League recommends considering distance, traffic, road condition, and terrain, and testing a new route when you have time.
Preview the route at a relaxed pace. Identify:
- places where a lane ends or merges;
- intersections that require an early lane decision;
- surfaces that become slick or rough in rain;
- safe places to pull over;
- a transit, pedestrian, or pickup option if you cannot continue;
- legal bike parking near the destination.
The commute distance guide explains why time and effort are more useful than a universal distance limit. The rain commuting guide covers hazards and route changes when the surface is wet.
5. Ride predictably in traffic
Follow the road rules that apply where you ride. Obey stop signs, traffic lights, lane markings, and turn requirements. Look and signal before moving laterally or turning, and keep enough space to stop. Be visible without assuming that another road user has seen you.
Take the lane when local law and the road situation call for it, or use a bike lane or path when it provides a controllable route. Do not pass a vehicle at an intersection if you cannot see a safe escape path. Slow before a turn, keep both hands available for control except when signaling, and do not use a phone while moving.
Traffic safety is also a judgment task. If a vehicle is close, a lane is blocked, or you are unsure about right of way, reduce speed and wait for a clear decision. A bell or verbal signal can communicate presence, but it cannot grant priority.
6. Secure cargo and clothing
NHTSA advises carrying items in a backpack or strapped to the back of the bicycle and tucking laces and pant legs away from the chain. Use a bag, rack, pannier, or basket that fits the bicycle and the load. Check straps, rack hooks, closures, heel clearance, wheel clearance, brakes, lights, and the lowest applicable load limit.
Do not place loose cargo on a handlebar, hang a long strap near a wheel, or cover a light with a jacket. Keep a laptop in a fitted sleeve and a tool kit separate from fragile items. The pannier size guide explains volume, payload, and rack fit, while the laptop-carrying guide covers protective packing.
Wear shoes and clothing that stay clear of the drivetrain. If you use clipless pedals, practice engagement and release away from traffic before carrying a work load.
7. Carry only the repair gear you can use
REI’s commuting checklist includes a spare tube or patch kit, pump, tire levers, a cycling multi-tool, lock, lights, clothing, and personal items. Select the equipment your bicycle uses and learn the repair before you need it.
At minimum, consider:
- a pump or another maker-approved inflation method;
- a compatible spare tube or patch kit;
- tire levers that do not damage your rim or tire;
- a multi-tool for the fasteners your bicycle uses;
- a charged phone and a way to contact help;
- identification, payment, and any necessary emergency contact information.
Do not carry a blade, solvent, or tool you do not know how to handle roadside. Keep tools in a closed pouch and secure the pouch to the bicycle or inside a bag.
The commute emergency-kit guide separates mechanical spares from personal and route contingencies.
8. Plan for weather and heat
Check the actual conditions, not just the temperature. Rain can reduce visibility and change braking and cornering. Wind can affect exposed roads and loose clothing. Heat can increase effort and dehydration risk. Cold, ice, smoke, and flooding may make the route unsuitable.
Carry a layer or dry clothes that fit the destination. Use fenders when they fit the bike, keep lights clear, and protect electronics in a closed carrier. Slow down before wet surfaces and avoid water whose depth or debris you cannot judge.
If you feel faint, weak, confused, unusually cold, or unable to control the bike normally, stop safely and get appropriate help. Do not use this checklist as a medical assessment. People with health conditions or medication concerns should ask a qualified clinician how to plan exertion.
9. Park and secure the bicycle
Choose a rack or fixed object allowed by the property owner and local rules. Lock the frame and components according to your lock strategy, and take valuable cargo with you. The League recommends a visible parking area and an immovable object; its commuting guidance also advises securing removable parts.
Do not leave the helmet, lights, computer, pannier, or basket contents unattended unless the security plan and location justify the risk. The parked-helmet guide explains the difference between carrying the helmet and using a secondary cable for a short stop.
10. Set a stop rule
End the ride or change the route when:
- visibility is too poor to identify hazards;
- flooding, debris, ice, wind, or traffic leaves no controllable line;
- the brakes, steering, wheels, or load behave abnormally;
- your clothing or equipment prevents normal control;
- you are ill, dizzy, unusually weak, numb, or too fatigued to respond;
- the route requires a maneuver you cannot make legally and predictably.
A backup plan is part of safe commuting. Keep transit information, a pickup contact, or a place to wait. Taking another mode on a difficult day is a normal planning decision, not a failure.
First-week routine
For the first week, run the checklist before leaving and make a note of what changed: tire pressure, light placement, cargo, route timing, weather, and repairs. Store a spare shirt or rain layer at work when possible. Practice a flat repair and route exit when you are not under pressure.
The commuter gearing guide covers hills and stops without assigning a universal gear setup. Make one equipment or route change at a time so you can tell whether it improves control.
Bottom line
A safe beginner commute starts with a working, fitted bicycle, a correctly fitted helmet, visible lights, a previewed route, secure cargo, basic repair knowledge, and a clear stop rule. Follow local law and the instructions for your bicycle and equipment. Build confidence gradually and keep a backup option for conditions outside your control.
Sources
- NHTSA, “Bicycle Safety,” https://www.nhtsa.gov/road-safety/bicycle-safety (retrieved September 2, 2026). Covers helmet fit, bicycle readiness, visibility, traffic rules, cargo, clothing, and route preparation.
- League of American Bicyclists, “Commuting,” https://bikeleague.org/ridesmart/commuting/ (retrieved September 2, 2026). Covers signs and signals, predictable riding, routes, parking, rain, cargo, lights, locks, and repair tools.
- REI, “Bike Commuting/Urban Checklist,” https://www.rei.com/learn/expert-advice/cycling-commuting-checklist.html (retrieved September 2, 2026). Lists repair, clothing, lighting, cargo, personal, and post-ride items and notes that individual needs differ.
- Cycling UK, “A beginners’ guide to commuting,” https://www.cyclinguk.org/article/beginners-guide-commuting (retrieved September 2, 2026). Covers route planning, punctures, saddle covers, clothing, and confidence for new commuters.
- REI, “How to Bike in the Rain Successfully,” https://www.rei.com/learn/expert-advice/biking-in-the-rain.html (retrieved September 2, 2026). Covers rain equipment, wet braking, hazards, lights, and after-ride care.