Commuter Bike Setup: Reliability, Cargo, Security, and Comfort
Build a dependable commuter bike setup with fit, tires, brakes, lights, cargo, security, comfort, and a practical pre-ride inspection.
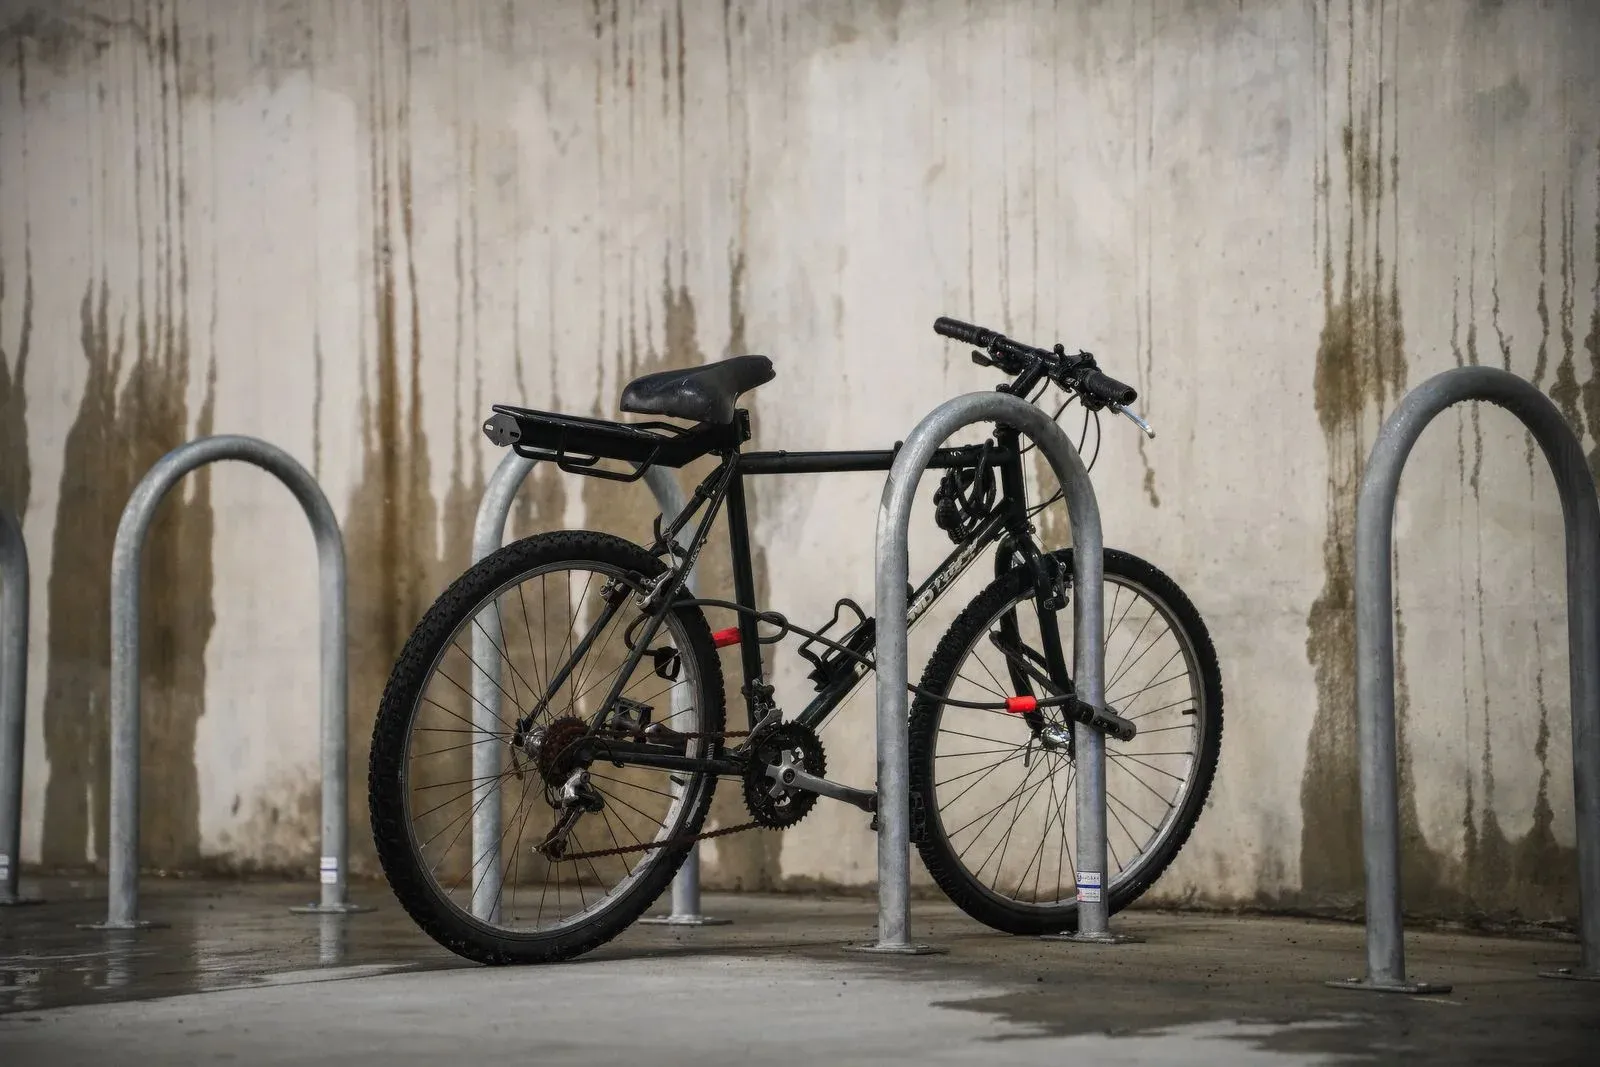
Table of Contents
- What belongs in a commuter bike setup?
- Step 1: Match the bike to the route
- Step 2: Set fit and controls first
- Step 3: Make the wheels and tires reliable
- Step 4: Verify brakes and stopping controls
- Step 5: Add lights and reflectors
- Step 6: Choose cargo that stays stable
- Step 7: Set up security for the parking location
- Step 8: Improve contact-point comfort
- Step 9: Carry a route-sized repair kit
- Step 10: Make a maintenance rhythm
- A pre-ride commuter checklist
- Common commuter setup mistakes
- Frequently asked questions
- How we researched this guide
- Product examples and selection method
- Bottom line
- Sources
A dependable commuter bike setup starts with a bicycle that fits, rolls on sound tires and wheels, stops predictably, and can carry the rider’s essentials without interfering with steering or controls. Add visible front and rear lighting, reflectors, a lock suited to the parking location, weather protection, comfortable contact points, and a repair kit that matches the route. Set up the bicycle around the actual trip and verify every accessory’s clearance and attachment. The safest setup is the one you can inspect, operate, secure, and maintain consistently.
Check the bicycle before every commute
Do not ride if the wheel is loose, a tire has a cut, bulge, exposed casing, bead movement, or low pressure outside the maker’s guidance; a brake lever feels soft or reaches the handlebar; the chain or crank binds; a rack, fender, light, or bag can touch a wheel; the handlebar or seat moves; visibility is poor; or ice, flooding, debris, traffic, or weather exceeds your control. Walk the bicycle or choose another trip.
What belongs in a commuter bike setup?
Think of the setup as one system:
- Fit and controls: frame size, saddle, handlebar, brake levers, pedals, and touch points.
- Reliability: tires, wheels, axles, drivetrain, brakes, bolts, and service plan.
- Visibility: front and rear lights, reflectors, clothing, route position, and a clean lens.
- Cargo: rack, pannier, basket, trunk bag, backpack, or other carrier that stays clear of moving parts.
- Security: a lock, parking location, and routine that protect the bicycle and accessories.
- Comfort and weather: grips, saddle, fenders, clothing, eye protection, and a way to carry layers.
- Recovery: spare tube or tire repair, pump, tire levers, multitool, phone, identification, and route plan.
REI’s cycling-commuting checklist lists a helmet, water, eye protection, a map or route plan, identification or medical information, a lock, first-aid supplies, and basic repair items as useful commuting equipment (retrieved September 2, 2026). NHTSA’s bicycle safety guidance emphasizes a bicycle that fits and works, helmet use, visibility equipment, and carrying items in a way that keeps control available (retrieved September 2, 2026).
Use those sources as a starting checklist, then remove anything that interferes with safe control or the local rules of the road.
Step 1: Match the bike to the route
Write down the route before buying accessories. Include distance, surface, hills, traffic, stops, weather, parking, stairs, transit connections, and the load you actually carry. A short paved trip may favor a simple, easy-to-service setup. Rough surfaces, frequent rain, a long route, or a heavy work load can require different tires, gearing, fenders, lights, racks, or service support.
Do not choose by category name alone. “Commuter,” “hybrid,” “city,” “gravel,” and “e-bike” describe broad groups, not a complete fit or load approval. Check the frame, fork, wheel, rack, fender, brake, tire, and bicycle manuals.
If the bicycle has a motor, follow the bicycle maker’s instructions for battery charging, storage, connectors, and controls. Do not add an electrical accessory or trailer from a generic fit claim. Keep cables clear of steering, wheels, brakes, and hot or moving parts.
Step 2: Set fit and controls first
Set the saddle, handlebar, brake levers, and controls before adding bags. A rack or backpack can change posture, but it should not force the rider to reach, twist, or brace against a moving load.
Check:
- the rider can stand over and start or stop with confidence for the bicycle’s design;
- the saddle and seatpost are inserted and secured by their maker’s limits;
- the handlebar, stem, and controls are aligned and do not move;
- brake levers are reachable without losing a secure grip;
- shifters, bell, lights, and display controls are usable without distracting attention;
- feet sit securely on the pedals;
- clothing, straps, and cables cannot enter the chain, wheel, or brake.
Frame size and wheel diameter are separate fit checks. Do not raise a seatpost, rotate a bar, or swap a stem by copying a measurement from another bicycle. Use the exact component limits and a qualified fitter or mechanic when the position is uncertain.
Step 3: Make the wheels and tires reliable
Tires are the contact with the road. Use the tire maker’s size, direction, casing, pressure range, rim compatibility, and load guidance. Check pressure before a commute, but do not use a universal pressure chart in place of the tire and rim instructions.
Inspect:
- tread and sidewalls for cuts, bulges, exposed casing, cracking, or embedded debris;
- bead seating and the molded bead line;
- valve and rim tape or tubeless tape;
- rim cracks, dents, nipple-hole damage, and brake-track condition;
- wheel trueness, dish, spokes, hub, axle, and retention;
- fender and rack clearance at the tire’s widest point.
The bike tires and tubeless wheels guide covers tire, rim, tape, tube, valve, and sealant decisions. The wheel dish guide explains centering separately from a wheel wobble. If a spoke is broken or the rim is unstable, use the broken-spoke safety guide and walk the bicycle rather than improvising a commute.
A commuting tire choice is a route decision. Puncture protection, wet grip, rolling feel, width, clearance, fender fit, rim width, and load all interact. Do not select a wider tire until the frame, fork, rim, fender, brake, and wheel maker approve it.
Step 4: Verify brakes and stopping controls
Both brakes should have normal lever feel, return, and predictable response before a commute. Check the pads, rotor or rim braking surface, caliper, cable or hose, mounts, wheel retention, and lever reach. Keep oil, grease, chain lube, and sealant away from braking surfaces.
Use the bike brake pad wear guide to identify wear and damage. The rubbing disc-brake guide separates wheel seating, rotor, caliper, pad, piston, and mount checks. The winter braking guide adds low-traction and visibility stop conditions.
Do not ride if:
- a lever feels soft, pulls much farther than normal, or reaches the handlebar;
- braking is weak, inconsistent, noisy with a new change, or contaminated;
- a rotor, rim, pad, caliper, cable, hose, mount, or lever is cracked, loose, or leaking;
- a wheel moves, a rotor rubs heavily, or the brake clearance changes;
- ice, standing water, loose gravel, darkness, or traffic prevents a controlled stop.
Do not use a larger rotor, a different pad compound, or a new cable as a shortcut around a brake fault. The exact system and maker procedure control.
Step 5: Add lights and reflectors
Plan to be seen from the front, rear, and sides. NHTSA recommends visibility equipment and following applicable traffic laws. Use lights and reflectors that are approved for the bicycle and local rules, and keep them aimed, charged, attached, and visible.
Check the light position with the rider seated. A handlebar bag, rack bag, fender, jacket, or cargo can block a beam or rear lamp. A light that points into traffic, shines into another rider’s eyes, or vibrates out of position is not correctly set up.
The winter commuting visibility checklist adds route, clothing, lighting, reflector, and weather checks. A light’s label does not establish every use case, so follow its maker instructions and local requirements.
Carry a charging plan or spare power source only when the maker permits it and when it cannot interfere with braking or steering. Do not expose a battery or light to water beyond its rating. Replace a cracked lens, damaged mount, frayed wire, or failing control.
Step 6: Choose cargo that stays stable
Carry cargo on a rack, pannier, basket, trunk bag, frame bag, or backpack that the bicycle and accessory makers approve. Select by the actual load and attachment points, not by a marketing number copied from a different rack or frame. Do not exceed the lowest applicable limit from the rack, frame, fork, bag, wheel, tire, or bicycle maker.
Pack heavy or fragile items so they cannot shift. Keep the load centered and low only when the maker’s carrier design supports that arrangement. Keep straps, cords, coat tails, and bag corners away from spokes, tire, chain, crank, rotor, brake pads, and steering.
After mounting cargo:
- Turn the handlebar fully left and right.
- Compress or move the suspension only as the maker permits.
- Rotate both wheels slowly.
- Check heel, crank, pedal, rack, pannier, fender, and tire clearance.
- Confirm lights and reflectors remain visible.
- Lift or roll the bicycle carefully without letting the load shift.
- Recheck the attachment after a short controlled movement.
Do not use a front rack or fork mount when the fork maker excludes it. Do not drill a frame, bend a rack stay into place, or replace a fastener with a longer one without documented approval.
Step 7: Set up security for the parking location
A good lock cannot compensate for an exposed parking location or an unsecured accessory. Choose a well-used, permitted, fixed object and lock the frame and the parts your lock and bicycle maker’s instructions identify. Keep the lock away from the wheel, rotor, spokes, chain, and steering while riding.
Assess:
- whether the parking object is fixed, strong, and permitted;
- whether the lock reaches the frame and approved anchor without excessive slack;
- whether wheels, battery, rack, lights, and bags need separate protection;
- whether a quick-release wheel or removable accessory should come off with you;
- whether the parking area has lighting, cameras, or controlled access;
- whether the bicycle’s serial number, photos, and purchase records are stored safely.
Do not publish a lock combination, leave an unlocked bicycle while “just stepping inside,” or assume a rack itself is secure. Follow local property and public-space rules. A detachable battery should be handled according to the e-bike maker’s instructions, not left in heat, rain, or an unauthorized charger.
Step 8: Improve contact-point comfort
Comfort comes from fit, clothing, pressure, grip, saddle position, pedal interface, route, and load. Change one variable at a time and keep any adjustment within the maker’s marks and limits.
Useful checks:
- saddle does not tilt or slide during a ride;
- grips and bar tape are secure and dry;
- brake levers remain reachable with gloves;
- shoes and pedals match, with no loose laces;
- clothing does not catch a chain or wheel;
- eye protection suits wind, rain, dust, and light;
- fenders keep spray away without rubbing or blocking lights;
- bags do not press against the back, controls, or wheel.
The winter fender setup guide explains coverage and clearance. Use weather-appropriate layers that allow control. Do not add a cover, bar extension, mirror, phone mount, or basket where it blocks the view of traffic or the operation of a control.
Step 9: Carry a route-sized repair kit
REI’s commuter checklist identifies a spare tube, patch kit, pump, tire levers, and a multitool as useful repair items. Add only what you know how to use and what fits the bicycle:
- spare tube in the correct size and valve type;
- patch kit and tire levers suitable for the rim and tire;
- pump or approved inflation device;
- multitool with the interfaces the bicycle uses;
- chain quick link only when its speed and reuse instructions are known;
- disposable gloves, light, identification, phone, and payment;
- small first-aid supplies for the route.
The bike tool-kit guide helps match tools to actual repairs. Practice a tube or tire repair before relying on it in rain or darkness. A repair kit does not authorize a ride with a cracked rim, damaged tire, loose wheel, failed brake, broken spoke, or electrical fault.
Step 10: Make a maintenance rhythm
Use a short inspection before every commute and a deeper check at an interval suited to mileage, weather, storage, load, and maker guidance. After rain, salt, grit, a pothole, a crash, or transport, inspect before the next ride.
The winter bike maintenance guide covers cleaning, drying, lubrication, corrosion, and storage checks. A simple record can include:
| Check | Record |
|---|---|
| Tires | Damage, pressure by maker guidance, bead, clearance |
| Wheels | Retention, trueness, dish, spokes, hub, rim |
| Brakes | Lever feel, pad or rotor condition, cable or hose |
| Drivetrain | Chain, shifting, crank, pedals, unusual noise |
| Accessories | Rack, fender, light, bag, lock, fasteners |
| Visibility | Light charge, lens, reflector, route and weather |
| Cargo | Actual load, movement, balance, clearance |
Use a mechanic for a wheel that loses tension, a brake that changes feel, a bearing or axle with play, a rack or fork that moves, a cracked component, or a recurring problem. Do not create a service interval from a generic number when the maker publishes one.
A pre-ride commuter checklist
Before rolling:
- Helmet and clothing are fitted and secure.
- Phone, identification, water, and route plan are available.
- Front and rear visibility equipment is charged, attached, and unobstructed.
- Tires are intact and within the maker’s pressure guidance.
- Wheels are fully seated and retained.
- Brakes feel normal and pads, rotors, rims, cables, or hoses look sound.
- Chain, crank, pedals, and shifting operate without binding.
- Cargo is stable and clear of wheels, brakes, steering, and drivetrain.
- Lock and removable accessories are packed.
- Weather, surface, traffic, visibility, and route conditions allow control.
If a check fails, choose the corresponding repair or another way to travel. Do not turn a commute into a roadside experiment.
Common commuter setup mistakes
| Mistake | Why it matters | Safer alternative |
|---|---|---|
| Choosing accessories before checking fit | A mount can block controls or lights | Set fit and control reach first |
| Overloading a rack or bag | Frame, rack, wheel, and handling limits can be exceeded | Use the lowest maker limit |
| Hiding the rear light | Drivers and riders may not see it | Check visibility with cargo installed |
| Ignoring a soft brake lever | The fault can worsen in traffic | Stop and service before riding |
| Using a generic tire pressure | Rim and tire limits vary | Follow both maker specifications |
| Leaving a QR wheel unsecured | The wheel can move or detach | Seat and close the lever by its manual |
| Carrying loose straps | They can reach the drivetrain or wheel | Tie, contain, or remove them |
| Relying on a repair kit without practice | A tool does not replace skill or a safe route | Practice and carry a recovery plan |
Frequently asked questions
What is the most important commuter bike upgrade?
There is no universal upgrade. Start with fit, working brakes, sound tires and wheels, retention, visibility, and a route-appropriate load. Repair a fault before adding accessories.
Do I need fenders on a commuter bike?
Fenders can reduce spray when the bicycle, tire, fork, frame, and light clearances allow them. They are not required on every route, and a rubbing or loose fender is unsafe. Follow the bicycle and fender maker’s fit instructions.
Should I use a rack or a backpack?
Choose the carrier that keeps the actual load stable and leaves steering, braking, wheels, lights, and clothing clear. Compare the bicycle, rack, bag, and rider limits. A backpack can be appropriate for a small load, while a rack or pannier may suit another route.
How many locks do I need?
The answer depends on the parking place, bicycle, wheel retention, removable parts, and local theft risk. Use a lock and anchoring method appropriate for the frame and accessories, secure the bicycle to a permitted fixed object, and take removable valuables with you.
Can I commute on a road bike?
A road bike can work when its fit, tires, brakes, wheels, visibility, cargo plan, and route suit the bicycle. Do not add a rack, fender, wider tire, or bag until the maker confirms clearance and attachment.
Are disc brakes better for commuting?
Do not choose by brake label alone. Hydraulic and mechanical systems have different service and fit requirements, and both can be suitable when matched and maintained. The exact brake, bicycle, terrain, weather, cargo, and maker limits control.
What should I carry for a flat tire?
Carry a correctly sized spare tube or approved tubeless repair supplies, tire levers, a pump, and the tools you can use. Check the tire, rim, bead, valve, and wheel after a puncture. Do not ride with a cut casing, damaged bead, cracked rim, or unstable wheel.
How often should I service a commuter bike?
Inspect before every ride and after impacts, wet or salty trips, transport, or a change in braking, shifting, steering, wheel, tire, or accessory behavior. Use the component and bicycle maker’s service schedule and a mechanic for safety-critical or unfamiliar work.
How we researched this guide
This is research-based commuter setup guidance, not a hands-on commuting, handling, comfort, stopping, cargo, theft, weather, durability, or route-safety test. We reviewed NHTSA bicycle safety guidance, REI’s commuting checklist, Park Tool wheel and brake references, Trek’s bicycle manual, SRAM hub safety instructions, and BikeRideReview maintenance pages on September 2, 2026. We did not invent a universal tire pressure, load, lock rating, stopping distance, service interval, or accessory compatibility rule.
Product examples and selection method
These examples were selected from current Amazon listing and specification research, then checked against the decision factors in this guide. They are not hands-on tests or endorsements, and listing details can change. Confirm the exact model, fit, maker instructions, and bicycle compatibility before buying or riding.
Repair tool example
Topeak Hexus X Multi-Tool, 21-Function Bike Repair with Chain Tool, Tire Levers and Presta Core, Compact Chrome Vanadium Design for Road and Mountain Bikes
A practical listing example when its functions match the bicycle and route repairs you can perform.
A compact multi-tool example for a route-sized commuter repair kit.
Best for: Commuters who want one compact tool with tire, chain, hex, Torx, and Presta-core functions
Key specifications: 21 listed functions; chain tool; tire levers; Presta core tool; model TT2573B
Trade-off: A multi-tool cannot replace the bicycle-specific tools or skills needed for every repair.
Check price on AmazonVisibility example
Cygolite Streak 450 Lumen Headlight & Hotshot SL 50 Lumen Tail Light USB Rechargeable Bike Light Combo Set
A useful combo-set example when its mounts and light pattern suit the actual commute.
A front and rear light listing example for a commuter visibility plan.
Best for: Commuters who need a USB rechargeable front and rear light set
Key specifications: 450-lumen headlight and 50-lumen tail light stated in listing; USB rechargeable; night and day modes; water-resistant design stated in listing
Trade-off: Mode, aiming, charging, and mount fit still need to be checked for the route, bicycle, and local rules.
Check price on AmazonBottom line
Build the commuter setup in this order: fit and controls, sound tires and wheels, predictable brakes, visible lights and reflectors, stable cargo, location-appropriate security, weather protection, comfort, and a route-sized repair kit. Inspect it before every ride. Stop for damage, looseness, loss of braking, blocked visibility, unsafe clearance, poor conditions, or any problem you cannot identify and correct from the maker’s instructions.
Sources
- NHTSA, “Bicycle Safety,” retrieved September 2, 2026, https://www.nhtsa.gov/road-safety/bicycle-safety
- REI, “Cycling Commuting Checklist,” retrieved September 2, 2026, https://www.rei.com/learn/expert-advice/cycling-commuting-checklist.html
- REI, “Commuter Bike Gear,” retrieved September 2, 2026, https://www.rei.com/learn/expert-advice/commuter-bike-gear.html
- Trek, “Bicycle Owner’s Manual,” retrieved September 2, 2026, https://media.trekbikes.com/image/upload/v1692651979/TK_OwnersManual_EN-US_June2023_WEB.pdf
- Park Tool, “Wheel Removal and Installation,” retrieved September 2, 2026, https://www.parktool.com/en-int/blog/repair-help/wheel-removal-and-installation
- SRAM, “Hub Safety Instructions,” retrieved September 2, 2026, https://www.sram.com/globalassets/document-hierarchy/safety-instructions/safety-instructions-hubs.pdf