What Are Pegs On A Bike Used For?
Bike pegs are axle-mounted BMX contact platforms. Learn their purpose and the hub, axle, dropout, fastener, clearance, and inspection checks they require.
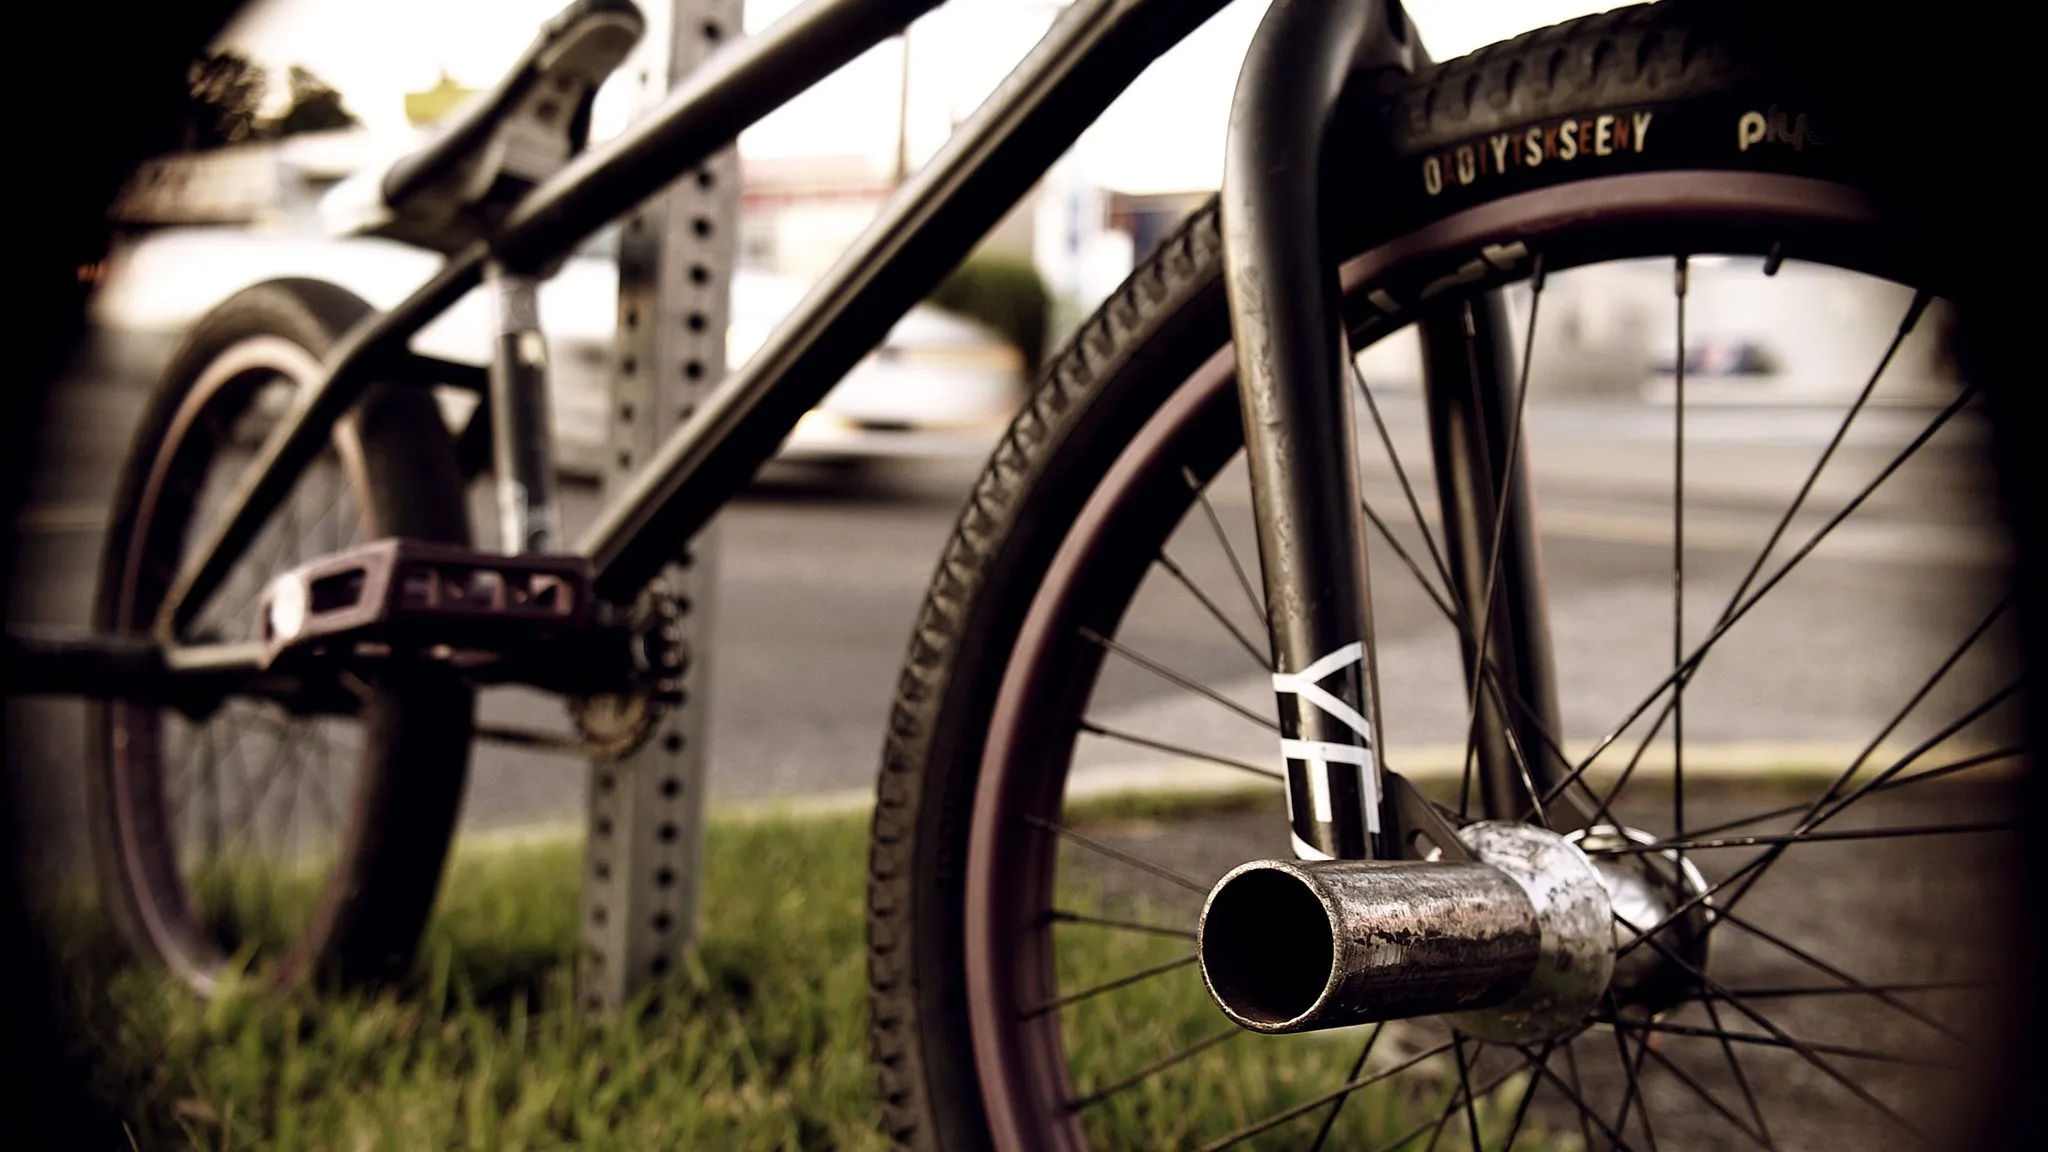
Table of Contents
- What bike pegs are for
- A current product example, not a universal specification
- The compatibility chain
- Hub and axle design matter
- Thread engagement and torque are specifications
- Dropout, frame, and fork approval
- Clearance must be checked through operation
- Installation belongs to the exact instructions
- Inspect after impacts and at normal intervals
- Pegs are not passenger equipment
- Frequently asked questions
- Bottom line
Bike pegs are platforms fitted at compatible wheel axles, mainly so a BMX rider has an additional contact point for the uses defined by that bicycle and component system. They are not universal accessories, passenger footrests, kickstands, or proof that a bicycle is suitable for stunts.
This article explains purpose, fit, and inspection. It does not teach tricks. Do not install or use a peg until the exact hub, axle, dropout, frame or fork, peg, adapter, washer, and fastener are approved together.
What bike pegs are for
In BMX, pegs provide contact platforms at one or more axle ends. Depending on the discipline and equipment, riders may use those platforms in street, park, or flatland riding. The presence of a peg does not establish skill, intended terrain, or permission to perform any maneuver.
The current UCI regulations hub separates BMX Racing and BMX Freestyle as regulated disciplines. Competition rules describe competition, not compatibility for a consumer bicycle. Use the bicycle, frame, fork, hub, axle, and peg makers’ instructions for the actual equipment.
Pegs attach at wheel axles. Pedals attach at crank arms and remain the rider’s normal pedaling platforms. A peg does not replace a pedal, brake, derailleur guard, kickstand, or stabilizer.
A current product example, not a universal specification
Odyssey’s exact MPEG page identifies a pair of 4-inch 4140 chromoly pegs with a 14 mm axle bore and included 3/8-inch adapters. The page lists three indexed positions, a 1-3/8-inch outer diameter, and 8.75 ounces per peg.
Those dimensions describe that exact product page on August 19, 2026. They do not apply to every peg. The page showed no online stock at inspection time, and this informational article does not recommend a purchase or make an availability claim.
An adapter changes bore fit for a listed axle size; it does not approve the hub, axle, fastener, frame, fork, dropout, or intended load. Match the complete system.
The hero photograph is an illustrative legacy image of a BMX wheel and metal peg. It is not exact-product, current inventory, installation approval, compatibility, or hands-on-use evidence.
The compatibility chain
Every link in this chain must be known before installation:
| Interface | What must be confirmed |
|---|---|
| Hub | Exact model and whether its maker permits the peg and intended load |
| Axle | Male or female system, diameter, thread or bolt specification, length, and condition |
| Dropout | Correct seating, thickness, condition, and frame or fork approval |
| Peg | Bore or approved adapter, length, diameter, orientation, and intended use |
| Washers and guards | Exact approved order and clearance |
| Fastener | Correct nut or bolt, required thread engagement, and maker-specified torque |
| Bicycle | Frame or fork approval, wheel security, brakes, drivetrain, and intended-use limits |
If one item is unknown, stop. Physical fit alone is not approval.
Hub and axle design matter
A solid male axle usually uses external nuts. A female hub uses bolts that thread into the axle. The two systems do not share a generic installation rule. Identify the hub and follow its documentation.
Standard quick-release skewers and thru axles are not automatically peg-compatible. Do not replace a skewer with hardware-store rod, drill a peg, stack random washers, or substitute an arbitrary longer axle or bolt. A purpose-built accessory still needs approval for the exact hub, frame or fork, and load.
Inspect axle and fastener threads before assembly. Bent axles, flattened threads, cracked hardware, or a nut or bolt that will not start cleanly are stop conditions.
Thread engagement and torque are specifications
Adding a peg occupies space at the axle end. The approved nut or bolt must retain the maker-required thread engagement after the dropout, washers, guards, adapters, and peg are in their correct order.
There is no responsible universal thread-count or torque value for every peg system. Use the exact hub, axle, peg, frame or fork instructions. If the value or engagement requirement cannot be verified, do not guess. Ask the maker or a qualified bicycle mechanic.
Never leave a fastener partly engaged to make room for a peg. Do not tighten by feel when a specification exists. Too little retention can let the wheel move; too much torque can damage threads, hardware, dropouts, or hub parts.
Dropout, frame, and fork approval
A peg changes how loads reach the axle and dropout. Confirm that the exact frame or fork permits the peg and its intended use. Carbon parts, thin or damaged dropouts, derailleur-equipped rear ends, and non-BMX systems need especially explicit evidence.
The peg must seat squarely without bridging a shape it was not designed to contact. Dropouts must be free of cracks, spreading, severe gouges, and deformation. A hub guard or washer does not repair damage or create approval.
The CPSC bicycle FAQ identifies assembly, braking, protrusions, structural integrity, wheels, steering parts, pedals, cranks, and fastener retention among bicycle safety requirements. That overview does not approve a peg installation, but it reinforces why wheel retention and damaged structure are stop-riding issues.
Clearance must be checked through operation
With the wheel seated and the approved hardware secured, rotate the wheel and inspect clearance around the frame or fork, brake, rotor, chain, driver, sprocket, derailleur, and any hub guard. Turn the handlebar through its normal range when checking a front peg.
Nothing should rub, bind, pull a cable, obstruct braking, or touch a moving drivetrain part. Confirm that the rider’s foot and leg cannot be drawn into the wheel or drivetrain during normal mounting, starting, stopping, and dismounting.
If clearance changes when the wheel is loaded or the fastener is tightened, the system is not ready to ride.
Installation belongs to the exact instructions
Use the maker’s sequence for the peg, hub, axle, washers, adapter, guard, and fastener. This page deliberately does not provide a universal installation procedure because hardware order, lubricant or thread treatment, torque, and recheck intervals can differ.
After approved installation, verify wheel centering and retention, brake function, tire seating, chain alignment, and every clearance. Begin only with a short controlled check on level ground. Stop immediately if the wheel shifts, a fastener loosens, a peg rotates unexpectedly, braking changes, or the drivetrain contacts the hardware.
Our bike peg compatibility guide helps identify the system before any tool is used. The BMX peg size guide separates axle and peg dimensions without turning physical fit into approval.
Inspect after impacts and at normal intervals
Pegs, axles, hubs, and dropouts can be affected by impacts and abrasion. Inspect the complete interface after any hard impact and at the intervals required by the makers.
Look for:
- a loose nut or bolt;
- reduced or damaged thread engagement;
- a bent axle or wheel that no longer seats correctly;
- cracks, spreading, deep gouges, or deformation at a dropout;
- a cracked, bent, sharply worn, or unexpectedly rotating peg;
- hub play, rough bearings, or a loose guard;
- new brake rub, chain interference, or wheel movement; and
- frame or fork damage near the wheel attachment.
Stop riding when the wheel moves in the dropout, retention will not stay secure, braking changes, or the axle, hub, peg, frame, or fork is damaged. Remove the bike from use until the exact parts are assessed and repaired or replaced correctly.
Pegs are not passenger equipment
A BMX stunt peg is not a universal passenger footrest. Carrying another person changes total load, balance, steering, braking distance, wheel loading, and legal requirements. A foot platform alone does not supply a rated seat, handhold, wheel guard, or passenger approval.
Carry a passenger only with a bicycle and passenger system specifically designed and approved for that purpose, within its weight, seating, restraint, foot-protection, and local-law requirements. Do not place a passenger on a peg attached to a single-rider bicycle.
Frequently asked questions
Can pegs fit any bike?
No. The exact hub, axle, fastener, dropout, frame or fork, peg, and intended load must all be compatible and approved. A visible axle or matching bore does not settle the rest of the system.
Are adapters enough to make a peg compatible?
No. An approved adapter can address one dimension for one listed product. It does not create adequate thread engagement, torque guidance, dropout approval, frame or fork strength, or clearance.
Can I use pegs with a quick release or thru axle?
Not by default. Use only a purpose-designed system approved for the exact hub, axle, bicycle, and intended load. Do not improvise with threaded rod, random bolts, or extra washers.
Where do pegs go?
Compatible BMX systems may permit one or more axle-end positions. The exact position depends on the hub, axle, frame or fork, brakes, drivetrain, guards, clearance, and maker instructions.
How tight should a peg be?
Use the exact torque and engagement requirements for the hub, axle, fastener, peg, and bicycle. This article does not supply a generic value. If you cannot verify the specification, do not install the peg.
Bottom line
Bike pegs are BMX axle-mounted contact platforms, not universal add-ons. Their safe use begins with exact approval across the hub, axle, dropout, frame or fork, peg, adapters, washers, and fastener. Verify thread engagement, specified torque, and clearance, then inspect after impacts.
Do not use stunt pegs as passenger rests, do not improvise quick-release or thru-axle conversions, and stop riding for any movement, damage, thread problem, brake change, or structural concern.