Bike Suspension in Cold Weather: Pressure, Seals, and Care
Care for bike suspension in cold weather by checking the maker's setup, seals, pressure, rebound, cleanliness, and service limits before riding.


75 articles
Care for bike suspension in cold weather by checking the maker's setup, seals, pressure, rebound, cleanliness, and service limits before riding.
Check tubeless sealant in cold weather by following its label, inspecting the tire and bead, confirming pressure, and carrying a compatible repair plan.
Prevent bike rust in winter by removing salt and moisture, drying the bicycle, protecting finishes, and keeping cleaners and lubricants away from brakes.
Choose winter bike tire width from actual clearance, rim and tire limits, fenders, load, and surface conditions instead of a universal snow-width rule.
Bike fenders and mudguards are the same broad accessory. Compare coverage, mounts, tire clearance, weather protection, and fit before choosing a setup.
Choose a commuter bike tire width by checking rim compatibility, frame clearance, riding surface, load, and the tradeoffs that matter to your route.
Understand bicycle wheel dish, how to check rim centering with a dishing tool, symptoms of an offset wheel, and when to stop for service.
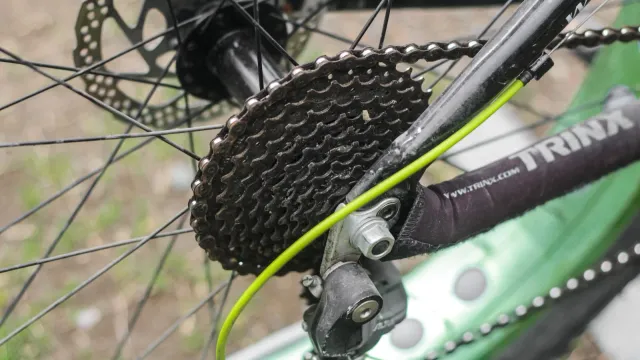
Check a bicycle derailleur hanger for misalignment, separate it from derailleur and wheel faults, and choose a safe repair path.
Compare thru axles and quick releases by fit, retention, installation, brake alignment, and practical ride differences without guessing compatibility.
Replace a bicycle cassette by identifying the freehub and lockring, matching the new sprockets, preserving spacers, and checking chain compatibility.
A broken bike spoke is a wheel fault. Learn when to stop, what to inspect, how to secure a loose spoke, and when a mechanic should repair it.
Compare bicycle chain wax and liquid lube by preparation, cleanliness, wet-weather use, wear checks, reapplication, and the routine your ride permits.
Learn what bike spoke tension means, how to measure it with a tensiometer, and when uneven, loose, or excessive tension needs a wheel builder.
A bike master link is reusable only when its maker says so and the link passes inspection. Shimano and SRAM manuals direct riders to replace removed links.
Learn how to inspect and true a bicycle wheel for lateral and radial movement, with spoke, rim, dish, and stop-service checks.
Match a bike chain to an 8-, 9-, 10-, 11-, or 12-speed drivetrain by checking the maker, cassette, chainrings, derailleur, joining link, and system limits.
Choose bike crank length by checking fit, pedal clearance, bottom-bracket compatibility, and maker specifications. Learn what changes and what does not.

Compare resin and metallic bike brake pads by noise, weather, heat, wear, feel, and compatibility, then choose from your brake maker's specifications.
Learn how to tell whether a bicycle chain is too tight or too loose, separate single-speed tension from derailleur setup, and choose safe next checks.
Choose a bike disc brake rotor size by checking the exact fork, frame, caliper, hub, adapter, pad, and maker limits before changing diameter.
Fix front derailleur chain rub by identifying the gear pattern, checking alignment and limits, then making the maker-approved cable adjustment.
Find why a bike brake lever pulls to the handlebar, run safe wheel and pad checks, and know when a leak or cable fault means stop riding.
Adjust a cable-operated rear derailleur by checking the drivetrain, limits, cable path, indexing, hanger, and pulley alignment in the maker's sequence.
Find why bike disc brakes squeal, check contamination and alignment safely, and know when noise means stop riding or replace a part.
A bike chain can break from a damaged link, wrong connector, worn drivetrain, poor chainline, overload, or derailleur fault. Find the failure before riding.
Bed in new bike disc brake pads and rotors with the exact maker procedure, a controlled route, gradual checks, and clear stop conditions.
A bike chain can fall off from derailleur limits, poor indexing, chainline, worn teeth, wrong length, or a stiff link. Diagnose where and when it drops.
Compare hydraulic and mechanical bike disc brakes by control system, setup, service, weather checks, and exact use-case fit.
Learn what bicycle chainline means, how to inspect and measure it, which symptoms it can cause, and how to correct it within maker limits.
Learn when a bent bike brake rotor can be assessed, when replacement is safer, and which wheel, caliper, and rotor checks come first.
Check a bike cassette for hooked teeth, skipping, uneven wear, and loose parts, then separate cassette wear from chain, freehub, and indexing faults.
Find the cause of a rubbing bike disc brake, check wheel seating and rotor alignment, and choose a safe adjustment or repair without guessing.
Worn chainring symptoms include tooth deformation, chain suck, skipping, and poor meshing. Inspect the chain and cassette before deciding what to replace.
Replace bike disc brake pads by identifying the exact brake, fitting approved pads and retainers, protecting the rotor, and bedding in the system safely.
Replace a bike chain safely by identifying the drivetrain, sizing from the exact manual, using the approved connector, and checking every gear before riding.
Set up winter bike fenders by matching tire width, mounts, stays, brakes, coverage, and maker-specified clearance before riding in wet or salty weather.
Prevent frozen bike cables and controls with dry storage, correct housing care, gentle thawing, and a clear stop-and-repair check when a control stays stiff.
Brake more safely in winter by checking pads, rotors, rims, cables, and levers, then slowing early and gently on wet, snowy, or icy roads.
Learn when studded bike tires help on ice, how to choose a compatible winter tire, and how to set up, inspect, and ride them safely.
Set winter bike tire pressure from the tire and rim limits, then make small changes for load, tire volume, snow, ice, temperature, and riding control.
Protect a bike chain in winter by removing salt and grit, drying it fully, choosing wet or dry lube for the conditions, and checking for rust or wear.
Clean a bike after a wet or salty winter ride with a low-pressure rinse, bike-safe cleaner, careful drying, chain lube, and a safety inspection.
Prepare a bike for winter storage by cleaning, drying, lubricating, inspecting, and choosing a dry secure location for the bicycle and battery.
Remove road salt with a gentle rinse, dry the bike, relube the chain, and inspect corrosion without contaminating brakes or electrical parts.
Keep a bike ready through wet, cold weather with a practical winter maintenance routine for cleaning, chain lube, brakes, tires, salt, and storage.
Identify visible wear on bicycle rim and disc brake pads, separate warning symptoms from proof, and know when to stop riding for model-specific service.
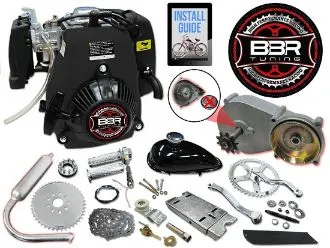
If a motorized bicycle dies under throttle, stop riding and check fuel flow, air restriction, intake sealing, controls, and the exact carburetor procedure.
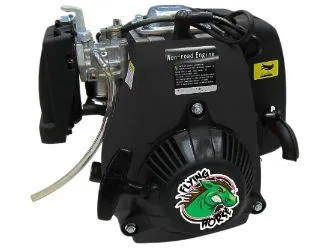
A bicycle engine kit needs frame-maker approval, sound round tubes, enough engine clearance, correct chainline, and brakes and wheels suited to the complete build.
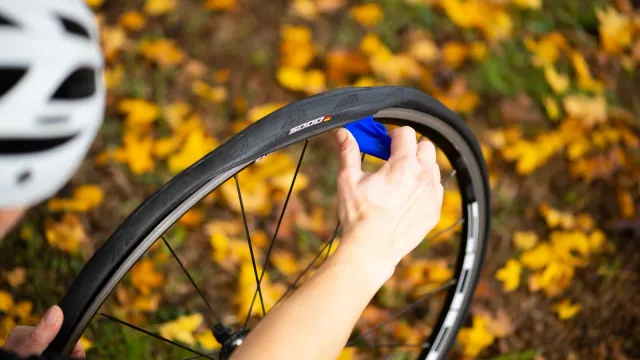
Find where air escapes: valve, tape, bead, puncture, or casing. Fix that fault before adding more pressure or sealant.
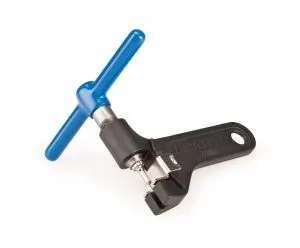
Size a bike chain with the method specified for your drivetrain. Learn the large-to-large and single-speed methods, then verify suspension movement and shifting.
Use the sealant maker's chart. Current Stan's guidance starts at 50 ml for 700x28, 80 ml for 650x47, and 105 ml for 29x2.3 tires.
Confirm the frame, fork, axle, dropout, peg, and riding use are compatible before installing BMX pegs with the correct deep socket.
Start near 2:1 for a 26-inch off-road bike, then adjust for wheel size, hills, cadence, load, and terrain. Lower ratios climb more easily.
Tubeless is best for lower pressure, puncture sealing, and trail grip. Inner tubes are simpler, cleaner, and easier for occasional riders to maintain.
Check tubeless sealant about every two to three months, then follow the product's interval and your conditions. Heat, dry air, porous tires, and punctures shorten it.
Find the puncture, remove its cause, prepare the inner tube, apply the correct patch, and reinstall it without pinching. Tubeless tires use a different repair.
Most mountain bike tires run somewhere in the high teens to upper 20s PSI, but weight, tire volume, casing, terrain, and tubes change the right starting point.
Match and troubleshoot a motorized bicycle carburetor by engine model, intake, cable, fuel system, filter, exhaust, elevation, and maker procedure.
Set up a motorized bicycle chain tensioner only after correcting sprocket alignment, chainline, chain length, wheel position, and secure mounting.
Match a motorized bicycle exhaust by flange, port, frame clearance, mount, heat shielding, sound, and carburetor setup before installation.
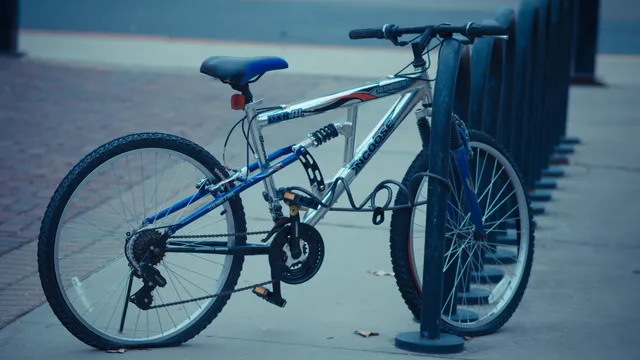
If your bike tire keeps popping, map the old tube's hole to the tire and rim. Use the puncture pattern to find debris, rim tape, pressure, or fit problems.
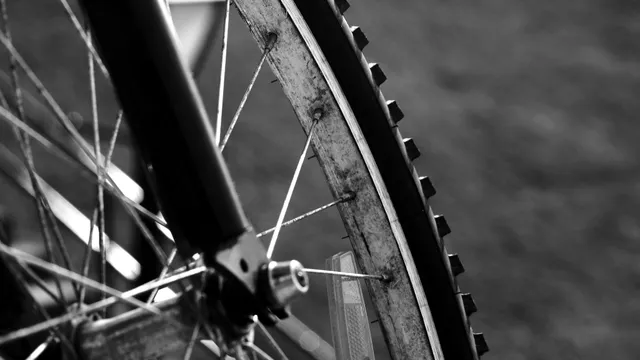
Clean bicycle tires with water, mild soap, and a soft brush. Skip tire shine, solvents, and pressure washing, then inspect the rubber and brakes for damage.
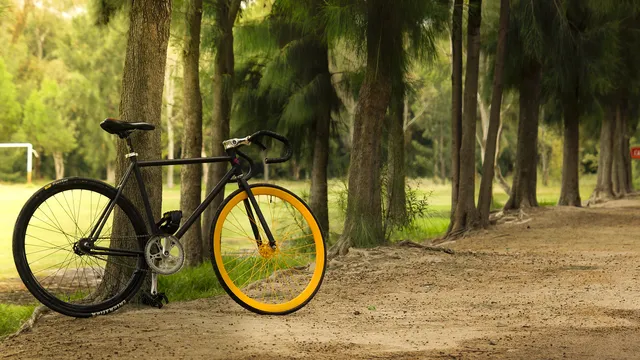
Can your single-speed bike safely convert to fixed gear? Check the hub, lockring, dropouts, chainline, chain tension, axle security, and working brakes first.
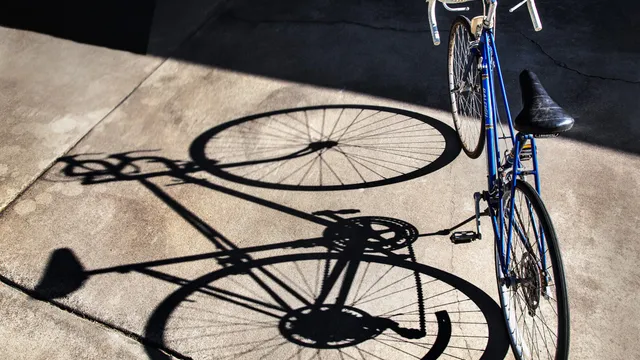
A rear bike wheel can wobble because of a loose axle, tire problem, damaged rim or spokes, or worn hub bearings. Learn what to check and when to stop riding.
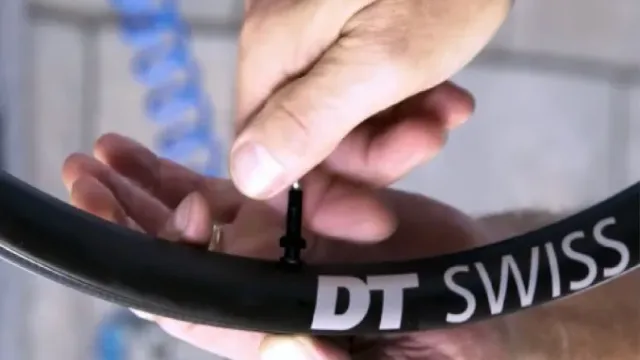
Replace a tubeless bike valve by fully deflating the tire, opening one bead, removing the old stem, inspecting the tape, and installing a compatible valve.
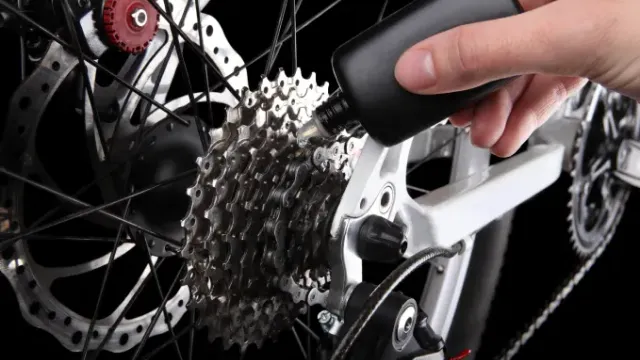
Use a purpose-made bicycle chain lubricant selected for your riding conditions. Learn why household oils, grease, and motor oil are poor substitutes.
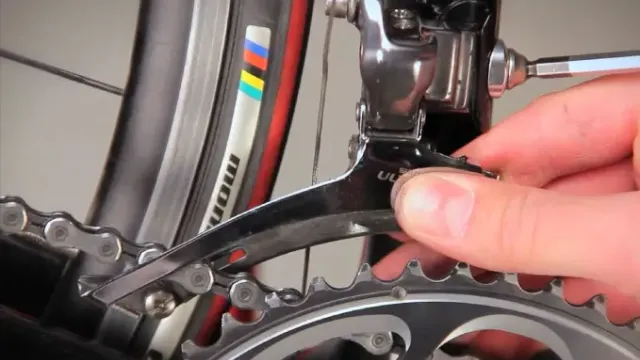
Adjust a mechanical Shimano front derailleur in the correct order: verify compatibility and position, set the low limit, cable tension, high limit, then test.
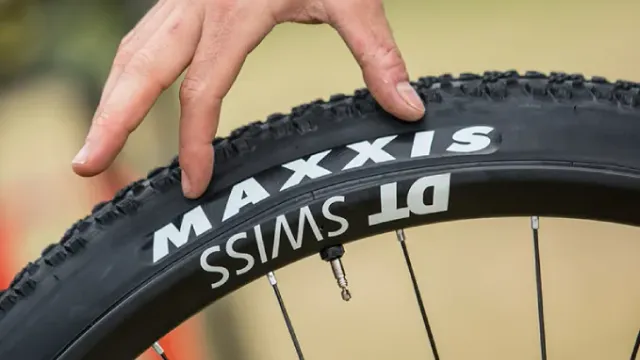
Inflate a tubeless bike tire by checking compatibility, sealing the rim and valve, seating both beads, adding sealant, and staying within tire and rim limits.
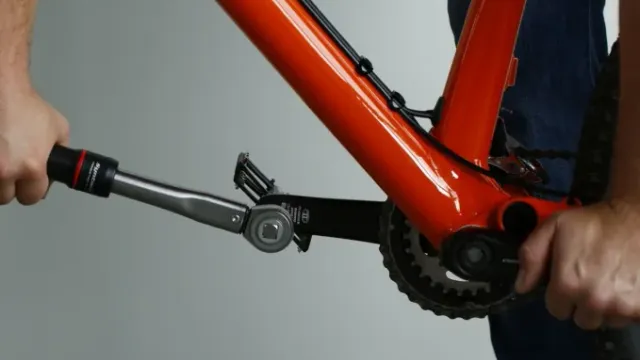
Remove a Shimano right pedal counterclockwise and left pedal clockwise, using the model's specified tool. Follow the safe sequence and stuck-pedal checks.
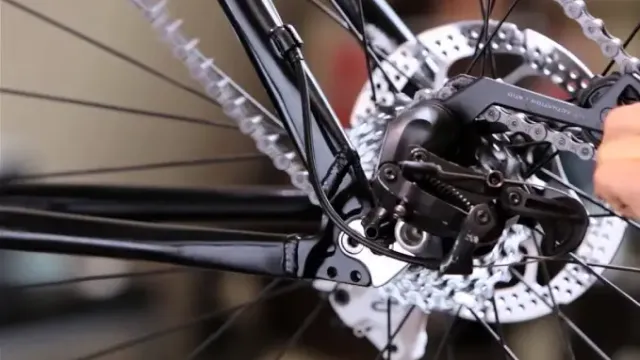
Change a rear bike tire with disc brakes: shift to the smallest cog, remove the wheel without squeezing the brake, replace the tire, then secure the axle.
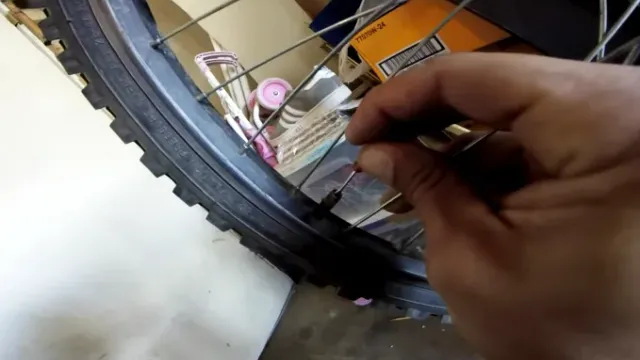
A removable Presta core can sometimes be loosened with a small wrench or smooth-jaw pliers, but a core tool is safer. Deflate fully and grip only the flats.
![How to Add Sealant to Tubeless Tires? [2 Different Methods]](/_astro/How-to-Add-Sealant-to-Tubeless-Tires.BwJDLL7p_2bzYvE.webp)
Add tubeless sealant either through an open tire bead or a removable valve core. Learn how to measure it, avoid contamination, and verify the tire holds air.

For light dirt, clean a bike chain with mild dish soap, warm water, brushes, and clean rags. Learn the safe method and which household chemicals to avoid.
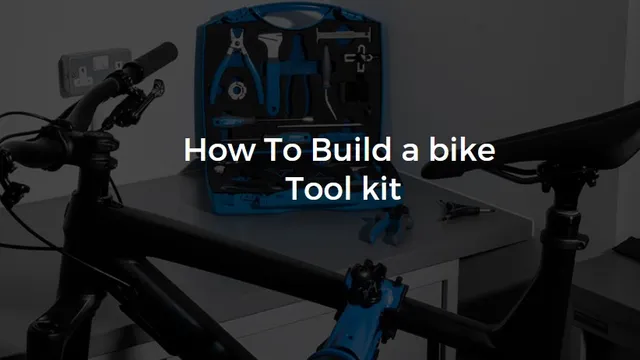
Build a bike tool kit in layers: roadside flat-repair tools first, then add home hex, torque, chain, cable, cassette, and model-specific tools safely.
Crank-bearing removal depends on the crank and bottom-bracket standard. Identify the system first, remove the cranks correctly, then use the matching tool.