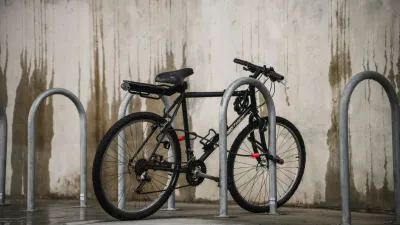
How to Secure a Bike Helmet When Parked
Secure a bike helmet when parked by carrying it or using a maker-approved secondary cable without relying on it as the main bicycle lock.
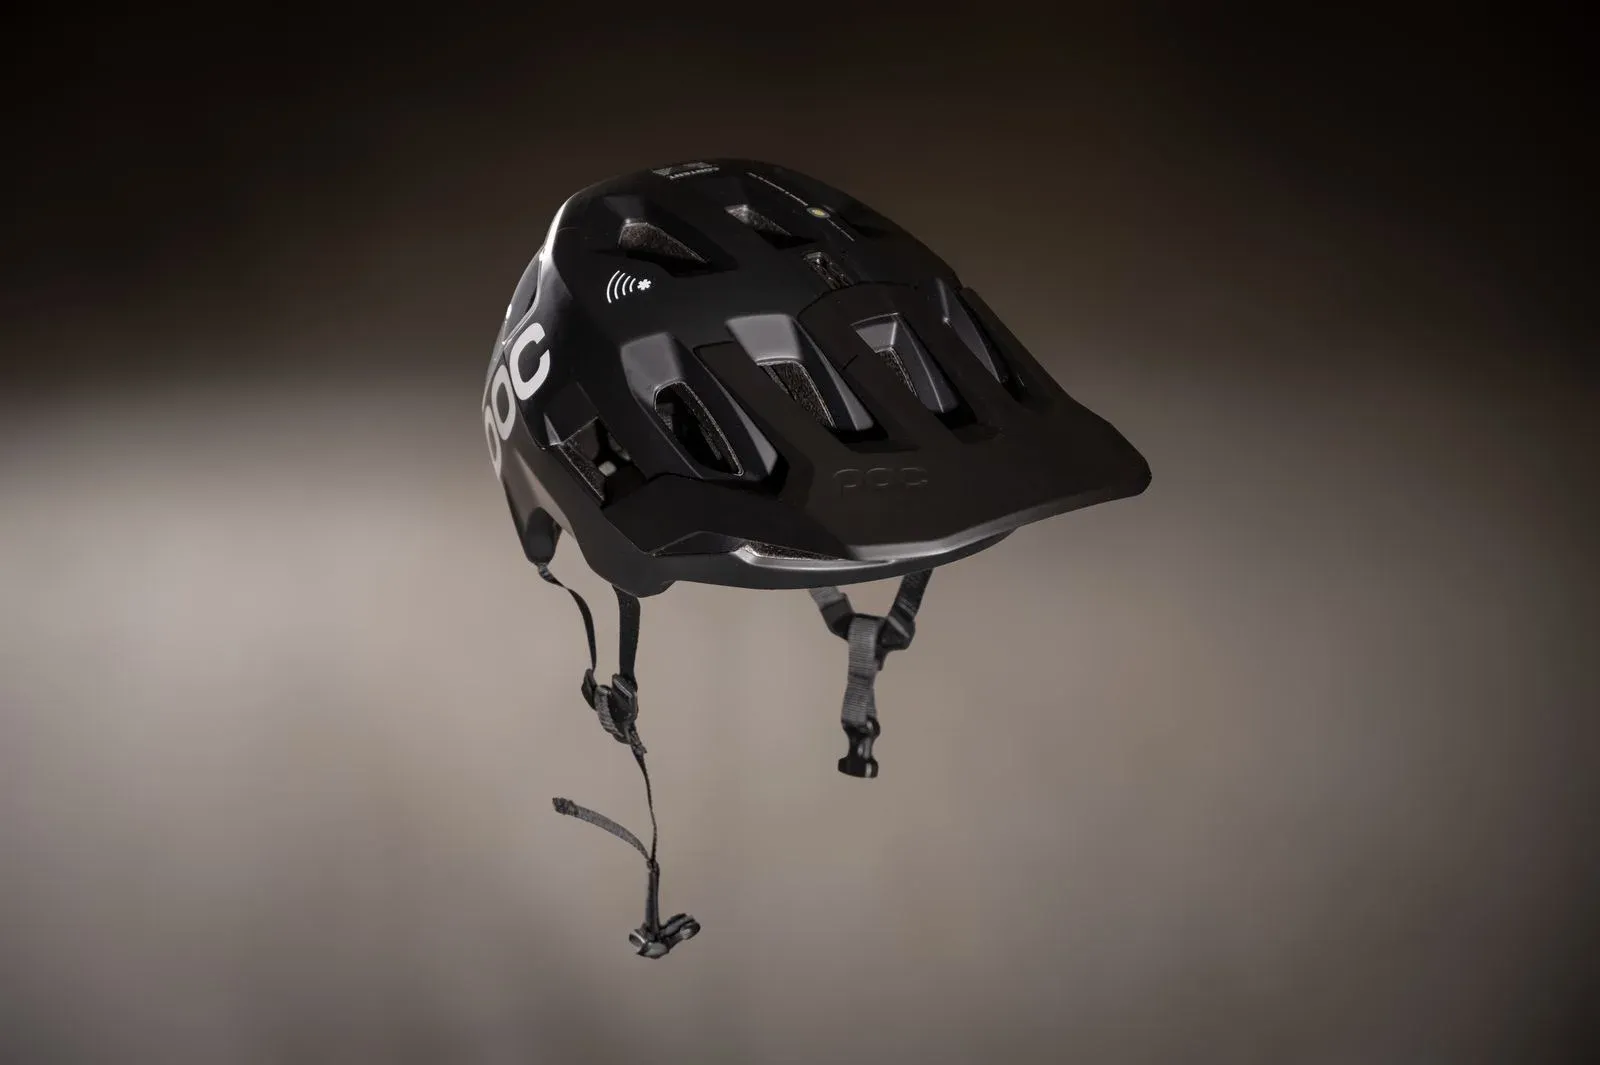
The safest way to secure a bike helmet when parked is to take it with you. If that is not practical, secure the helmet as a secondary item with a cable or accessory lock through a suitable opening, keep the cable away from the bicycle’s moving parts, and use a primary bicycle lock through the frame and wheel as appropriate. A helmet cable can slow an opportunistic grab, but it is not a substitute for a properly selected lock, a sound anchor, or a plan to carry the helmet indoors.
Before leaving a helmet, check the helmet maker’s care and use instructions. A shell, strap, buckle, retention cradle, or vent can be damaged by crushing, sharp contact, heat, or an attachment that changes how the helmet is intended to work. No parking method makes a helmet theft-proof, and a helmet that has been damaged may no longer be suitable for riding.
Choose the parking method first
Use this order of preference:
- Carry the helmet inside, either by hand or in a bag that does not crush the shell.
- Leave it in a locked compartment or locker that you control.
- Secure it to the bicycle only for a short, visible stop when the helmet maker and the lock design permit that use.
- Use a second, verified lock if the location requires the helmet to remain with the bicycle.
The bike security, storage, and transport guide explains why the location, anchor, bicycle, and lock must be considered together. A helmet left on a bicycle at an isolated or busy location is exposed to a different risk from one secured inside a staffed building. Consider the time, visibility, local rules, and whether you can check the bicycle before choosing the method.
How to use a cable without damaging the helmet
A small flexible cable can pass through a helmet vent or another opening only when the opening is large enough, the cable does not pinch the shell or straps, and the helmet maker does not prohibit that contact. Route the cable through the helmet and around the bicycle’s frame or a designated rack point, then connect it to the primary lock or a separate lock. Keep the connection where it cannot rattle into the spokes, disc rotor, chain, belt, or brake controls.
Do not pull a cable tightly against a thin vent bridge. Do not use a sharp-edged loop, a carabiner that can pry against the shell, adhesive hardware, or a clamp that crushes the helmet. Do not route the cable through a buckle, adjustment dial, or retention strap if doing so can load the part or prevent inspection. A cable through one strap can leave the helmet easy to remove and can put stress on the strap instead of protecting the helmet.
The U-lock versus chain-lock comparison separates a primary bicycle lock from a flexible secondary cable. The bike lock security ratings guide explains why a rating or marketing label is not proof that an accessory cable resists every attack. Choose the lock and anchor for the bicycle first, then treat helmet retention as a separate, lower-strength task.
A practical parked-helmet sequence
- Check that the helmet is dry enough to store and that the shell, straps, buckle, vents, and retention system show no new damage.
- Remove sunglasses, lights, cameras, or other accessories that can fall, be damaged, or tempt a grab.
- Place the helmet so the shell is not resting on a sharp rack edge or the ground.
- Pass the secondary cable through an approved opening or around a part of the helmet that the maker allows, with no crushing or sharp bend.
- Route the cable around the bicycle frame or approved rack point, not only around a removable wheel or a bag strap.
- Close the primary bicycle lock through the frame and the part of the bicycle the lock maker’s instructions cover.
- Pull the helmet gently to confirm the cable is closed without pressing into the shell and that it cannot reach a wheel or rotor.
- Take the helmet with you if any part of the setup is uncertain.
The how to lock your bike guide covers the main bicycle lock and anchor decision. A helmet cable should not be used to hold the bicycle to a rack, and a bicycle lock should not be treated as a helmet-specific retention system unless the maker documents that use.
Where to place the helmet
The best position is out of sight and out of weather. A bag, locker, or office shelf avoids rain, dust, direct heat, and contact with the rack. If the helmet must remain on the bicycle, keep it on the side away from a wheel and from the path of pedestrians. Do not leave it where a rider or vehicle can snag it while the bicycle is being moved.
Avoid direct sun and hot enclosed spaces. Helmet materials and adhesives have care limits, and a cable does not change those limits. Do not leave a helmet in a car or near a heater unless the helmet maker says that storage condition is suitable. Let a wet helmet dry according to its care instructions rather than sealing it in an airtight bag while damp.
Rain also changes the parking check. The bike commute in rain guide covers drying a bicycle and clothing after a wet ride. Keep the helmet’s pads and straps from staying wet for long periods, and do not spray cleaner, lubricant, or solvent on the shell or retention system unless the maker’s instructions allow it.
Helmet security options compared
Carrying the helmet
Carrying gives the best control over who can handle the helmet. It can be inconvenient in a meeting, classroom, or store, so use a compatible bag or a locker rather than squeezing the shell under a heavy load. The backpack versus panniers commuting guide explains how a bag choice changes body load and cargo handling. Keep the helmet separate from tools, sharp objects, and wet clothing.
Cable through a vent
This is compact and reversible, but it depends on the vent shape, cable size, lock location, and the helmet maker’s instructions. It offers delay and attachment, not a guarantee of resistance. A person may still cut the cable, remove the helmet through a large opening, or damage the helmet while trying to take it.
Cable around a strap or buckle
This is usually a poor choice. The cable may be removable without opening the lock, or it may load a part that is designed for fit and retention rather than security. Do not let a cable become the reason a cracked, torn, or distorted strap is put back into service.
Helmet accessory lock
Some makers sell a small lock or accessory designed for a helmet, bag, or other item. Follow the exact product instructions, including what it may attach to, how it is stored, and whether it is intended only as a theft deterrent. The bike security ratings guide can help interpret security language, but it cannot turn one accessory into a universal protection standard.
What ABUS says about securing a helmet
ABUS’s bicycle-locking guidance, retrieved September 2, 2026, includes the helmet and other individual parts in the items to secure. It also recommends an immovable object and a visible location. That supports using the bicycle’s main lock and anchor as the foundation, with an accessory cable for the helmet when its fit and routing are sound. ABUS also describes cable locks as suitable for accessory protection in its product material. Those are maker-specific statements, not a promise that every cable is equal or that every helmet vent is suitable.
The beginner bike commuting safety checklist includes the parking and visibility checks that belong in a daily departure routine. Before riding away, remove the cable, inspect the helmet for pressure marks or damage, and make sure no lock part is still attached to the bicycle.
When not to leave a helmet on the bicycle
Carry the helmet instead when:
- the parking place is hidden, isolated, or outside your control;
- the stop will last longer than planned;
- the helmet maker does not describe the proposed attachment;
- the cable presses against the shell, strap, buckle, or retention cradle;
- the bicycle must be moved by staff, a vehicle, or another person;
- rain, salt, heat, or freezing conditions could damage the helmet or lock;
- the helmet has a crack, deep impact mark, damaged strap, broken buckle, or loose retention part.
Do not use a cable to keep a helmet in service after a crash or impact. Follow the helmet maker’s replacement and inspection instructions. If you are unsure whether a mark is cosmetic or structural, stop using the helmet for riding until the maker or a qualified bicycle professional can advise you.
The seat rain-cover guide covers keeping the saddle protected while parked. The commuter gearing guide covers a separate riding-control decision. Neither replaces the helmet maker’s care directions or the primary bicycle-lock check.
Bottom line
Take the helmet with you whenever practical. If it must remain with the bicycle, use a maker-permitted secondary cable or accessory lock through a non-damaging opening, attach it to the frame or approved anchor, keep it out of weather and moving parts, and inspect it before riding. A cable adds a layer of delay, but only a sound helmet and a verified primary bicycle lock support a safe departure.
Sources
- ABUS, “Locking your bicycle correctly,” https://www.abus.com/int/Guide/Bicycle-safety/Locking-your-bicycle-correctly (retrieved September 2, 2026). Advises securing the helmet and individual bicycle parts, using an immovable object, and choosing a visible location.
- ABUS, “Combiflex TravelGuard 70,” https://www.abus.com/usa/Products/Bicycle-locks/Special-Locks/Combiflex-TravelGuard-70 (retrieved September 2, 2026). Provides a model-specific example of a compact cable lock for accessory protection; it is not treated as a universal security guarantee.
- National Highway Traffic Safety Administration, “Bicycle Safety,” https://www.nhtsa.gov/road-safety/bicycle-safety (retrieved September 2, 2026). Covers helmet fit, bicycle readiness, visibility, and carrying items without compromising control.
- League of American Bicyclists, “Commuting,” https://bikeleague.org/ridesmart/commuting/ (retrieved September 2, 2026). Covers visible, predictable riding and practical commuting equipment, including locks and carrying systems.