
Bicycle Derailleur Hanger Alignment: Signs, Checks, and Repair
Check a bicycle derailleur hanger for misalignment, separate it from derailleur and wheel faults, and choose a safe repair path.
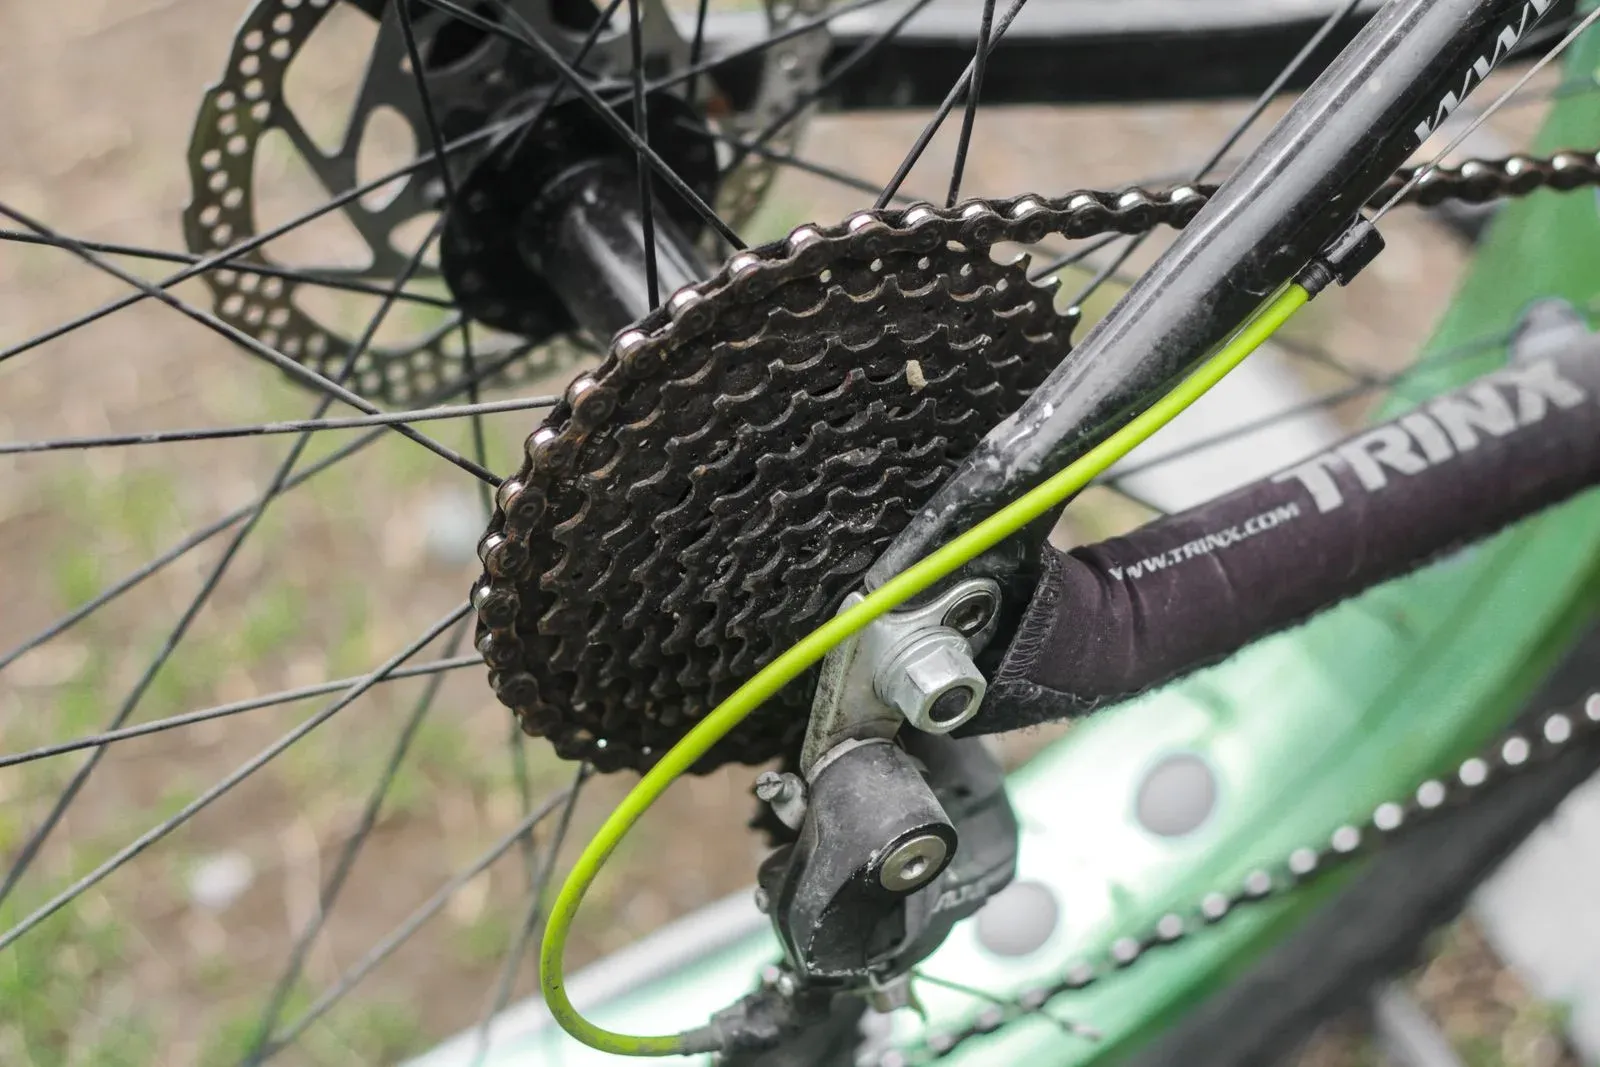
Table of Contents
- What is a derailleur hanger?
- What symptoms suggest a bent hanger?
- What to check before aligning a hanger
- How to inspect a hanger visually
- How to use a hanger alignment gauge
- Realignment or replacement?
- How to verify alignment before riding
- Frequently asked questions
- How we researched this guide
- Bottom line
- Sources
A derailleur hanger alignment problem can make a rear derailleur shift poorly even when the cable and barrel adjuster are set correctly. Check the wheel seating, cassette, derailleur, chain, cable, and hanger together. A visual inspection can identify a likely bend, but a hanger alignment gauge is the appropriate way to compare the hanger plane with the wheel plane. If the hanger is cracked, repeatedly bent, integrated into a carbon frame, or threaded poorly, stop and use the frame or hanger maker’s replacement or service path.
Park Tool’s Rear Derailleur Hanger Alignment, retrieved September 2, 2026, describes a gauge that extends the hanger face and compares it with the wheel rim. It also warns that repeated bending can lead to failure and that integrated hangers require particular care. This guide follows that tool-based distinction without treating one gauge’s reading as a universal frame tolerance.
Key Takeaways
- A bent hanger is a mechanical alignment fault, not an indexing adjustment.
- Confirm the wheel, cassette, derailleur, chain, cable, and chainline before bending or replacing a hanger.
- A gauge check is more reliable than sighting from behind the bicycle. Use the gauge maker’s sequence and the frame maker’s limits.
- Park Tool’s DAG procedure uses a 3 mm comparison criterion for that tool. Do not transfer it to an unverified tool or frame specification.
- Stop for a crack, stripped thread, repeated impact, carbon-frame damage, a derailleur in the spokes, or a setting that will not hold.
What is a derailleur hanger?
The rear derailleur hanger is the frame interface that positions a rear derailleur beside the cassette. Many frames use a replaceable hanger. Other frames use an integrated hanger or a derailleur interface built into the frame. The hanger must place the derailleur mounting axis in the correct relationship with the rear wheel and sprocket plane.
An impact can bend a replaceable hanger without an obvious crack. Park Tool says the hanger is designed to bend more readily than the frame or derailleur in some designs, but that a damaged or repeatedly bent hanger may need replacement. Do not assume a hanger is straight because the derailleur cage looks straight.
The rear derailleur indexing guide covers the cable and shift-setting checks that come after the mechanical interfaces are sound. The bike drivetrain maintenance hub provides the wider inspection order.
What symptoms suggest a bent hanger?
Possible signs include:
- indexing works at one end of the cassette but not the other;
- the chain shifts cleanly in one direction and hesitates in the other after cable checks;
- the guide pulley does not track the selected sprocket consistently;
- the derailleur looks angled toward or away from the cassette when viewed from behind;
- a crash, transport impact, rack strike, or derailleur snag preceded the shifting problem;
- the chain drops toward the spokes or overshifts despite correct limit and cable setup; or
- a replacement derailleur or cassette exposes a problem that an old adjustment had been masking.
These symptoms also come from a loose wheel, loose cassette, wrong chain, bent derailleur cage, worn sprockets, cable friction, incorrect chainline, or incompatible components. The cassette-wear guide and chain speed guide help separate worn or mismatched parts from a hanger fault.
Do not bend the hanger based only on one noisy shift. Diagnose the complete rear end first.
What to check before aligning a hanger
Work with the bicycle stable and the drive system unpowered. If the bike is an e-bike, switch assist and throttle controls off and follow its battery and wheel-service instructions. Keep fingers away from the chain, cassette, spokes, and derailleur spring.
Wheel and axle seating
Confirm that the wheel is fully seated and retained according to the wheel and bicycle maker’s instructions. A wheel that sits crooked changes the apparent cassette and hanger relationship. Check the dropout faces, axle, end caps, quick release, or thru-axle for damage or movement.
Cassette or freewheel security
Identify whether the rear sprockets are a cassette or freewheel. A loose cassette, damaged freehub, or freewheel interface can mimic a hanger fault. Use the cassette replacement guide when the cassette or lockring needs service, and do not gauge a hanger against a wheel with a loose sprocket assembly.
Derailleur and cage condition
Look for a bent derailleur body, cage plate, pulley bolt, mounting bolt, or cable anchor. A hanger gauge cannot straighten a derailleur. If the derailleur has entered the spokes, inspect the derailleur, hanger, wheel, spokes, and chain before turning the cranks.
Chain, cable, and chainline
Check chain routing, length, speed compatibility, stiff links, cable housing, cable anchor, limit settings, and chainline. The bicycle chainline guide explains why a lateral mismatch can look like a hanger problem. A new chain, cassette, or chainring can reveal a problem that was hidden by a worn drivetrain.
The front derailleur chain-rub guide addresses a front-cage symptom that is separate from rear-hanger alignment.
How to inspect a hanger visually
Stand behind the bicycle with the rear wheel straight and the drivetrain unloaded. Compare the derailleur body and guide pulley with the cassette, but treat this as a screening check. The frame stays, wheel dish, derailleur shape, and viewing angle can mislead you.
Look for a hanger that is not in the expected plane, an abrupt angle at the mounting face, scraped metal after an impact, a crack, or a derailleur that does not thread squarely. Inspect the hanger and dropout interface with the derailleur removed only when the maker’s procedure allows it and you have the correct tools.
If the hanger appears bent after a crash, do not ride to see whether indexing improves. A derailleur near the spokes or a chain that can leave the cassette is a stop condition.
How to use a hanger alignment gauge
The following is a high-level sequence based on Park Tool’s DAG procedure. The exact tool, thread engagement, indicator clearance, and frame instructions control.
1. Secure the bicycle and verify the wheel
Mount the bicycle so the wheels are level as they are on the ground. Install and secure the rear wheel correctly. Remove accessories that block the gauge’s travel. If the wheel or hanger threads are damaged, stop before installing the tool.
2. Remove the rear derailleur carefully
Use the derailleur maker’s removal instructions and the correct hex or Torx tool. Support the derailleur as it leaves the hanger so it does not damage the threads. Set the derailleur aside without bending the cage or cable.
3. Install the gauge squarely
Thread the gauge into the hanger by hand first. Stop if it binds, feels cross-threaded, or will not sit square. Tighten only as the gauge maker directs. A damaged hanger thread can turn an alignment check into a thread-repair problem.
4. Set a repeatable rim reference
Park Tool’s procedure uses the valve position as a reference and compares a rim point at opposing positions. Set the indicator to the rim without forcing it. Keep the wheel and indicator positions repeatable so the comparison is meaningful.
5. Compare opposing positions
Rotate the gauge and wheel as directed, then compare the indicator at the same rim point. If the gap changes, the hanger may be out of alignment, but wheel trueness, dish, indicator clearance, and tool setup must be considered. Do not treat a visual gap as a frame tolerance.
Park Tool’s DAG-2.2 and DAG-3 instructions use a 3 mm criterion at comparison positions and then check additional points. That number belongs to the cited tool procedure. Use a different gauge’s instructions if you use another tool, and follow a frame maker’s stricter specification.
6. Make small corrections only when permitted
If the hanger is replaceable, intact, and the tool maker and frame maker allow realignment, make small, controlled corrections with the gauge. Recheck after each correction. Do not use the derailleur as a lever, bend an integrated carbon hanger, or apply force when the tool is not fully supported.
Repeatedly bending a hanger can weaken it. If the gauge shows a large deviation, the hanger springs back, the threads move, or the hanger cracks, stop and replace or professionally assess it.
7. Recheck the drivetrain
Remove the gauge, reinstall the derailleur, and restore cable routing and adjustment according to the maker. Recheck limit screws, indexing, pulley clearance, chain length, wheel retention, and cassette security. A hanger correction changes derailleur alignment, so the old barrel setting is not proof of a correct repair.
Realignment or replacement?
Realignment may be appropriate for an intact, replaceable hanger when the frame, hanger, and tool maker support it. Replacement is the safer path when the hanger is cracked, snapped, severely damaged, repeatedly bent, stripped, incompatible, or no longer holds a stable alignment. Park Tool’s Derailleur Hanger Replacement, retrieved September 2, 2026, distinguishes replaceable and integrated hanger designs and directs readers to the hanger manufacturer’s torque recommendations.
Do not copy a fastener torque from another hanger. Use the exact hanger and frame instructions. If the frame has an integrated hanger, carbon dropout, damaged threads, or uncertain geometry, use a qualified bicycle technician.
How to verify alignment before riding
With the bicycle stable and unloaded, shift through the permitted rear sprockets one click at a time. Confirm that the chain follows the selected sprocket, the guide pulley does not approach the spokes, the chain does not derail, the wheel remains secure, and the cable system returns consistently. Check the largest and smallest permitted combinations without forcing an extreme cross-chain position.
Make the first ride a low-load check in a controlled area. Stop at a skip, delayed shift, chain drop, rub, spoke contact, loose axle, or new noise. Do not stand on the pedals to test a newly aligned hanger.
Frequently asked questions
Can I align a derailleur hanger without a tool?
A visual check can suggest a bend, but it cannot reliably compare the hanger plane with the wheel plane. A gauge or qualified shop inspection is the safer route. Do not straighten a hanger with a wrench, derailleur, or improvised lever.
Is a bent derailleur hanger the same as a bent derailleur?
No. The hanger is the frame interface; the derailleur is the shifting mechanism attached to it. Inspect both after an impact. Replacing one does not prove the other is straight.
Can indexing fix a bent hanger?
No. Cable tension may mask a small alignment problem in part of the cassette, but it cannot make the hanger plane correct. The gear-adjustment guide covers the broader sequence after mechanical faults are resolved.
How accurate does a hanger need to be?
Use the frame, hanger, and gauge maker’s specification. Park Tool’s DAG procedure uses a 3 mm comparison criterion for its tool, but that is not a universal tolerance for every frame or gauge.
Can a replaceable hanger be bent back more than once?
Do not assume it can. Park Tool warns that repeated bending can lead to failure. Inspect the part and follow the hanger maker’s replacement guidance after repeated impacts or attempted realignment.
How we researched this guide
This is research-based alignment guidance, not a hands-on gauge test or a claim about a specific frame. DataForSEO research on September 2, 2026 showed Park Tool leading the query and tool-based questions dominating the SERP. Park Tool’s alignment and replacement procedures were used for the distinction between screening, gauge measurement, correction, and replacement. Exact frame tolerances, thread limits, fastener values, and carbon procedures remain with the relevant maker.
Bottom line
Confirm wheel seating, cassette security, derailleur condition, chain, cable, and chainline before blaming the hanger. Use a compatible gauge and the maker’s sequence for an intact replaceable hanger, treating tool-specific readings as tool-specific. Replace or service a cracked, repeated-bend, integrated, carbon, or threaded-damage interface, then recheck the entire rear derailleur setup before riding.
Sources
- Park Tool, “Rear Derailleur Hanger Alignment,” retrieved September 2, 2026, https://www.parktool.com/en-int/blog/repair-help/rear-derailleur-hanger-alignment
- Park Tool, “Derailleur Hanger Replacement,” retrieved September 2, 2026, https://www.parktool.com/en-us/blog/repair-help/derailleur-hanger-replacement
- Park Tool, “Rear Derailleur Adjustment,” retrieved September 2, 2026, https://www.parktool.com/en-us/blog/repair-help/rear-derailleur-adjustment
- Park Tool, “Rear Derailleur Removal and Installation,” retrieved September 2, 2026, https://www.parktool.com/en-int/blog/repair-help/rear-derailleur-removal-and-installation
- Park Tool, “Cassette Removal and Installation,” retrieved September 2, 2026, https://www.parktool.com/en-us/blog/repair-help/cassette-removal-and-installation
- Shimano, “General Operation,” retrieved September 2, 2026, https://si.shimano.com/en/pdfs/dm/GN0001/DM-GN0001-26-ENG.pdf
