
Bicycle Chainline Explained: Measurement, Symptoms, and Fixes
Learn what bicycle chainline means, how to inspect and measure it, which symptoms it can cause, and how to correct it within maker limits.
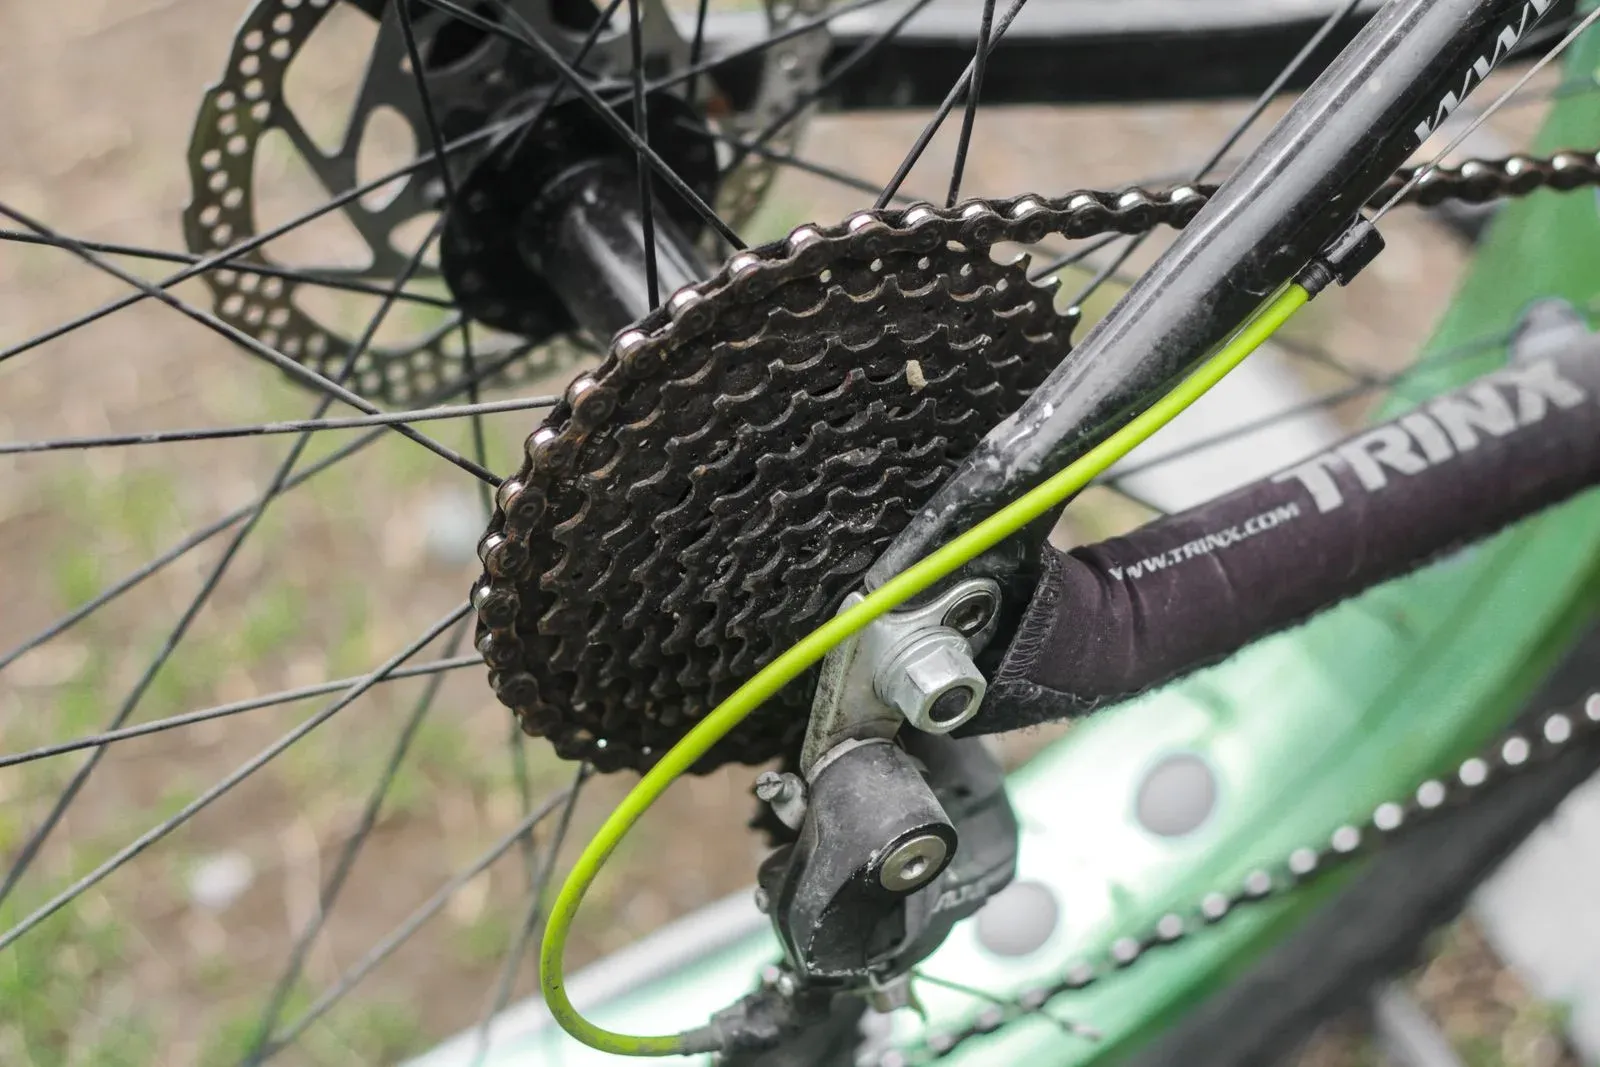
Table of Contents
- What is bicycle chainline?
- What symptoms can a wrong chainline cause?
- What should you document before measuring?
- How can you inspect chainline without special tools?
- How do you measure front chainline?
- How do you check the rear reference?
- How do you fix a chainline problem?
- What chainline mistakes should you avoid?
- Frequently asked questions
- How we researched this guide
- Bottom line
- Sources
Bicycle chainline is the lateral relationship between the front chainring and the rear sprocket that the bicycle’s drivetrain is designed to use. A chainline that is wrong for the crank, bottom bracket, hub, cassette, freewheel, frame, or derailleur can create noise, rub, chain drops, poor shifting, and accelerated wear. The correct value is system-specific, so do not copy a 1x, 2x, e-bike, or single-speed number onto another bicycle.
Start with the bike drivetrain maintenance hub and identify every drivetrain part before measuring. The existing e-bike conversion chainline guide covers conversion-specific interfaces, while the chain sizing guide helps distinguish chain length from lateral alignment. The chain-drop guide applies the same diagnostic logic to a different symptom.
Key Takeaways
- Measure chainline from the drivetrain’s defined center planes and compare the result with the crank, chainring, bottom-bracket, cassette, hub, and bicycle maker’s specification.
- A straight-looking chain in one gear does not prove that every permitted gear, suspension position, or conversion interface is correct.
- Correct chainline with approved chainrings, spacers, cranks, bottom brackets, or hub parts. Do not sacrifice thread engagement, bearing support, wheel retention, or clearance to make the chain look straighter.
What is bicycle chainline?
Chainline describes where the chainring or single front sprocket sits relative to the bicycle’s center plane and the rear sprocket set. On a derailleur bicycle, the rear cassette or freewheel spans several sprockets, so the chain is naturally angled in some gears. The design target is the relationship specified for that crank, chainring, bottom bracket, rear hub, and drivetrain family.
For a single-speed or fixed gear, chainline is the alignment between one front chainring and one rear cog. For a derailleur system, it is usually discussed as a front chainring position and a cassette center relationship, but the usable gear range and manufacturer tolerances still control the practical result. For a conversion, motor, spacer, or different crank can move the front chainring without changing the rear wheel.
Sheldon Brown’s Chainline, retrieved September 2, 2026, describes chainline as the distance from the bicycle centerline to the center of the chain. It also emphasizes that different hub, crank, bottom-bracket, and frame arrangements require different measurements. Use that definition as a measurement model, not as a universal target.
What symptoms can a wrong chainline cause?
A wrong chainline can cause a chain that runs visibly sideways, rubs a front derailleur cage, drops from a ring or cog, shifts poorly, or makes noise in gears that should be usable. It can also add side loading to chainring teeth, sprocket teeth, chain links, derailleur pulleys, and bearings. Those symptoms are not unique to chainline.
| Pattern | Chainline question | Other causes to rule out |
|---|---|---|
| Noise only in extreme gears | Is that gear intentionally outside the maker’s preferred range? | Cross-chaining, cage rub, bent teeth, dirty chain |
| Chain drops after a crank or ring change | Did the new part move the ring laterally? | Front derailleur limits, chain length, suspension movement |
| Rear shifting is poor in many gears | Is the cassette centered and the chain entering it squarely? | Cable tension, hanger alignment, derailleur damage |
| Wear appears on one side of teeth | Is the chain approaching the sprocket at an abnormal angle? | Worn chain, incompatible chain, bent tooth, contamination |
| Conversion adds rub or skips | Did the motor, crank, spacer, or wheel change the original plane? | Battery or motor settings do not cause a mechanical chainline fix |
| Single speed has tight and loose spots | Are the front and rear sprockets parallel and centered? | Eccentric ring, wheel position, bent axle, chain tension |
Use the chain skipping guide and the worn chainring symptom guide before attributing a skip to alignment. A chain that is cracked, jammed, dropping into the spokes, or moving a loose wheel is a stop condition.
What should you document before measuring?
Record the bicycle and drivetrain before removing a spacer or turning an adjuster. Take clear photographs of the crank, chainring, bottom bracket, rear wheel, cassette or freewheel, derailleur, axle, and any conversion parts. Write down exact model names, tooth counts, speed family, rear hub standard, bottom-bracket shell, crank, ring offset, and spacer order where known.
Also record the symptom and the gear in which it appears. Note whether the issue began after a wheel, crank, chainring, cassette, bottom-bracket, tire, derailleur, or motor conversion change. A before-and-after record prevents a new spacer arrangement from hiding an old installation error.
The maker’s service manual takes priority over an internet drawing. Shimano’s General Operation dealer manual, retrieved September 2, 2026, directs users to the specific component information and a dealer when a service operation is uncertain. SRAM and other makers use their own chain, cassette, crank, and bottom-bracket compatibility systems.
How can you inspect chainline without special tools?
An initial inspection can reveal a gross error without producing a replacement specification. Secure the bicycle and keep the drivetrain unpowered. Sight along the chain from behind the bicycle while it rests on a chosen sprocket. Check whether the chain enters the rear sprocket without a sudden bend and whether the front ring is visibly displaced by a conversion part or unusual spacer.
Then turn the cranks slowly by hand through the permitted gears. Listen and look for cage rub, chain climbing, tooth engagement problems, and a tight spot. Keep hands away from moving teeth and pulleys. Do not use a powerful pedal stroke or a brake to load the chain during inspection.
For a single-speed, check that the front ring and rear cog are parallel and that the chain is not visibly angled. A tight and loose section may also indicate eccentricity or wheel position, so check the full rotation rather than setting one convenient point. The single-speed chain tension guide explains why the full rotation matters.
An inspection can say that alignment is obviously wrong. It cannot prove that a small measured difference is within a particular component maker’s tolerance.
How do you measure front chainline?
The correct front measurement depends on the system. The goal is to identify the distance from the bicycle’s center plane to the center plane of the chainring or single front sprocket, using a repeatable reference that the component maker recognizes.
- Identify the reference. Use the frame center plane, bottom-bracket center, crank center, or maker’s specified reference. Do not assume the frame tubes are symmetrical.
- Make the bicycle stable. Remove dirt and keep the chainring still. If the wheel or crank is loose, stop and correct that issue first.
- Use a suitable straightedge or measuring tool. Keep the tool square to the reference surfaces. Avoid measuring from a chamfer, tooth tip, tire sidewall, or a part that can move.
- Take repeated readings. Measure at more than one point on a round ring or use the maker’s stated method. Record the tool, reference, ring offset, and any spacer.
- Compare with the exact specification. Use the crank, chainring, bottom-bracket, frame, or drivetrain manual. If the manual does not state a target, ask the maker rather than importing a number from another system.
Do not move a chainring by adding a random washer or removing a spacer. The change can alter bolt engagement, crank clearance, bearing preload, chainring stiffness, front derailleur alignment, and the chain’s access to the frame. The conversion-specific guidance has additional questions for motorized cranks and chainrings.
How do you check the rear reference?
The rear reference is the center plane of the cassette or freewheel relative to the bicycle center plane. It depends on the hub, axle, spacers, wheel dish, cassette body, freewheel, and dropout. A rear wheel that is not correctly seated can make a good cassette appear out of line.
Check that the wheel is fully seated and retained according to the frame and hub instructions. Confirm the cassette or freewheel lockring, sprocket order, spacers, and cassette body are the correct parts. Look for lateral movement, damaged splines, a bent axle, or a wheel that is not centered in the frame.
Do not diagnose rear chainline by moving the cassette stack outward or inward without a complete hub and derailleur compatibility decision. A spacer that changes lockring engagement or derailleur position can create a more dangerous fault. If the rear interface is unfamiliar, have a qualified bicycle technician measure it.
How do you fix a chainline problem?
Fix the cause with a part or adjustment approved for the specific drivetrain. Common legitimate corrections include a maker-approved chainring with a different offset, a compatible crank or bottom bracket, a specified spacer in the correct position, a correctly dished or compatible rear wheel, or a documented conversion interface.
Use this order:
- Correct loose, bent, damaged, or incorrectly seated parts.
- Confirm the chainring, chain, cassette or freewheel, bottom bracket, crank, hub, and frame are compatible.
- Restore the maker-specified spacer order and fastener engagement.
- Recheck crank, wheel, and derailleur clearance through all permitted gears.
- Adjust derailleur limits and indexing only after the mechanical alignment is correct.
- Check the chain length and joining method with the bike chain sizing guide.
The mechanical gear adjustment guide can help with the post-installation shifting sequence. It is not a substitute for a hanger, crank, bottom-bracket, or hub repair procedure.
What chainline mistakes should you avoid?
Avoid these tempting shortcuts:
- copying a 52 mm or 55 mm target from an e-bike or 1x system onto a different bicycle;
- removing a bottom-bracket or cassette spacer because the chain looks straighter in a work stand;
- using chainring bolts that engage fewer threads after moving a ring;
- treating a front derailleur cage rub as proof that the chainring must move;
- filing a frame, dropout, crank, or ring to obtain clearance;
- relying on the old chain, wheel position, or a seller photograph as proof of the original setup; and
- applying motor power to check a mechanical alignment problem.
The right chainline is the one supported by the complete system and its service documentation, not the one that looks best in one gear.
Frequently asked questions
Is a straighter chain always better?
No. A derailleur drivetrain is designed to run at different angles across its sprockets. A front ring moved to look straight in one gear can make other gears, the derailleur, or the frame less compatible. Follow the complete drivetrain maker’s design and use the permitted gear range.
Does chainline affect chain wear?
An abnormal angle can add side loading and noise, but chain wear also depends on contamination, lubrication, load, chain design, and service. Measure chain wear with a compatible tool and address the alignment cause rather than expecting a new chain to correct it.
Can chainline cause a chain to fall off?
Yes, especially after a crank, ring, hub, wheel, or conversion change, but front or rear derailleur limits, chain length, damaged teeth, a stiff link, and suspension movement can also cause a drop. The chain-drop guide covers that symptom separately.
Does a wide rear cassette need a different chainline?
It may change the component compatibility questions, but there is no universal answer based only on sprocket count or range. Confirm the rear hub, cassette, crank, chainring, chain, derailleur, and frame specification together.
Can I fix chainline with washers?
Only when the component or conversion maker specifies the washer, position, dimensions, and resulting engagement. Random washers can reduce thread engagement, alter bearing support, or interfere with the derailleur, chain, brake, or frame.
Does chainline matter on a single-speed bike?
Yes. A single-speed has one intended front and rear relationship, so a visible angle, sprocket nonparallelism, or tight spot deserves attention. Check wheel position, sprocket seating, chain tension, and crank alignment as well as the chainline.
How we researched this guide
This is research-based alignment guidance, not a measurement of a particular bicycle or a universal specification chart. DataForSEO research on September 2, 2026 surfaced questions about how to know chainline is wrong, common 1x measurements, and symptoms such as rub and shifting. We used Sheldon Brown and Shimano documentation to define the measurement problem, then intentionally defer exact values, tolerances, spacer orders, and compatibility decisions to the relevant makers.
Bottom line
Measure chainline from a documented center reference, identify every drivetrain interface, and compare the result with the exact maker specification. Correct only with approved parts and restore wheel, crank, bearing, bolt, and derailleur security before indexing the gears. If a spacer, offset, hub standard, or frame reference is uncertain, stop and ask the maker or a qualified bicycle technician.
Sources
- Sheldon Brown, “Chainline,” retrieved September 2, 2026, https://www.sheldonbrown.com/chainline.html
- Shimano, “General Operation,” retrieved September 2, 2026, https://si.shimano.com/en/pdfs/dm/GN0001/DM-GN0001.pdf
- Park Tool, “Rear Derailleur Adjustment,” retrieved September 2, 2026, https://www.parktool.com/en-int/blog/repair-help/rear-derailleur-adjustment
- Park Tool, “Front Derailleur Adjustment,” retrieved September 2, 2026, https://www.parktool.com/en-int/blog/repair-help/front-derailleur-adjustment
- Park Tool, “Chain Length Sizing,” retrieved September 2, 2026, https://www.parktool.com/en-us/blog/repair-help/chain-length-sizing
- Park Tool, “When to Replace a Chain on a Bicycle,” retrieved September 2, 2026, https://www.parktool.com/en-us/blog/repair-help/when-to-replace-a-chain-on-a-bicycle
