Winter Bike Tire Pressure: How Much to Lower It and When
Set winter bike tire pressure from the tire and rim limits, then make small changes for load, tire volume, snow, ice, temperature, and riding control.
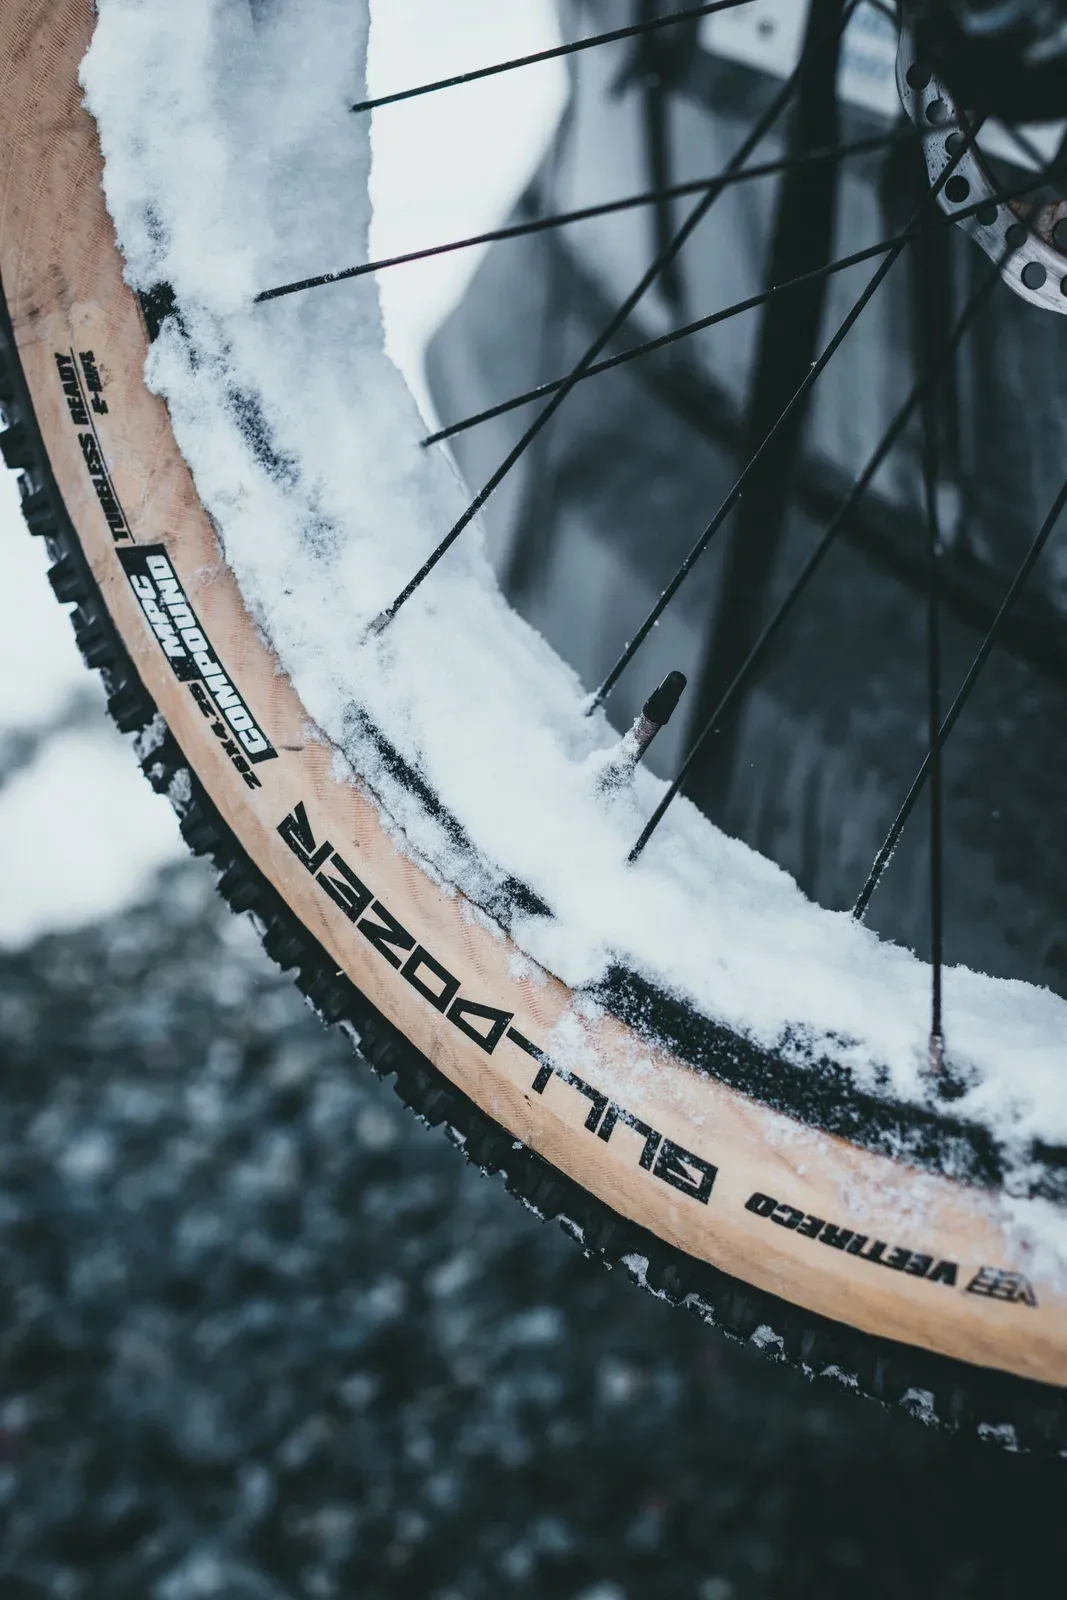
Table of Contents
- How much should you lower bike tire pressure in winter?
- What should you check before changing pressure?
- Does cold weather change tire pressure?
- Step 1: Establish a conservative starting pressure
- Step 2: Make one small adjustment
- How should pressure change for snow and ice?
- How do tubes, tubeless tires, and fat tires change the decision?
- When should you check winter tire pressure?
- Product selection
- Frequently asked questions
- Bottom line
- Sources
Lower winter bike tire pressure only after reading the tire and rim limits and establishing a safe starting point. A wider tire, lower load, soft surface, or compatible tubeless setup may tolerate a lower setting, but cold weather does not create a universal PSI recommendation. This is research-based guidance, not a pressure test.
Schwalbe’s Tire Pressure guidance says correct pressure depends mainly on load, tire width, tire construction, and rider preference. It also says never to exceed or fall below the pressure limits marked on the tire. Use the narrower allowable range when the tire and rim specify different limits. The winter bike maintenance guide places this adjustment inside a complete pre-ride check.
Pressure cannot make an unsafe tire safe
Stop and inspect the tire and wheel for a cut, bulge, exposed casing, uneven bead, damaged rim, leaking valve, loose spoke, or rapid pressure loss. Do not lower pressure to hide tire roll, rim strikes, bead movement, or a damaged casing.
How much should you lower bike tire pressure in winter?
There is no reliable universal amount to lower. Start inside the tire and rim limits, then change one tire by a small amount while keeping the load, route, and gauge consistent. Schwalbe says a lower pressure can improve comfort and grip, while too little pressure increases wear and damage risk. Treat every adjustment as a cautious test.
The correct starting point depends on:
- Total rider, bicycle, luggage, and battery load
- Measured tire width and casing construction
- Rim width, rim type, and tubeless or tube setup
- Pavement, packed snow, loose snow, ice, or mixed terrain
- Tire maker’s minimum and maximum limits
- Front-to-rear load distribution and the rider’s control
Do not copy a pressure number from a different tire or bicycle. A narrow road tire, a high-volume mountain tire, and a fat-bike tire can use very different pressures while all are labeled for bicycles. The pressure guidance must remain model-agnostic because the sidewall and rim instructions take priority.
What should you check before changing pressure?
Confirm the complete tire and rim system before making a winter adjustment. Schwalbe’s guidance says tire pressure supports the total bicycle load and that the pressure range appears on the tire. Rim makers may add a lower or higher system limit, especially for tubeless or hookless combinations.
Read and record:
- Tire size, measured width if available, and casing or model.
- Minimum and maximum tire pressure on each sidewall.
- Rim pressure limits and any hookless or tubeless requirements.
- Tube, tubeless, insert, valve, and sealant configuration.
- Normal rider load, including winter clothing, tools, water, and cargo.
- The front and rear pressure separately.
If a marking is unreadable or the tire and rim combination is unknown, do not guess from a chart. Ask the tire or rim maker, a shop, or a qualified mechanic. An online calculator can suggest a starting point, but it cannot verify an incompatible tire, rim, bead, casing, or load.
Our existing mountain-bike tire pressure guide covers trail-specific factors. The commuter tire-width guide covers how width changes comfort, speed, and puncture trade-offs.
Does cold weather change tire pressure?
Cold conditions can change the pressure reading and the tire’s feel, so check the tires when they are close to the conditions of the ride. Adventure Cycling Association’s A Winter Biking Guide tells riders to be aware of changing tire pressure in winter. That is a reason to check, not a license to apply a fixed seasonal reduction.
Move the bicycle outside, let the tires settle, and use the same gauge before comparable rides. If a bike goes from a warm room to freezing air, the gauge can show a different value. Do not chase a number repeatedly without considering whether the bicycle, tire, and gauge have reached the same temperature.
Cold weather also changes surfaces. A tire that feels stable on dry pavement may move differently on wet leaves, packed snow, or ice. Pressure is only one part of traction. Tread, studs, casing, rider inputs, visibility, and route condition still determine whether a ride is appropriate.
Step 1: Establish a conservative starting pressure
Write down the tire and rim limits, then choose a starting pressure inside both ranges. Use the maker’s calculator or pressure chart when one exists. If no chart is available, begin away from the minimum until the tire is confirmed to seat, support the load, and hold its shape during a controlled test.
- Check the tire for cuts, bulges, cracks, and a visible even bead line.
- Check the rim for damage, sharp edges, and compatible tape or tubeless parts.
- Inflate with a gauge rather than using a thumb test.
- Record front and rear pressure, tire model, tube or tubeless setup, and load.
- Spin each wheel and confirm it runs without a bead wobble or rim contact.
The lowest number printed on a tire is not automatically the right target. It is a limit within a system. Tubeless tires can still burp or roll, tubes can pinch, and rims can strike when the pressure is too low for the load or terrain.
Step 2: Make one small adjustment
Change one variable at a time so you can identify what helped or created a problem. A small pressure change may improve comfort on a rough surface, but a larger change can reduce support or cause a tire to move on the rim. Stay inside every maker’s limit throughout the test.
For a controlled check:
- Select a short, familiar route with an easy exit.
- Ride at a pace that leaves room to stop and inspect.
- Keep the front and rear pressures recorded separately.
- Note steering support, tire movement, rim impacts, traction, and casing feel.
- Return to the last known safe pressure if control becomes vague.
Increase pressure when the tire folds in a turn, rolls on the rim, strikes the rim, bottoms out, or loses its bead seal. Stop rather than simply adding air when the symptom may indicate casing, rim, bead, or tubeless-system damage.
Lower pressure only when the tire remains stable and seated, the wheel is sound, and the pressure stays above the maker’s minimum. If the tire skips, feels unstable, or steers unpredictably, stop the test.
How should pressure change for snow and ice?
Snow and ice need different decisions. A modest reduction may increase the contact patch on a suitable tire, but neither pressure nor tread guarantees control on glare ice. Schwalbe’s Winter Tips says studded tires should follow the tire’s recommended minimum pressure for the studs to grip best. That advice is specific to the tire maker’s system.
For a non-studded tire, lower pressure does not create ice traction. For a studded tire, use the maker’s pressure range and confirm the tire is correctly mounted. On clear pavement, some makers allow a higher pressure within the range to reduce rolling noise. Do not use a pressure above the limit or below the minimum to imitate a product page or forum post.
The studded-tire guide explains when metal studs help and what they cannot do. The snow-riding guide covers route and stop conditions that tire pressure cannot solve.
How do tubes, tubeless tires, and fat tires change the decision?
Tubes, tubeless tires, and fat tires need different system checks. Tubeless setups can operate at lower pressure in some applications, but tire, rim, tape, valve, sealant, and insert compatibility still control the safe range. A tube setup needs enough pressure to limit pinch damage for the load and terrain.
Fat-bike tires have high air volume and are often used on soft snow, but the correct pressure remains tire- and surface-specific. 45NRTH’s tire-pressure guidance shows why its pressure examples are tied to fat-bike conditions rather than transferable to every tire. Do not copy a fat-bike number onto a commuter, road, or mountain tire.
After adding air, inspect the bead, valve, sidewall, rim tape, and sealant area. Stop for hissing, bubbling, a moving bead, sealant spray, valve damage, or a pressure drop that is faster than the system normally permits.
When should you check winter tire pressure?
Check before a ride when the bicycle has been stored, the weather changes, the route changes, or the tire has been repaired. Schwalbe says to check and correct pressure at least once a month and to use a pressure gauge. Winter riders may need checks more often because wet grit, temperature changes, and punctures can alter the system.
Keep a simple note of date, pressure, load, tire condition, and route. The note helps distinguish a real setup change from a gauge difference. A pressure gauge that reads differently from another gauge is not automatically wrong, but consistency helps you compare your own checks.
Use the winter post-ride cleaning tutorial after a salty route. Use the winter chain-care guide for the drivetrain checks that sit beside tire inspection.
This is research-based product selection, not hands-on testing.
Product selection
These pumps are examples for the pressure-check workflow, not a recommendation to use one pressure number on every tire. Bright Data verified the exact Amazon listing title, ASIN, brand, and selected listed fields on September 2, 2026. This is listing and specification research, not inflation-speed, gauge-accuracy, or hands-on testing. Follow the tire and rim maker’s pressure range.

Best broad-valve pump example
Topeak JoeBlow Sport III Floor Pump
A useful home-tool example for repeatable pressure checks across common valve types.
Bright Data verified the Topeak title, ASIN, gauge, valve compatibility, steel barrel, and listed 160 PSI maximum.
Best for: A home workshop that needs a floor pump with a visible gauge
- Gauge
- 3-inch analog gauge listed
- Valve
- Presta, Schrader, and Dunlop support listed
- Barrel
- Steel construction listed
Trade-off: A pump's maximum label does not determine a safe tire pressure; use the tire and rim markings.
Check price on AmazonCompact floor-pump example
BV Bicycle Pump Durable Bike Floor Pump 17/24 inch Smart Valve Head, 160 psi, Automatically Reversible Presta and Schrader
A second category example for a home pressure station where size and valve coverage matter.
Bright Data verified the BV title, ASIN, reversible valve head, listed maximum, and compact format.
Best for: Riders comparing a shorter floor-pump format for Presta and Schrader valves
- Valve
- Automatically reversible Presta and Schrader head listed
- Maximum
- 160 PSI listed
- Length
- 16.25-inch format listed
Trade-off: Confirm the gauge and head suit the actual valve, then use the maker's pressure procedure.
Check price on AmazonFrequently asked questions
Should you lower bike tire pressure in cold weather?
Not automatically. Start within the tire and rim limits, check the tire at ride temperature, and make only a small change when the tire remains stable and seated. Adventure Cycling Association advises riders to be aware of changing winter tire pressure, while Schwalbe says the correct range depends on load, width, and the tire system.
What PSI should a bike tire have in snow?
Use the tire and rim maker’s range rather than a universal snow PSI. A high-volume tire, studded tire, tube setup, and fat-bike system can have different limits. Schwalbe says studded tires should follow the tire’s recommended minimum for stud grip. Stop when the tire rolls, burps, bottoms out, or loses its bead.
Is lower tire pressure better on ice?
Lower pressure alone does not make a tire safe on ice. Studded tires can provide a purpose-built interface for icy surfaces, but use the maker’s pressure range and ride only when visibility, route, braking, and surface conditions permit. A tire that moves on the rim or loses pressure is a stop condition.
Does cold air reduce bike tire pressure?
The pressure reading and tire feel can change when the tire moves between warm and cold environments. Check with a gauge when the tire is close to ride conditions and use the same gauge for comparisons. Do not compensate with a fixed amount without checking the tire’s limits and actual stability.
How often should you check bike tire pressure in winter?
Check before rides when conditions or storage change, and at least monthly as a baseline. Schwalbe’s tire-pressure guidance recommends a gauge check at least once a month. Inspect more often after a puncture, bead service, temperature change, or ride over sharp debris.
Bottom line
Set winter bike tire pressure from the exact tire and rim limits, then adjust in small steps for load, tire volume, surface, and control. Cold air and snow can change the reading and handling, but they do not justify a universal reduction. Stop for bead movement, rapid loss, casing damage, rim strikes, or vague steering.
Sources
- Schwalbe, Tire Pressure, retrieved 2026-09-01.
- Schwalbe, Winter Tips for Safe Riding, retrieved 2026-09-01.
- Schwalbe, Bike Tire Fitting, retrieved 2026-09-01.
- SRAM, Tire Pressure Guide, retrieved 2026-09-01.
- 45NRTH, Rules of Fat: Dialing in Tire Pressure, retrieved 2026-09-01.
- Adventure Cycling Association, A Winter Biking Guide, retrieved 2026-09-01.