Tubeless Tire Sealant in Cold Weather: Performance and Checks
Check tubeless sealant in cold weather by following its label, inspecting the tire and bead, confirming pressure, and carrying a compatible repair plan.
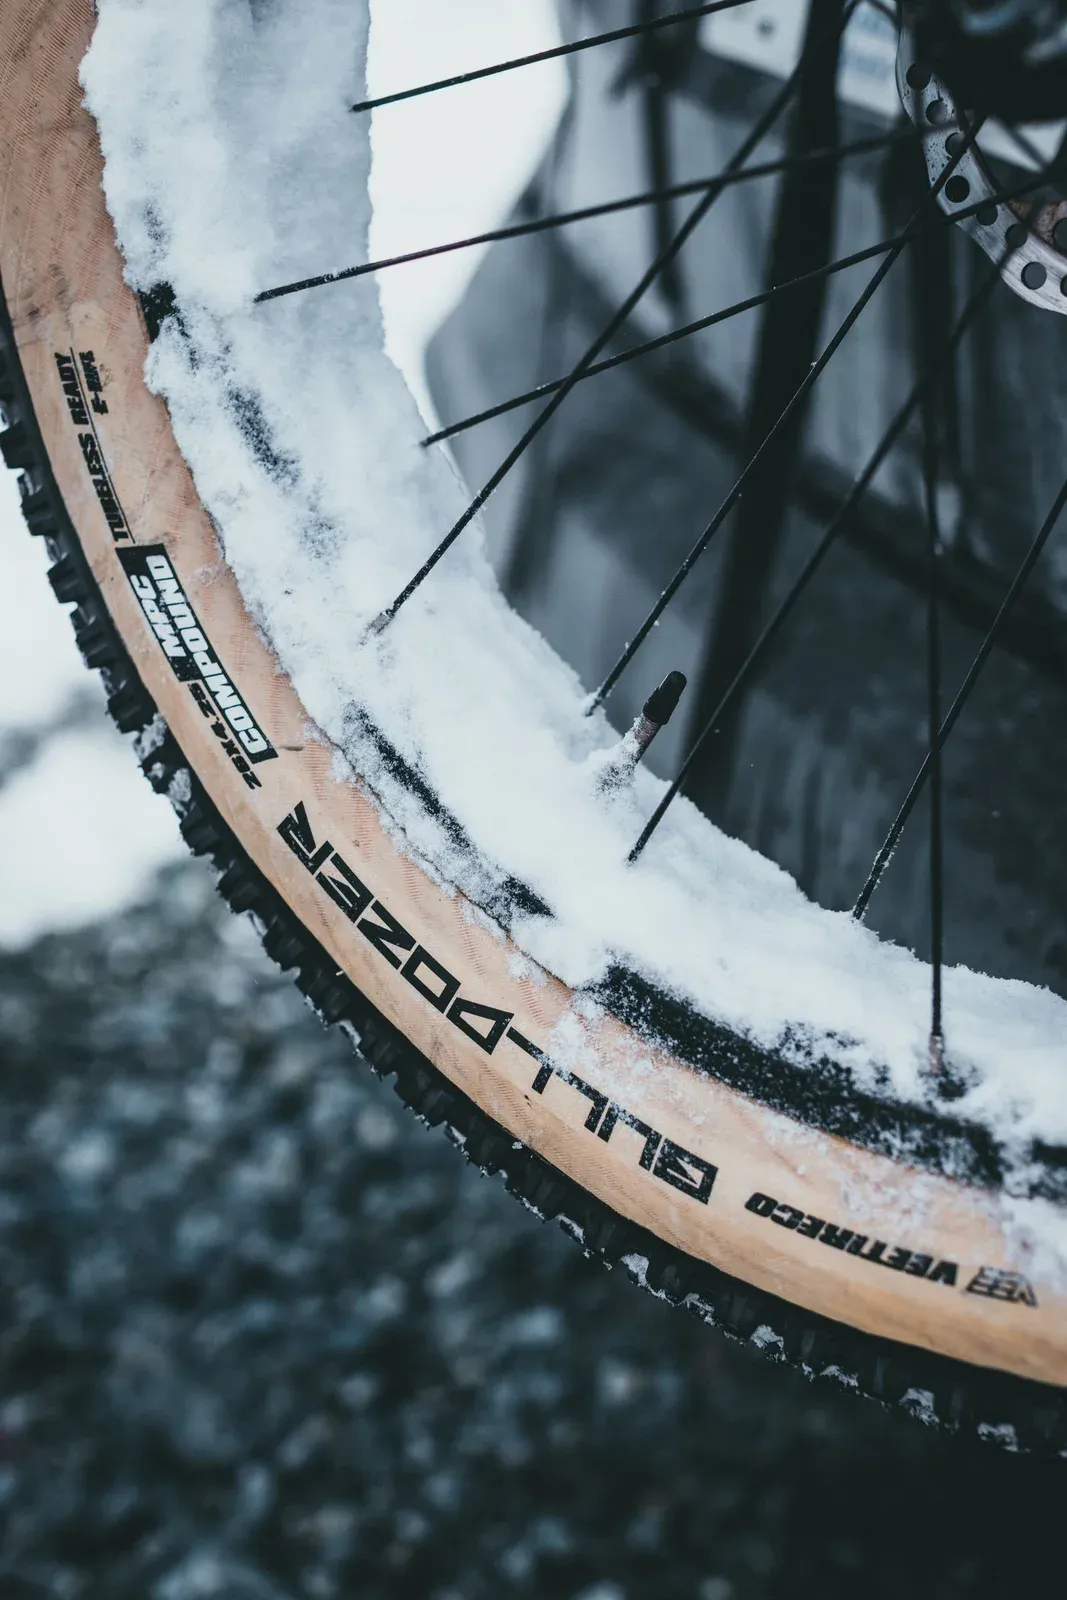
Tubeless tire sealant can remain useful in cold weather, but its behavior is formula-specific and should never be assumed from a different bottle, tire, or wheel system. Before a cold ride, identify the exact sealant, read its maker’s temperature and compatibility guidance, inspect the tire and bead, verify pressure within the tire and rim makers’ limits, and carry a repair method that works if the liquid does not seal a puncture. Cold conditions can change flow, drying, pressure, and how quickly a problem becomes noticeable.
A sealant check is not a pressure or tire-safety substitute
Stop if the tire has a damaged casing, exposed bead, leaking valve, unseated bead, rim damage, unexplained pressure loss, sealant in the brake area, or a puncture that will not seal. Do not inject an unknown chemical, inflate beyond the marked or maker-specified limit, or ride on a tire that cannot hold a stable setup. Follow the tire, rim, sealant, and wheel maker instructions, and ask a qualified bicycle technician when the system is uncertain.
Quick answer
- Cold weather does not produce one universal sealant result. Use the exact product label and technical guidance.
- A named formula may publish cold-weather information, but that claim does not transfer to another sealant or to a mixed system.
- Check whether liquid sealant remains active according to the maker’s method. Schwalbe says its Doc Blue protection period varies greatly with ambient temperature, so a calendar estimate is not enough.
- Check the inflated tire, bead, rim tape, valve, tread, sidewalls, and pressure before leaving. A sealed puncture does not prove that the casing or bead is safe.
- Carry a tube, plugs, inflation method, and valve or core tools that match the actual wheel. Leave the route when a repair would require guessing.
What does cold weather do to tubeless sealant?
Sealant is a liquid mixture that must move through the tire and reach a puncture or porous area. A lower temperature can change viscosity and flow. It can also change the tire’s pressure and the condition of a sealant film that has been sitting in the casing. Those are reasons to inspect the actual system, not reasons to publish a universal temperature threshold.
Product pages show why the formula matters. Stan’s says its Original sealant is intended for road, gravel, and mountain bike tires and publishes a product-specific cold-temperature claim for that formula (Stan’s Original Tubeless Sealant, retrieved September 2, 2026). Orange Seal describes Subzero as a formula made for extreme frigid conditions (Orange Seal Subzero Sealant, retrieved September 2, 2026). Those pages support checking the named product’s documentation. They do not establish that every standard, race, latex-free, ammonia-free, or homemade mixture behaves the same way.
The best tubeless tire sealant guide can help organize a product comparison, but a ranking or product family name is not a compatibility approval. The exact tire, rim, rim tape, valve, and sealant instructions control.
Can tubeless sealant freeze?
There is no responsible yes-or-no answer for every formula. A sealant maker may publish a use range, a named cold-weather product, or a storage instruction. Another maker may give different advice. Some mixtures can become thicker, separate, dry into a film, or lose useful flow before a rider sees a complete failure. Do not describe a bottle as freeze-proof unless its maker makes that exact claim for the exact product and use.
Schwalbe says Doc Blue remains active for a stated period under ordinary conditions but that the period varies greatly with ambient temperature; it can dry into a rubber film or separate into components (Schwalbe Tubeless FAQ, retrieved September 2, 2026). That guidance is useful for the inspection principle: cold-weather service is based on the product’s condition, not just the date it was poured.
Do not add a different sealant merely because it advertises cold use. Mixing products can change latex, particles, solvents, ammonia, or other chemistry. Use a combination the tire, rim, and sealant makers document as compatible, or clean and refresh the system using the makers’ service instructions.
Cold-weather pre-ride inspection
Complete this check in a warm, well-lit place when possible. Do not use a heater, open flame, boiling water, or a chemical shortcut to warm a tire or sealant.
1. Identify the complete system
Record the tire model and size, rim model or internal width, rim tape, valve, sealant, and any insert. Confirm whether the tire is approved for the rim and whether the sealant is approved for the tire materials and valve system. The tubeless rim-tape width guide explains why tape and rim compatibility are part of an airtight setup.
If a tire was changed, a rim was repaired, an insert was installed, or a different sealant was poured in, do not rely on memory. Read each maker’s current document. A system that held air in a warm garage may need a fresh check after the bicycle has been stored in a colder place.
2. Inspect the outside of the tire and rim
Look for cuts, bulges, torn sidewalls, embedded glass, a lifted bead, rim dents, tape showing through a spoke hole, a leaking valve base, and dried material around the bead. Wipe away road salt or grit with a method safe for the tire, rim, and brake system. Keep cleaner and sealant away from brake rotors, pads, rims used for braking, and electrical contacts.
Do not make a small cut safe by adding more liquid. A sealant is not a casing repair, rim repair, bead lock, or substitute for a tire with structural damage.
3. Check the sealant using the maker’s method
Use the sealant maker’s stated inspection method. Some makers describe checking through the valve, adding a measured amount, or rotating the tire. Others may require removing the tire or using a product-specific injector. Protect your eyes and skin from splashes, and do not remove a valve core under pressure.
If the maker permits a valve inspection, the result is only a view of that part of the tire. Liquid at the valve does not prove that the full tread has enough coverage. If the sealant has dried, clumped, separated, or cannot be moved through the system as the instructions require, refresh it with the compatible product or use a tube until the system is serviced.
The how often to add sealant to tubeless tires guide covers why inspection frequency depends on product, use, climate, and the tire’s condition. Use that context without turning a general interval into a promise.
4. Check pressure and bead seating
Inflate with a gauge and use the range printed on the tire or supplied by the tire maker, while respecting the rim maker’s limit. Check that the bead is evenly seated around both sides and that the valve is secure. The winter bike tire width guide covers clearance and pressure factors that change when a tire, rim, fender, and frame are considered together.
Do not copy another rider’s pressure, a number from a different casing, or a cold-weather reduction without checking the exact system. Pressure, rider mass, load, rim width, tire casing, surface, temperature, and riding style interact.
5. Rotate and listen
Rotate each wheel slowly. Listen for hissing, watch for bubbles, and check whether a wet spot returns at the valve, bead, tread, or sidewall. Do not treat a brief quiet period as a successful repair if pressure continues to fall. Marking a leak with a removable piece of tape can help locate it, but do not ride with tape covering a damaged tire.
If a puncture seals, inspect the object that caused it and the surrounding casing. Remove an embedded object only if the tire maker’s repair instructions permit it and the casing remains sound. A large cut, sidewall injury, bead damage, or repeated leak needs a tire or wheel assessment.
Does sealant work more slowly in the cold?
It may move differently in lower temperatures, but the exact change depends on the product, tire volume, puncture, wheel speed, pressure, and surface. Do not promise a sealing time or hole size. A product page or test for one formula is not evidence for another.
For a route where a flat would be consequential, plan as if the liquid may not seal the puncture. Carry a compatible tube, tire levers, pump or inflator, valve-core tool, and any tubeless plug tool the tire and rim makers permit. If an insert or rim design makes tube installation difficult, learn that procedure at home or use a different route and setup.
The how to add sealant to tubeless tires guide describes the general workflow and maker-boundary questions. The how much tubeless sealant per tire guide keeps volume decisions tied to tire and product instructions rather than a universal amount.
Cold-weather storage and transport
Store a sealant bottle in the place and orientation its maker specifies. Keep the cap closed, label the product, and protect it from contamination. Do not leave a bottle, injector, or tire in a place where heat, freezing, sunlight, or a leaking chemical can damage it. If the product has separated or changed texture, ask the maker whether it remains usable.
For the bicycle, dry the wheel and remove salt or grit with a wheel-safe cleaning method. Keep the valve cap, core, rim tape, and bead clean. If you carry the bike in a vehicle, keep tools, sealant, and inflators secured. Do not place a pressurized cartridge where it can be punctured or heated, and follow the inflator maker’s transport instructions.
The winter bike maintenance guide pairs wet-ride cleaning with brake, tire, and fastener checks. The winter bike emergency kit helps build a route-specific repair and visibility plan. A tubeless setup should make a ride more resilient, not make a rider ignore a damaged tire or an exit plan.
When should you switch to tubes?
Use a tube temporarily or choose a different tire system when the sealant is not compatible, the bead will not seat, the rim tape leaks, the valve is damaged, the tire has a structural cut, the wheel cannot hold pressure, or the route does not allow a safe roadside repair. A tube can also be a sensible choice when the manufacturer does not approve the sealant or tire combination for the conditions.
Before fitting a tube, remove sharp debris and protect the tube from a spoke hole, damaged rim tape, or a damaged tire. Deflate fully, keep hands and tools away from the brake rotor, and follow the tire and rim instructions. Do not use a tube to conceal a cracked rim, torn casing, or loose spoke bed.
Frequently asked questions
Should I add more sealant before a cold ride?
Only if the exact sealant maker’s inspection method shows that the system needs it and the product is compatible. More liquid cannot repair a damaged casing, bad tape, leaking valve, or unseated bead. Follow the tire and rim instructions for adding it.
Can I mix cold-weather sealant with regular sealant?
Do not assume that mixing is safe. Use a combination the makers document, or clean and refresh the system before changing chemistry. A cold-weather label on one bottle does not approve an untested mixture.
Does tire pressure drop in cold weather?
The pressure reading and riding feel can change with temperature, but there is no universal adjustment. Check the pressure when the tire is at the conditions in which you intend to ride and stay within the tire and rim limits.
What should I carry if sealant fails?
Carry a compatible tube, tire levers, an inflation method, a valve-core tool, and plugs or other repairs approved for the system. Include gloves and a safe way to leave the route. A repair kit is not useful if its valve, tube, tool, or cartridge does not match the wheel.
Does a cold-weather sealant make any tubeless tire suitable for winter?
No. Tire casing, tread, bead, rim, rim tape, valve, pressure, fenders, surface, and rider control still matter. Use the specific tire and rim maker limits and do not infer grip from sealant performance.
The cold-weather suspension care guide covers another component whose maker-specific setup matters in low temperatures.
Bottom line
Tubeless sealant can support cold-weather riding when the exact formula, tire, rim, valve, tape, pressure, and inspection method agree. Read the product documentation, check the liquid and the complete wheel, stay within maker limits, and carry a repair that does not depend on the sealant sealing a puncture. Cold-weather confidence comes from a verified system and a safe exit plan, not from a universal temperature claim.
Sources
- Stan’s, “Stan’s Original Tubeless Sealant,” retrieved September 2, 2026, https://stans.com/products/stans-original-tubeless-sealant
- Orange Seal, “Subzero Sealant,” retrieved September 2, 2026, https://orangeseal.com/products/subzero-sealant
- Schwalbe, “Tubeless Technology FAQ,” retrieved September 2, 2026, https://www.schwalbe.com/en/technology-faq/tubeless/
- Schwalbe, “Tire Pressure FAQ,” retrieved September 2, 2026, https://www.schwalbe.com/en/technology-faq/tire-pressure/
- BikeRideReview, “Best Tubeless Tire Sealant,” retrieved September 2, 2026, https://bikeridereview.com/best-tubeless-tire-sealant/