
Why Does My Bike Chain Skip Under Load?
Chain skipping under hard pedaling usually points to worn or misadjusted drivetrain parts, but a loose cassette, stiff link, or slipping freehub can feel similar.
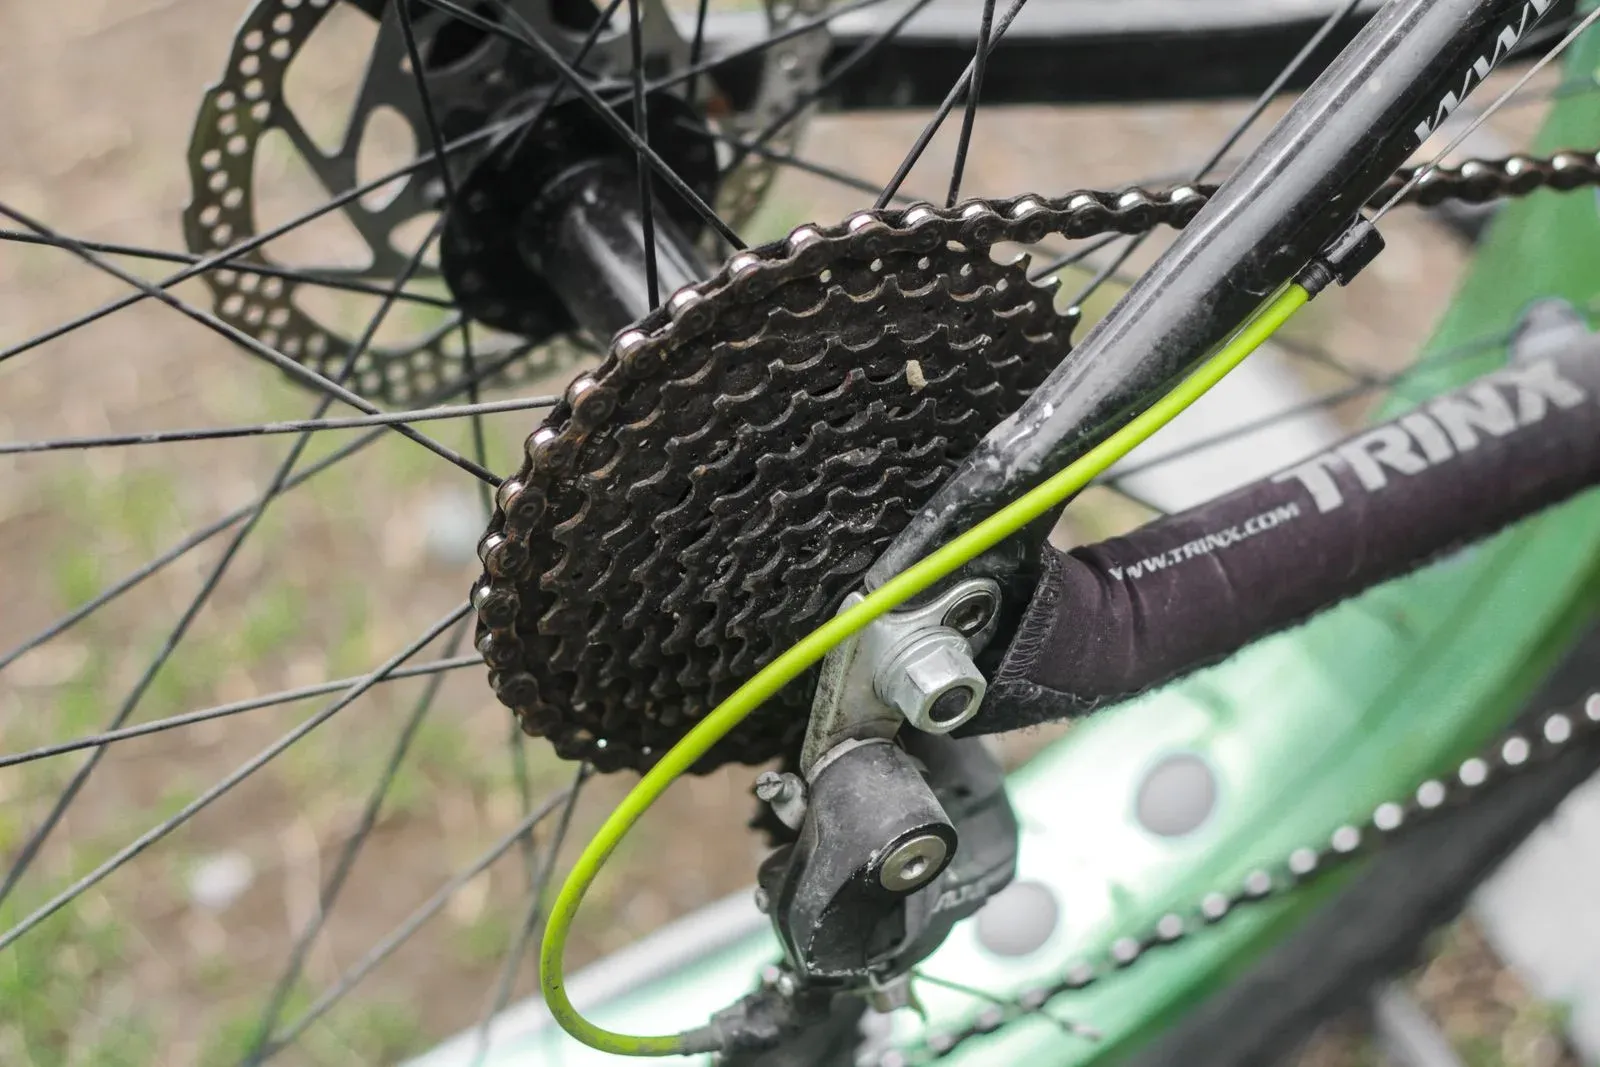
A chain that skips only during hard pedaling commonly has a worn chain and sprocket combination or a shifting adjustment problem. A stiff link, damaged tooth, loose cassette, poor chainline, or slipping freehub can create a similar jolt. Stop testing it under heavy load until you identify the cause.
A skip can make you lose pedal support
Do not ride in traffic or stand on the pedals to reproduce the fault. Stop riding for a cracked or opening link, loose cassette or chainring, derailleur near the spokes, moving wheel, damaged teeth, or a hub that disengages under load. Use a qualified mechanic if the source is uncertain.
Use the pattern to narrow the cause
| When it skips | First areas to inspect |
|---|---|
| One or two favorite rear cogs under pressure | Worn chain and matching sprockets |
| Many gears, with clicking before the jump | Indexing, cable, hanger, or derailleur setup |
| Same point every chain rotation | Stiff, damaged, or incorrectly joined link |
| Front chainring under load | Worn/damaged teeth, chainline, chain compatibility |
| Pedals lurch but chain appears engaged | Freehub/freewheel or crank interface |
| After installing a new chain | Old sprockets worn to the previous chain |
Park Tool’s advanced derailleur troubleshooting distinguishes broad indexing symptoms from skipping on one or two frequently used cogs under pressure. Treat that as a diagnostic clue, not proof.
1. Measure chain wear
Wear at the chain’s pins and inner plates increases effective pitch. The chain then stops matching the teeth cleanly. Measure several sections with a checker compatible with the exact chain, or use a ruler as a cross-check.
Park Tool’s chain-wear guide lists common replacement ranges, but the drivetrain maker’s limit controls. Our chain-wear measurement guide explains why one percentage is not universal.
A badly worn chain can wear the cassette and chainring to match. Installing only a new chain may then expose skipping on the old teeth.
2. Inspect the cassette and chainrings
Clean the drivetrain enough to see the tooth profiles. Look for bent, broken, or heavily worn teeth and unusual side wear. Do not rely on the “shark fin” nickname alone; modern shift ramps make new teeth intentionally different shapes.
Confirm the cassette, freewheel, chainring, and crank retention using the component manuals. Any looseness needs correction before riding. Cassette-lockring and chainring-bolt torque values are model-specific.
3. Check shifting and the derailleur
With the bike securely supported, shift one step at a time without applying high force. Persistent noise, hesitation, or movement toward the next cog can indicate indexing trouble. Also inspect:
- cable and housing condition;
- derailleur-hanger alignment;
- limit settings and derailleur-to-cassette clearance;
- pulley condition and correct chain routing;
- wheel seating and axle retention.
Do not turn limit screws at random. A mis-set low limit can send the chain toward the spokes, while a mis-set high limit can drop it beyond the smallest cog.
4. Find a stiff or faulty link
Backpedal slowly and watch each link pass through the derailleur pulleys. A stiff link may kick or fail to articulate. Inspect the connecting pin or master link carefully and follow its maker’s installation rule.
Replace a cracked, bent, twisted, or incompletely locked link. Do not flex a structurally damaged link until it “feels better,” and do not reuse a connecting part that its maker defines as single-use. The master-link compatibility guide explains the model, speed, direction, and reuse checks.
5. Distinguish chain skip from hub slip
If the cranks surge forward while the chain remains seated on the teeth, the freehub or freewheel may be failing to engage. That requires hub-specific diagnosis. Continuing to pedal hard can produce sudden loss of support.
Likewise, a loose crank interface, damaged bottom bracket, or moving rear axle can feel like drivetrain skip. Stop and inspect rather than assuming every lurch is a chain problem.
What about single-speed bikes?
A single speed has no indexing to adjust, so focus on chain wear, tension, chainline, tooth condition, wheel retention, and the freewheel or fixed-cog system. Too much slack can permit derailment; excessive tension can bind the drivetrain and load bearings.
Use the dedicated single-speed chain tension guide and follow the hub or frame maker’s retention procedure.
Safe confirmation after service
After replacing or adjusting parts, turn the drivetrain by hand through every gear and inspect chain engagement. Then use a short, seated, low-force test away from traffic. Increase load gradually only if shifting is quiet and predictable.
If it still skips, stop. A shop can measure hanger alignment, inspect freehub engagement, and identify a worn cassette or chainring without repeated high-load tests.
Bottom line
Start with the symptom pattern, then measure rather than guess. Chain wear and matching sprocket wear are common, but shifting setup, a faulty link, loose parts, chainline, and hub engagement must all be ruled out before the bike returns to hard pedaling.
