How to Tension a Single-Speed Bike Chain Safely
Set single-speed chain tension at the drivetrain's tightest point, keep the wheel centered, and use the bicycle maker's axle-retention procedure.
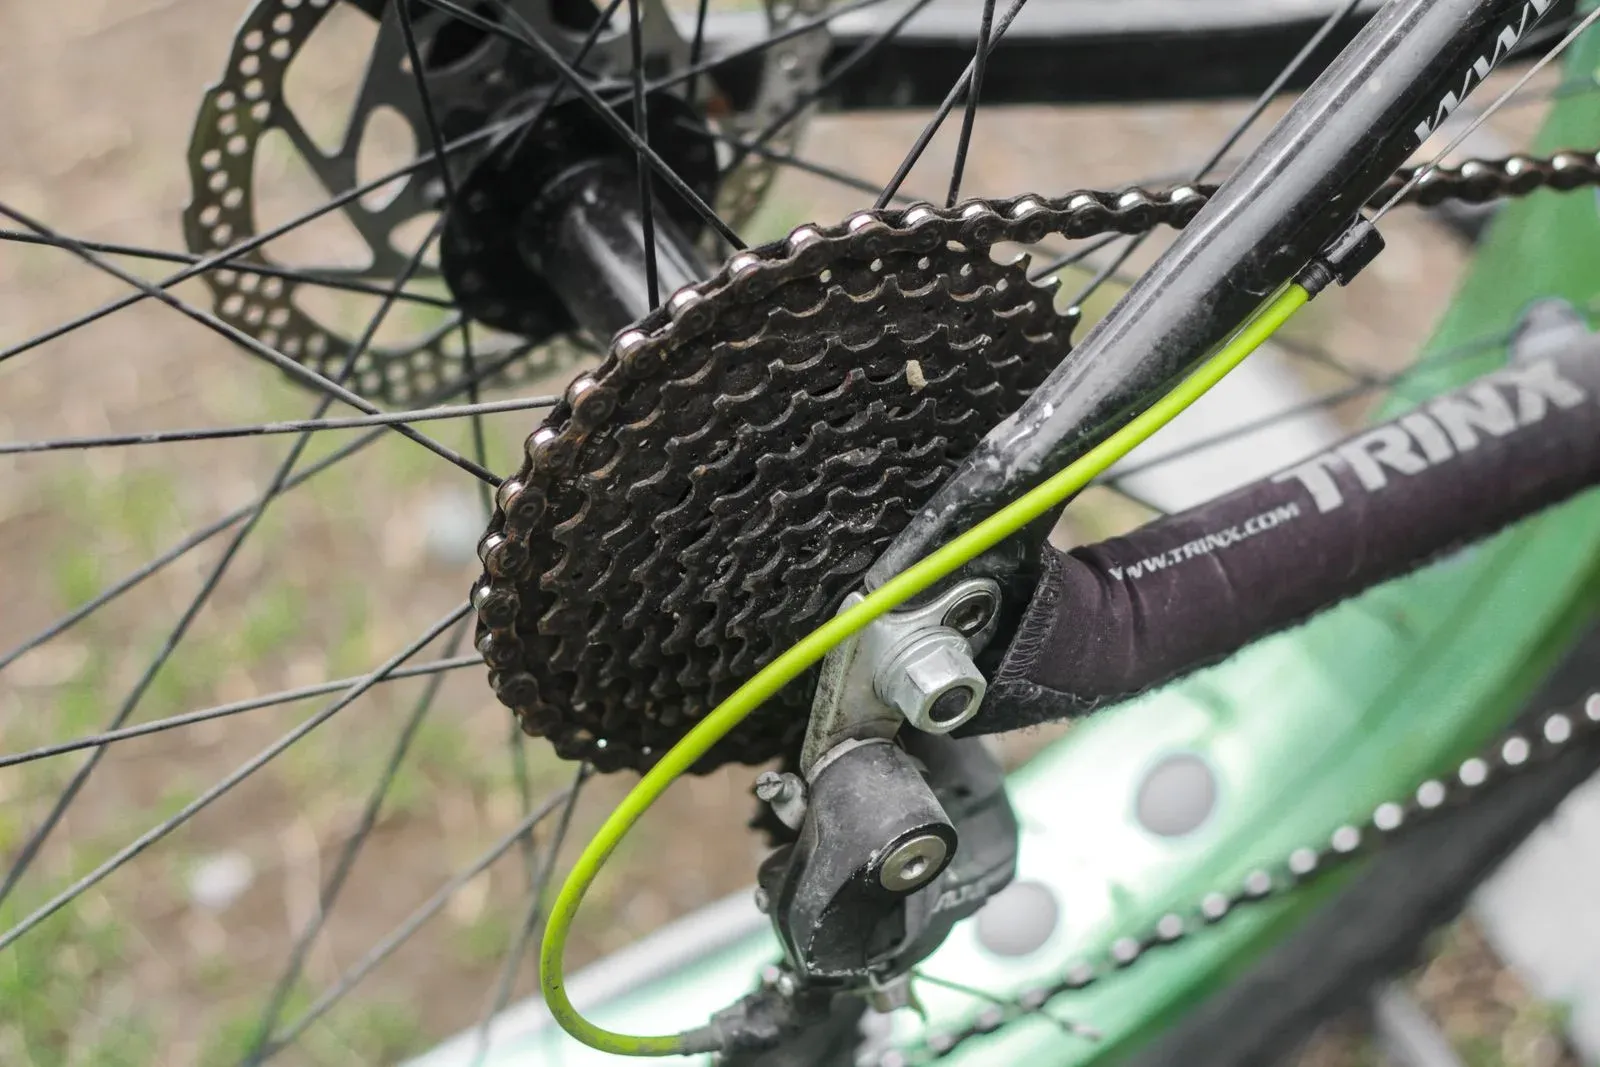
A single-speed chain should move freely without being loose enough to derail. Rotate the cranks to find the drivetrain’s tightest point, set the tension there, center the rear wheel, and tighten the axle exactly as the bicycle or hub maker specifies. Do not copy a generic axle-torque number onto an unfamiliar hub.
Stop for damaged or uncertain retention parts
Do not ride if the chain derails, the axle slips, a cog or chainring tooth is damaged, the axle or dropout threads are compromised, or a coaster-brake reaction arm is loose. A mechanic should inspect any uncertain load-bearing part.
What correct tension feels like
Park Tool’s single-speed chain procedure uses about 1/2 inch of total up-and-down movement at the middle of the chain as an initial check, then emphasizes checking the full crank rotation. At the tightest point, its procedure targets roughly 1/4 inch of movement.
Those are workshop references, not a replacement for the bike’s manual. Eccentric bottom brackets, sliding dropouts, horizontal dropouts, and dedicated tensioners can have different setup instructions. The chain must not bind anywhere in a full rotation.
Tools and checks before adjustment
You may need the correct axle-nut wrench or thru-axle tool, a ruler, and the frame or hub manual. A work stand is useful but not required if the bike is stable.
Before loosening anything:
- confirm the chain, rear cog, and chainring are compatible and not badly worn;
- inspect the chain for stiff, cracked, bent, or incompletely joined links;
- make sure the rear axle, dropouts, tensioners, and retention hardware are intact;
- identify whether moving the wheel changes rim-brake alignment or a coaster-brake arm;
- note the wheel’s existing position and chainline.
If the chain length is wrong, tension adjustment cannot fix it. Use the bike-chain sizing guide before removing links.
How to tension a horizontal-dropout single speed
- Shift no gears—the drivetrain should be on its only chainring and cog—and support the bike securely.
- Loosen the rear axle retention only enough for the wheel to move. If fitted, loosen or adjust chain tensioners according to their manual.
- Move the rear wheel back evenly in the dropouts. Make small changes; pulling one side farther can misalign the wheel.
- Snug the axle lightly, then rotate the cranks slowly through at least one complete chain cycle. Find the tightest section.
- At that tightest point, confirm the chain has the movement required by the bicycle maker and does not bind. Park Tool’s approximate 1/4-inch tight-point check is a fallback only when no model-specific value is available.
- Center the wheel between the stays. Confirm the tire clears the frame and the brake remains aligned.
- Tighten the axle hardware in stages to the maker’s stated torque and sequence. Recheck wheel centering as you tighten.
- Rotate the cranks again. The chain must run smoothly at both its tightest and loosest sections.
If the bike uses a coaster brake, reinstall and secure the reaction arm exactly as its manufacturer specifies before riding.
What about vertical or sliding dropouts?
A vertical-dropout frame normally fixes the wheel position. It needs a compatible dedicated tensioner, an eccentric system, or another frame-approved method. Do not force tension by over-shortening the chain, and do not use a derailleur as a fixed-gear chain tensioner.
If you are converting a geared bike to a freewheeling single-speed, our single-speed conversion kit guide explains the hub, spacer, chainline, and tensioner checks before choosing parts. These kits are not a shortcut to a fixed-gear conversion; keep the existing setup if it can be adjusted correctly.
Sliding dropouts and eccentric bottom brackets have their own alignment, bolt-sequence, and torque rules. Follow the frame manual because loose slider or eccentric hardware can move under pedaling load.
Final safety test
With the bike off the ground, turn the cranks and watch the chain track onto every tooth. Apply light sideways pressure at midspan; Park Tool’s check is that the chain should remain engaged rather than derail. This is an inspection, not a reason to force the chain.
Then check:
- rear-wheel centering and retention;
- brake operation and alignment;
- chainline from the chainring to the rear cog;
- clear rotation without a hard spot;
- secure fixed-cog lockring or freewheel, as applicable.
Take a short, low-force test ride away from traffic. Stop immediately if the axle moves, the chain climbs a tooth, the drivetrain binds, or the brake changes position.
Common mistakes
- Setting tension at the loosest point, which can create binding elsewhere.
- Pulling the wheel crooked to remove slack.
- Overtightening the chain until the bearings feel rough.
- Reusing damaged axle nuts, tensioners, or dropout hardware.
- Treating one online torque value as correct for every axle.
- Ignoring chain wear or a worn, eccentric chainring.
Chain tension and chain wear are separate. Measure pitch wear with the chain-wear guide, and replace parts at the drivetrain maker’s limit.
If correct tension does not stop a load-related jump, check chain and tooth wear, chainline, retention, and freewheel or hub engagement.
Bottom line
Find the tight point first, make small and even wheel-position changes, and preserve wheel and brake alignment. The correct result is a chain that stays engaged but moves freely through the entire rotation, with every axle and brake-retention part tightened to its own manual.