Commuter Bike Gearing: Hills, Stops, and Maintenance
Set commuter bike gearing for hills, starts, stops, and flat roads by shifting early, easing pedal pressure, and following the drivetrain maker's limits.
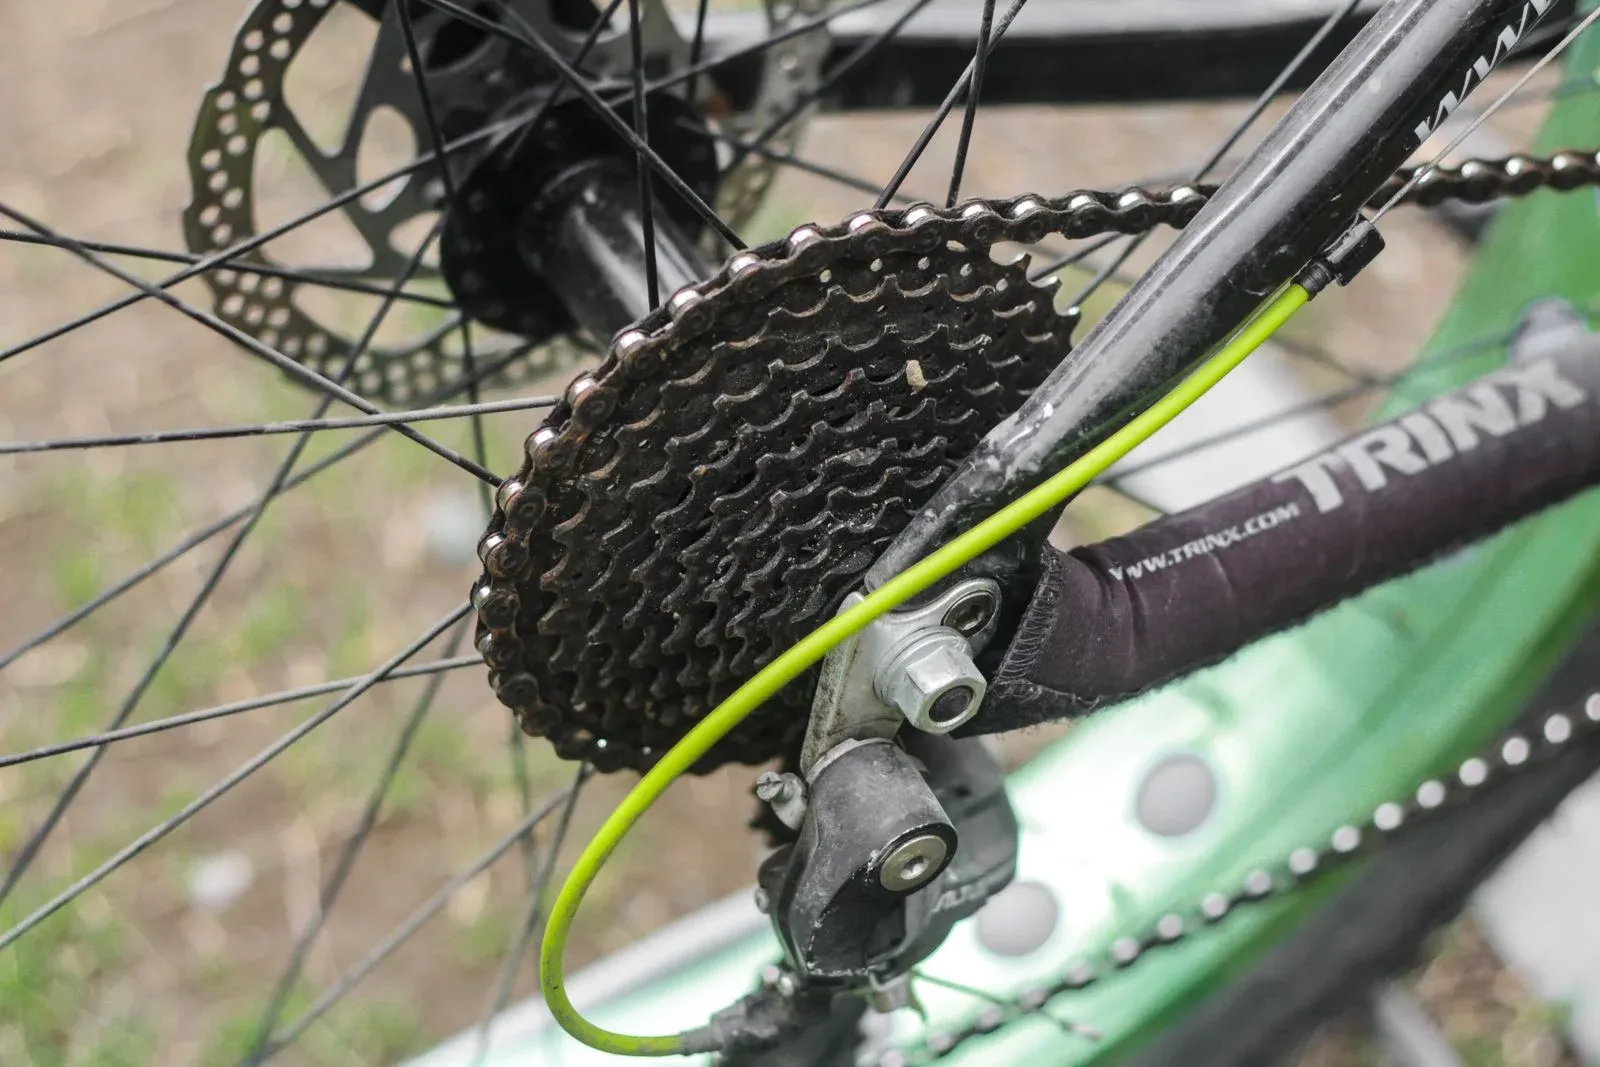
Table of Contents
- What the gears change
- Use an easier gear for starts and hills
- Use a harder gear with a reason
- Shift before the feature, not in the middle of it
- Understand front and rear shifting
- Avoid extremes without inventing a rule
- Diagnose a poor shift before changing technique
- Gearing for cargo and changing conditions
- A simple commute routine
- Bottom line
- Sources
Commuter bike gearing should make starts, hills, stops, and steady riding controllable. Use an easier gear before a hill or stop when you can see the change coming, use a harder gear only when the terrain and control allow it, and ease pedal pressure during the shift. The right gear is the one that lets you steer, brake, and respond to traffic without straining the drivetrain or losing balance. There is no single best gear, cadence, chainring, cassette, or gear ratio for every commuter.
Start with the bicycle’s exact drivetrain. Count the chainrings and cassette or freewheel sprockets, identify whether the bicycle has an internal-gear hub, and read the shifter, derailleur, hub, and bicycle manuals. A gear range that works on one bicycle may be incompatible with another because of the derailleur, chain, cable routing, chainline, wheel, motor, or control system.
What the gears change
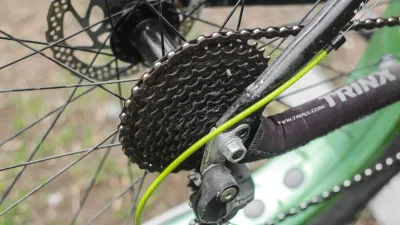
On a derailleur bicycle, the front chainring and rear sprocket create a combination that changes how far the bicycle moves for each turn of the cranks. A smaller front chainring or a larger rear sprocket generally creates an easier gear for climbing and starts. A larger front chainring or smaller rear sprocket generally creates a harder gear for a flat or descending section. Those descriptions explain direction, not a promise about speed or effort.
Sheldon Brown’s gear-calculation reference, retrieved September 2, 2026, explains gear ratios, wheel size, cadence, and the effect of slope and wind. It is a calculation reference, not a universal prescription for a commuter. The rider, route, load, tire, bicycle condition, and local traffic still determine the usable choice.
On an internally geared hub, the shifter changes the hub’s internal ratio rather than moving a chain across external sprockets. Some hubs require the rider to ease pedal pressure or stop briefly for a shift. Follow that hub maker’s procedure. On a single-speed or fixed-gear bicycle, there is no on-road gear selection, so route choice, starts, pacing, and bicycle condition carry more of the control burden.
Use an easier gear for starts and hills
An easier gear reduces the force needed at the pedals for a given slope, so it can help a rider start smoothly, climb, or recover control after a stop. Shift before the hill becomes steep or before the light changes when the route makes the change predictable. Looking ahead matters more than waiting until the bicycle slows and the chain is under high load.
For a start:
- Look through the junction and identify the first rise, merge, or stop.
- Shift to an easier gear while the bicycle is still stable and the drivetrain is turning normally.
- Reduce pedal force briefly as the chain or hub changes ratio.
- Resume smooth pressure and keep both hands ready for steering and braking.
Do not downshift repeatedly while standing in a busy junction. If the bicycle reaches a stop in a gear that is too hard, start with a controlled pedal stroke, keep the route clear, and shift once the bicycle is moving safely. The commuter bike setup guide covers starts, load placement, brakes, lights, and the rest of the daily bicycle check.
On a long climb, select the easiest gear that lets you maintain control and a sustainable effort. Do not keep shifting simply to chase a particular number. A heavy bag, headwind, wet surface, poor visibility, or a narrow route may justify slowing or stopping, regardless of gear.
Use a harder gear with a reason
A harder gear can feel useful on a flat or downhill section when the current gear makes the rider spin faster than desired. It does not automatically make the bicycle faster, and it can make starts, turns, and sudden traffic changes harder. Shift up only when there is enough clear road and the rider can keep control.
Before shifting harder, consider:
- whether a junction, pedestrian, parked car, or surface change is close;
- whether the wind or slope is about to change;
- whether cargo is stable and the bicycle remains predictable;
- whether the chain is already at an extreme front and rear combination;
- whether the rider can ease pressure without interrupting a safe line.
A commute is not a speed test. The commute-distance guide explains why time, terrain, traffic, recovery, and work demands matter more than a distance label. Use a gear that supports the route decision instead of forcing the bicycle to maintain a pace the conditions do not support.
Shift before the feature, not in the middle of it
Before a hill
Shift easier while the road is still level or the gradient is moderate. Keep the bicycle straight, pedal smoothly, and make one or two deliberate changes rather than moving the control repeatedly. If the shift is slow, noisy, or incomplete, stop in a safe place and inspect the system instead of forcing the lever.
Before a stop
If the signal, crossing, gate, or queue is visible, shift toward an easier start gear before braking to a full stop. Leave enough room to brake and steer. Do not look down at the cassette or shifter while entering a junction.
Before a descent
Choose a gear that leaves control for braking and the next feature. A very hard gear can encourage speed that exceeds visibility, surface grip, or local conditions. A very easy gear can make the pedals turn quickly without changing the need to brake. Set the gear while the route is clear and keep the hands ready.
On a wet route
Rain and road grit can reduce visibility and change braking behavior. The rain commuting guide covers earlier braking, avoiding hidden hazards, fenders, lights, and cleaning and lubricating after the ride. Gearing can help control effort, but it cannot make standing water, a slick marking, flooding, or a blocked lane safe.
Understand front and rear shifting
Use the front shifter when the bicycle has multiple chainrings and a substantial terrain change, then use the rear shifter for smaller adjustments. Many modern systems have different shift ranges and controls, so follow the maker’s instructions instead of memorizing a universal sequence. Some bicycles are designed to use the full available range, while others have chainline or capacity limits.
The bicycle chainline guide explains why the chain’s alignment and the position of the chainrings and sprockets matter. A noisy extreme combination may indicate a normal system warning, an adjustment issue, or a compatibility problem. The bike chain speed compatibility guide covers chain, cassette, freewheel, and shifter matching; a gear-count label alone does not establish compatibility.
For a derailleur system, do not shift the front and rear controls at the same instant while applying heavy force. Ease off, make the change, then settle into the gear that fits the next part of the route. For an internally geared hub, use the documented timing and pedal-pressure instructions. For an e-bike, check whether the motor, controller, torque sensor, and shift recommendation have a maker-specific procedure.
Avoid extremes without inventing a rule
Cross-chaining, where the chain runs at an extreme front and rear combination, can add noise and angle to some derailleur systems. The acceptable combinations depend on the drivetrain design. Read the bicycle and drivetrain maker’s instructions and use the available middle combinations when they recommend that approach. Do not claim that one forbidden combination applies to every bicycle.
Do not fit a larger cassette, chainring, derailleur, or chain because a chart on another bicycle suggests it should work. Check derailleur capacity, maximum sprocket, chain length, hanger, cable pull, crank and frame clearance, and the maker’s compatibility information. The rear-derailleur indexing guide covers indexing symptoms and adjustment boundaries.
Diagnose a poor shift before changing technique
A shift that hesitates, skips, grinds, or drops the chain can be caused by more than a poor gear choice. Check:
- The wheel and cassette or freewheel are correctly seated.
- The chain is clean enough to move and is lubricated with a product suitable for the conditions.
- The cable, housing, shifter, and derailleur move as the maker specifies.
- The derailleur hanger is not bent and the limit and indexing adjustments suit the bicycle.
- The chain, cassette, chainrings, jockey wheels, and freewheel are not worn or damaged.
- The chain length and speed match the drivetrain.
Park Tool’s rear-derailleur adjustment guide, retrieved September 2, 2026, separates limit, indexing, and B-tension adjustments. Shimano’s rear-derailleur dealer manual, retrieved September 2, 2026, tells the technician to check the hanger, cable lubrication, and casing when adjustment cannot be completed. SRAM’s rear-gear adjustment guidance, retrieved September 2, 2026, likewise depends on the exact drivetrain and hanger. Follow the manual for the installed model.
Do not keep riding to see whether a skipping chain settles under load. A dropped chain can jam the drivetrain, and an abnormal shift can indicate a bent or damaged part. Stop somewhere safe and inspect or arrange service.
Gearing for cargo and changing conditions
Cargo changes starts, braking, steering, and the effort needed on a hill. Use a compatible rack or bag, stay within the lowest applicable limit, and distribute the load so it cannot shift into the wheel or controls. The backpack versus panniers guide compares body load and bicycle cargo without promising that either option suits every rider.
If a computer, tools, water, or clothing make the bicycle feel unstable, solve the load problem before choosing a harder or easier gear. The gear can change pedal effort; it cannot fix a loose rack, a swinging bag, a tire below the maker’s range, or a brake that feels abnormal.
Cold, rain, wind, and darkness also change the route decision. Make the gear change while you can see and control the road. If you cannot brake, steer, see, or keep the drivetrain operating normally, stop and use the backup plan. The bike commute emergency kit covers the repair, communication, weather, and exit items that support that decision.
A simple commute routine
Before leaving, verify that the chain, cassette or freewheel, derailleur or hub, shifter, crank, pedals, brakes, wheels, and load are secure. On the first quiet part of the route, confirm that each control produces the expected change. Do not adjust a shifter while looking down in traffic.
During the ride:
- scan the road and choose an easier gear before an obvious hill or stop;
- ease pedal pressure for the shift and keep both hands available;
- make one change at a time near traffic or pedestrians;
- choose a harder gear only when the road and visibility leave room;
- stop when a gear will not engage normally or the chain drops repeatedly.
After a wet or gritty ride, clean and dry the drivetrain as the maker permits. Apply the correct lubricant sparingly and wipe away excess. Inspect for a bent hanger, damaged cable, loose crank, chain wear, or contamination before the next commute. Use the intervals and inspection requirements in the bicycle and component manuals rather than a generic schedule.
Bottom line
Use an easier gear before starts and hills, a harder gear only when the route supports it, and light pedal pressure during every shift. Choose the gear that preserves control, not a universal cadence or speed target. When shifting is abnormal, check the exact drivetrain, chainline, cable, hanger, capacity, and wear condition before adjusting or replacing parts. Manufacturer instructions and the actual route outrank a generic gear chart.
Sources
- Sheldon Brown, “Bicycle Gear Ratios,” https://www.sheldonbrown.com/gears.html (retrieved September 2, 2026). Explains gear ratios, wheel size, cadence, slope, and wind as calculation inputs.
- Park Tool, “Rear Derailleur Adjustment,” https://www.parktool.com/en-int/blog/repair-help/rear-derailleur-adjustment (retrieved September 2, 2026). Separates limit, indexing, and B-tension adjustments for a derailleur system.
- Shimano, “Rear Derailleur Dealer’s Manual,” https://si.shimano.com/en/pdfs/dm/RARD011/DM-RARD011-00-ENG.pdf (retrieved September 2, 2026). Gives model-specific setup and troubleshooting checks for hanger, cable, and derailleur adjustment.
- SRAM, “Rear Gear Adjustment,” https://www.sram.com/de/service/articles/rear-gear-adjustment (retrieved September 2, 2026). Describes model-dependent rear-gear setup and hanger and drivetrain checks.
- REI, “Commuter Bike Gear,” https://www.rei.com/learn/expert-advice/commuter-bike-gear.html (retrieved September 2, 2026). Provides context for commuter bicycles, cargo, route conditions, and equipment choices.
- League of American Bicyclists, “Commuting,” https://bikeleague.org/ridesmart/commuting/ (retrieved September 2, 2026). Covers route selection, visible and predictable riding, cargo, locks, and wet-condition adaptations.