How to Measure Bike Chain Wear
Measure bike chain wear with a compatible chain checker or a 12-inch ruler, then follow the drivetrain maker's replacement limit.
The most reliable home method is a chain-wear gauge approved for your exact chain type. Clean the chain, measure several sections under light tension, and replace it at the drivetrain manufacturer’s limit. A ruler can provide a useful cross-check.
What “chain stretch” really means
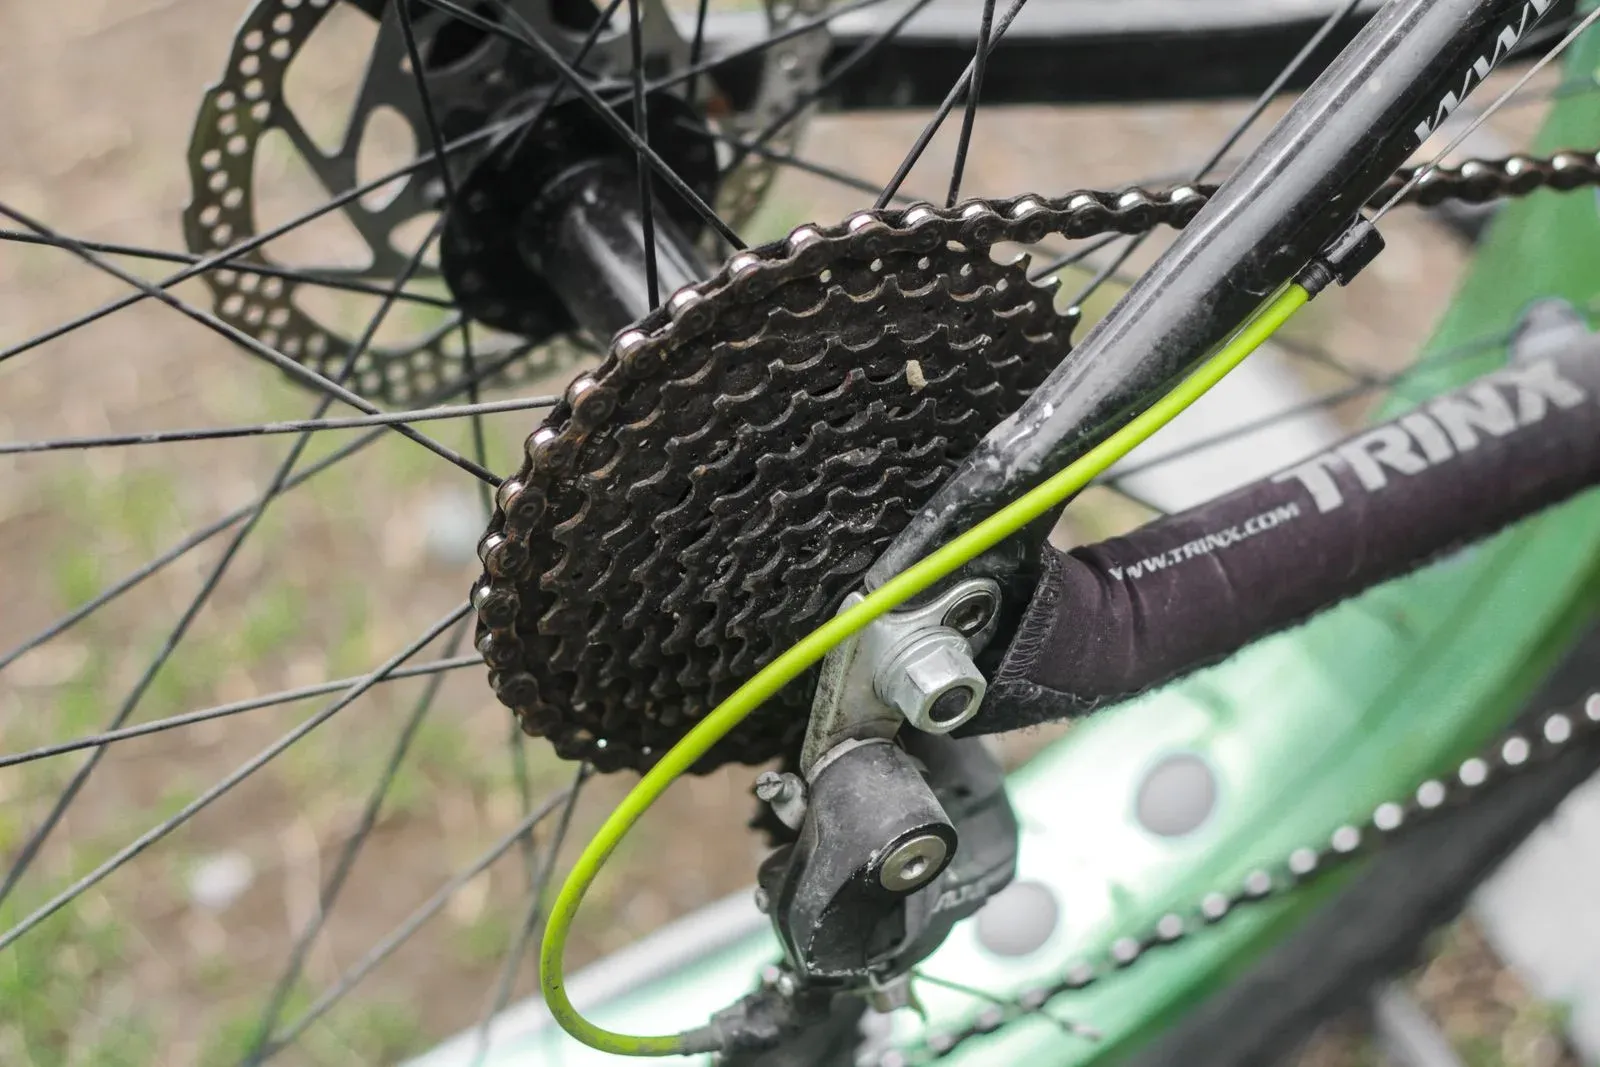
The side plates do not normally stretch. Wear at the rivets and inner plates increases the distance between loaded rollers, so the chain’s effective pitch grows. A worn chain then seats poorly on the cassette and chainrings, accelerating wear of more expensive parts.
Method 1: use a compatible chain checker
- Confirm the tool supports your chain’s speed and design. Some chains use unusual roller sizes or proprietary profiles.
- Clean heavy grit from the chain; leave normal internal lubrication in place.
- Shift to a straight chainline and hold the bicycle securely.
- Place the gauge exactly as its instructions show and apply only the specified tension.
- Check at least three separated sections, avoiding the connecting link if the maker says so.
- Use the highest repeatable reading and compare it with the chain manufacturer’s service limit.
Park Tool’s chain-wear guide explains why three-point gauges reduce roller-clearance error and lists common—not universal—replacement points of 0.5%, 0.75%, and 1.0% for different drivetrains.
Method 2: measure 12 inches with a ruler
All common bicycle chains have a nominal half-inch pitch. Put the center of one rivet at zero, count 24 intervals, and inspect the last rivet at 12 inches while the upper chain run is under gentle tension.
- Exactly 12 inches is the nominal new length.
- An extra 1/16 inch over 12 inches is roughly 0.5% elongation.
- An extra 1/8 inch is roughly 1%.
A ruler is less convenient and easy to misalign, but it measures pitch directly. Measure more than once before deciding.
Which replacement number applies?
Follow the chain or drivetrain manufacturer’s current instructions. Narrow 11-, 12-, and 13-speed systems commonly use an earlier threshold than many older derailleur or single-speed systems. Do not assume that a gauge marked 0.75 is suitable for every chain.
If a new chain skips on old sprockets, the cassette or chainring may already be worn to match the old chain. A mechanic can confirm before you replace parts blindly.
Diagnose load-related skipping across chain wear, sprockets, indexing, stiff links, chainline, and freehub engagement.Common measurement mistakes
- Forcing a drop-in gauge until it fits.
- Measuring only one dirty or stiff section.
- Using a checker that is incompatible with the chain.
- Confusing side-to-side flexibility with pitch wear.
- Waiting for slipping before measuring.
- Reusing a connecting pin or quick link against the maker’s instructions.
Our bike tool kit guide helps select a gauge and chain tools. For a single-speed drivetrain, use the correct chain width and then set tension using the bicycle maker’s procedure; wear measurement and tension are separate checks.
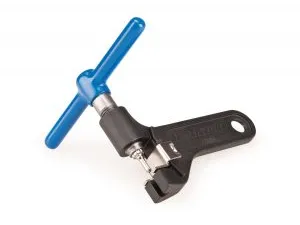
After confirming replacement is due, compare home and carry chain breakers by exact chain width, family, and joining-method support.Bottom line
Measure on a schedule, not after shifting fails. A compatible gauge is fastest, a ruler is a useful cross-check, and the exact drivetrain manual decides the replacement limit.