
Why a Bike Chain Keeps Breaking
A bike chain can break from a damaged link, wrong connector, worn drivetrain, poor chainline, overload, or derailleur fault. Find the failure before riding.
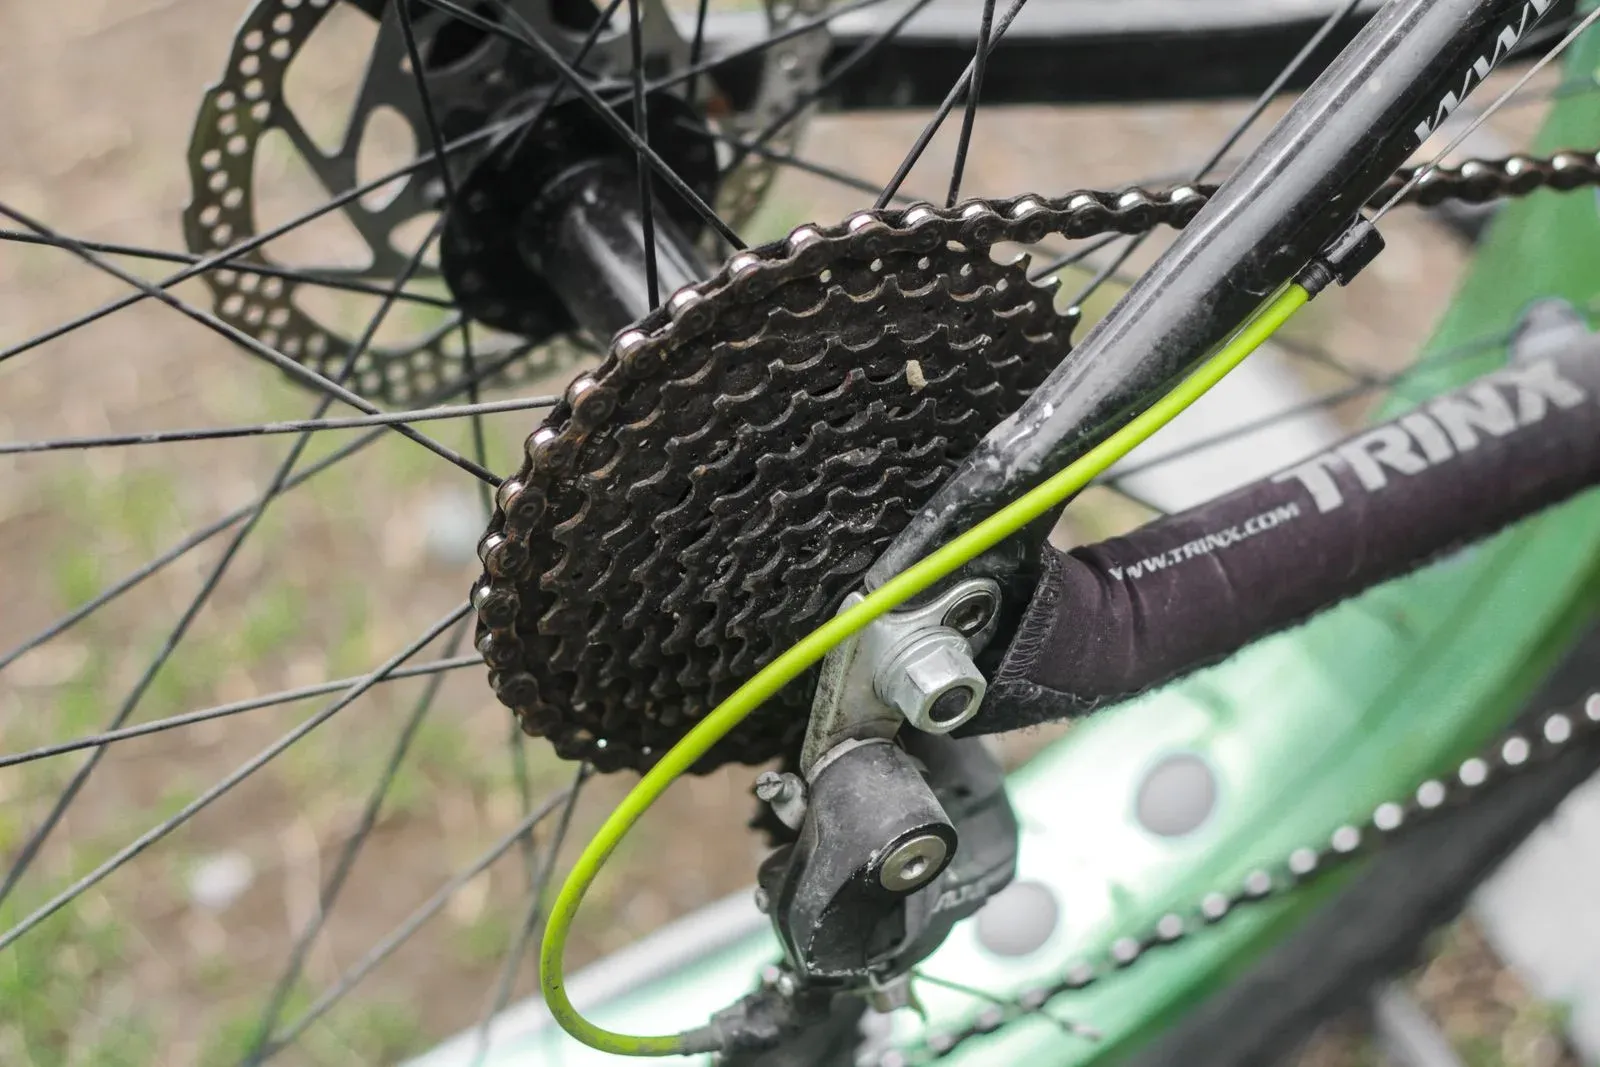
Table of Contents
- What should you do immediately after a chain breaks?
- Which chain part failed?
- Can a worn chain cause repeated breaks?
- Can an incorrect connector make a chain break?
- Can chain length or chainline break a chain?
- Can shifting under load break a chain?
- Can a derailleur or hanger damage a chain?
- How should you replace a chain after a break?
- When should a mechanic inspect a broken chain?
- Frequently asked questions
- How we researched this guide
- Bottom line
- Sources
A bike chain that keeps breaking usually has a repeatable problem at a link, joining point, drivetrain interface, or shift event. Common causes include a cracked or bent plate, a damaged roller or rivet, an incorrect master link or connecting pin, wrong chain and sprocket compatibility, a chain that is too short, a badly worn drivetrain, poor chainline, a derailleur or hanger fault, corrosion, or a shift made under excessive load.
Stop riding after a chain failure. Do not reconnect a damaged link on the roadside and assume the cause is solved. Start with the bike drivetrain maintenance hub, then use the bike chain replacement guide and chain sizing guide for the installation record. Compare the chain wear guide, worn chainring guide, and cassette wear guide before fitting another chain. The rear derailleur indexing guide covers shifting faults that can overload or misroute the chain.
Key Takeaways
- Treat every break as a structural inspection, not merely a need for a quick joining link.
- The exact chain speed, width, direction, connector, sizing method, and joining procedure come from the chain and drivetrain maker.
- Do not pedal a repaired chain under hard load until the complete drivetrain, chainline, derailleur, teeth, and joining point have been checked.
What should you do immediately after a chain breaks?
Stop pedaling, move away from traffic, and inspect the chain and drivetrain before attempting a repair. A broken chain can damage a derailleur, chainring, frame, or wheel, and a second failure can remove pedal support unexpectedly.
Look for the failed location, cracked or bent plates, missing rollers, a protruding or damaged rivet, a master link that is open or distorted, and marks where the chain contacted the spokes or frame. Check whether a derailleur is bent, a pulley is damaged, a tooth is broken, or the cassette, chainring, wheel, crank, or bottom bracket is loose.
Do not ride if the chain has a crack, deep corrosion, a distorted plate, a damaged joining point, a stiff link that will not move, or an unknown repair. A qualified bicycle technician should inspect a failure that occurred under load or involved the derailleur and spokes.
Which chain part failed?
The failure pattern is useful evidence:
| Failure location | Possible cause | Follow-up |
|---|---|---|
| Master link opens | Wrong link, incomplete engagement, incompatible chain, or installation error | Match the link to the exact chain and follow its closing procedure |
| Connecting pin pulls out | Wrong pin, wrong tool, incomplete insertion, or joining a pin not approved for reuse | Replace with the maker-specified pin or chain link |
| Outer plate cracks | Impact, corrosion, tool damage, side loading, or a damaged link | Replace the chain and inspect the event that loaded it |
| Inner plate or roller breaks | Wear, contamination, impact, or a damaged sprocket or chainring tooth | Inspect chain wear and every tooth before riding |
| Break repeats at a new joining point | Connector mismatch, joining method, chain width, or installation problem | Stop using that method and obtain maker support |
| Failure near derailleur | Wrong routing, pulley damage, limit or hanger fault, or chain pulled into spokes | Do not ride until the rear system is checked |
The location does not prove one cause. Photograph the failed link before discarding it and record the chain model, speed, date, joining part, and recent work.
Can a worn chain cause repeated breaks?
Yes. Wear at the chain’s pins and rollers changes how the chain meshes with the chainrings and sprockets. Park Tool explains that this wear can contribute to poor meshing, shifting problems, skipping, and chain suck (When to Replace a Chain on a Bicycle, retrieved September 2, 2026). Severe wear does not explain every break, so inspect the failed link and the rest of the drivetrain.
Measure the replacement interval with a compatible chain checker or the chain maker’s method. The chain wear guide explains why side plates can look normal while the effective pitch changes. Do not use an unsupported universal threshold for a chain design that has its own service instructions.
If a new chain is installed on a heavily worn cassette or chainring, it may skip or load the chain unpredictably. Use the cassette wear guide and chainring symptom guide to document the complete replacement decision.
Can an incorrect connector make a chain break?
Yes. A master link or connecting pin must match the exact chain family, speed, width, and maker instructions. A link that fits the outer width or clicks shut is not automatically approved. Some links are directional, single-use, or intended only for a specific chain.
Shimano’s chain guidance emphasizes using the specified chain and joining method, and its dealer information directs uncertain service work to the applicable component documentation (General Operation, retrieved September 2, 2026). SRAM likewise publishes chain-specific user instructions and joining requirements (Road Drivetrain User Manual, retrieved September 2, 2026). Read the exact manual before removing, reusing, or closing a link.
When replacing a chain, keep the approved connector with that chain. Do not combine a Shimano connecting pin with a different chain maker’s chain or reuse a master link simply because it has not visibly opened. If the link tool, pin, or chain model is uncertain, stop and ask the maker or a qualified mechanic.
Can chain length or chainline break a chain?
Yes. A chain that is too short can over-tension the derailleur and chain when the chain is routed around the largest chainring and rear sprocket. A chain that is too long can lose tension, derail, or strike parts. An abnormal chainline adds lateral loading and can reveal a compatibility problem after a crank, ring, wheel, hub, spacer, or conversion change.
Use the bike chain sizing guide and the exact drivetrain method. Do not copy the old chain without checking that the old installation was correct. Use the bicycle chainline guide to record the relevant center references and maker limits.
Do not add a random link, spacer, washer, or chain guide as a trial. A change that seems to quiet the chain can reduce fastener engagement, interfere with a derailleur, or leave the chain too short in another gear.
Can shifting under load break a chain?
A shift can place a large transient load on the chain, especially when the chain is already damaged, worn, mismatched, misrouted, or engaging a damaged tooth. Avoid shifting while applying the maximum force that the bicycle, drivetrain, and chain maker does not support. This is a riding practice and inspection concern, not a reason to infer a universal safe load.
Inspect the gear in which the failure happened. Check for a bent tooth, chain caught between sprockets, derailleur near the spokes, stiff link, loose cassette, poor indexing, or a chainline that forces an extreme angle. Do not recreate the event by standing on the pedals. The rear indexing guide covers the adjustment sequence after the mechanical condition is verified.
Can a derailleur or hanger damage a chain?
Yes. A bent hanger, damaged derailleur cage, seized pulley, incorrect limit, bad cable routing, or chain routed outside a pulley can pull the chain sideways or into the wheel. A derailleur that was hit may look close to normal while its alignment is wrong.
Park Tool’s rear derailleur adjustment guide, retrieved September 2, 2026, describes limit screws and pulley alignment as separate parts of adjustment. Do not use a limit screw to compensate for a bent hanger. Stop if the derailleur approaches the spokes or the wheel, hanger, or cassette moves.
How should you replace a chain after a break?
Replace the chain rather than trusting a temporary roadside repair when the failure is unexplained, the chain is damaged, or the joining point is uncertain.
- Identify the chain, cassette or freewheel, chainring, derailleur, and manufacturer’s compatibility information.
- Inspect the entire drivetrain, including teeth, pulleys, chainline, crank, wheel, cassette, hanger, and frame.
- Choose the exact approved chain and connector. Record direction and any single-use instruction.
- Size the chain with the maker’s method. Check suspension position when the bicycle maker requires it.
- Cut and join only with the specified tool and procedure. Do not reuse a pin or link unless the maker explicitly allows it.
- Move every joint by hand and check for a stiff link. Confirm routing through the derailleur pulleys.
- Check the permitted gears on a stable bicycle at low load. Stop for a skip, jam, drop, rub, or abnormal noise.
The bike chain replacement guide covers the installation workflow. High-current e-bike systems add electrical safety questions, but an ordinary derailleur chain still needs its exact mechanical compatibility.
When should a mechanic inspect a broken chain?
Use a qualified technician when the chain broke under a hard load, the failure repeats, the bicycle has a carbon frame or unusual drivetrain, the derailleur reached the spokes, the chainline changed, the connector is unknown, or the crank, cassette, chainring, hub, frame, or hanger has movement or damage. A mechanic can identify the failed interface and the correct maker procedure without turning a second failure into a road incident.
Do not ask a roadside quick link to carry on indefinitely when the original cause is unknown. Keep the bicycle out of service until the repair has been checked.
Frequently asked questions
Is a chain broken at the master link safe to reuse?
Usually treat a separated or distorted master link as a replacement item unless its maker explicitly allows reuse and it remains within service condition. Match the link to the exact chain and follow the closing method. A visual click is not proof of safe engagement.
Why did my new bike chain break?
Check the connector, chain compatibility, sizing, routing, damaged tooth, derailleur or hanger, chainline, and installation method. A new chain can fail if it was joined incorrectly or forced through a damaged drivetrain. Do not conclude that the chain brand alone caused the failure.
Can rust make a bike chain break?
Deep corrosion, pitting, seized rollers, and weakened plates can make a chain unsafe. Light surface staining does not prove structural damage, but every link still needs inspection. Replace a chain with deep pits, cracks, distorted plates, or stiff links that do not recover.
Does a worn cassette break the chain?
A worn cassette more commonly contributes to skipping and poor engagement, but damaged teeth, a loose stack, or a chain caught between sprockets can overload or damage a chain. Inspect it when a chain fails rather than replacing the chain alone.
Can I fix a broken chain with a quick link?
Only as a documented repair for a compatible chain and connector, using the maker’s tool and method. A damaged chain, repeated failure, wrong link, or uncertain chain model needs replacement and inspection. Do not ride a chain that is cracked or stiff after the repair.
How do I prevent repeated chain breaks?
Use the exact compatible chain and connector, size and route it from the maker’s method, measure wear, clean and lubricate it appropriately, shift without excessive load, and inspect the cassette, chainrings, chainline, derailleur, hanger, wheel, and crank. Replace damaged parts before riding.
How we researched this guide
This is research-based failure diagnosis, not a destructive test or hands-on repair report. DataForSEO research on September 2, 2026 showed informational demand around chain life, common causes, roadside response, and repeated breaks. We used Shimano, SRAM, and Park Tool maintenance guidance to structure the inspection. Exact chain limits, connector reuse rules, joining steps, and component compatibility remain with the relevant makers.
Bottom line
Treat a repeated chain break as evidence of an unresolved structural or compatibility problem. Identify the failed link, inspect the full drivetrain, use the exact chain and connector, size and join it from the maker’s instructions, and verify the derailleur, chainline, teeth, and wheel before riding. If any part or joining method is uncertain, keep the bicycle out of service and use a qualified technician.
Sources
- Shimano, “How to Check Your Chain Length,” retrieved September 2, 2026, https://bike.shimano.com/stories/article/determine-chain-length.html
- Shimano, “General Operation,” retrieved September 2, 2026, https://si.shimano.com/en/pdfs/dm/GN0001/DM-GN0001.pdf
- Shimano, “Front Derailleur Dealer Manual,” retrieved September 2, 2026, https://si.shimano.com/en/pdfs/dm/RAFD011/DM-RAFD011-02-ENG.pdf
- SRAM, “Rear Gear Adjustment,” retrieved September 2, 2026, https://www.sram.com/de/service/articles/rear-gear-adjustment
- SRAM, “Road Drivetrain User Manual,” retrieved September 2, 2026, https://www.sram.com/globalassets/document-hierarchy/user-manuals/sram-road/drivetrain/1x-mechanical-road-systems-user-manual.pdf
- Park Tool, “When to Replace a Chain on a Bicycle,” retrieved September 2, 2026, https://www.parktool.com/en-us/blog/repair-help/when-to-replace-a-chain-on-a-bicycle
- Park Tool, “Rear Derailleur Adjustment,” retrieved September 2, 2026, https://www.parktool.com/en-int/blog/repair-help/rear-derailleur-adjustment
